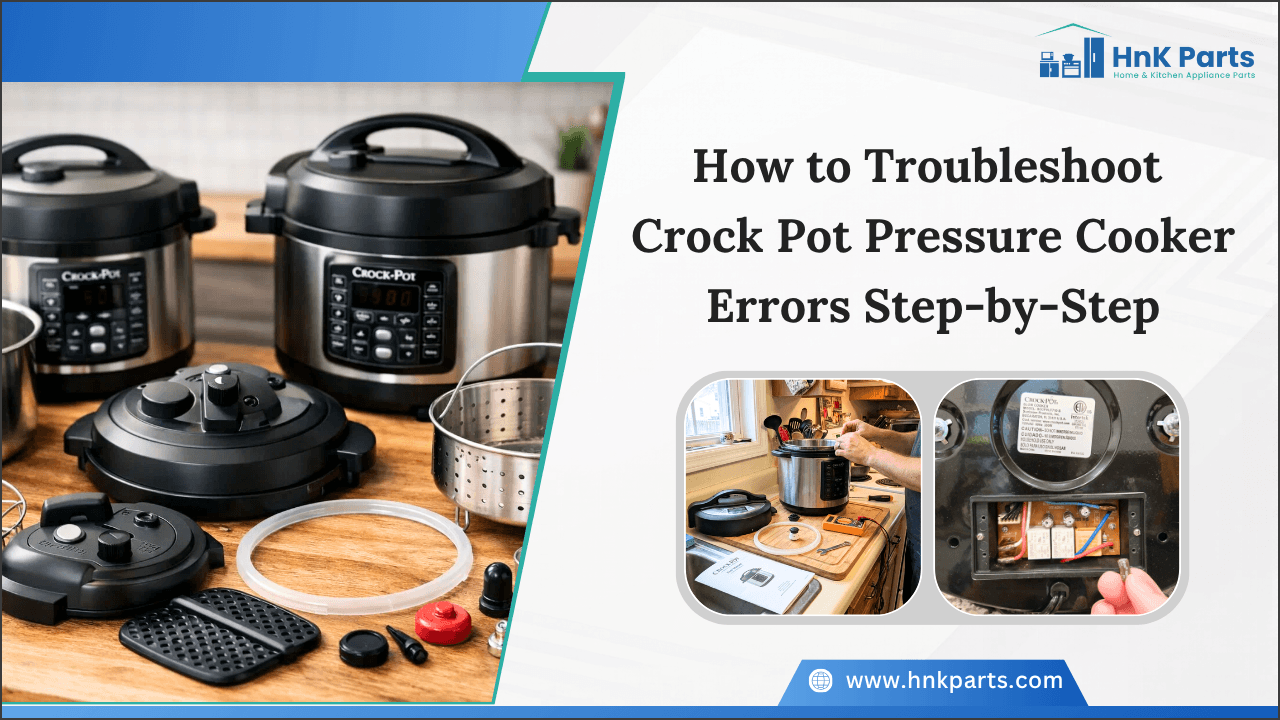
How to Troubleshoot Crock Pot Pressure Cooker Errors Step-by-Step
Nothing disrupts dinner plans faster than a blinking error code on your Crock-Pot. From persistent "lid" warnings like the Crock Pot pressure cooker close-lid error to unexplained pressure failures, these issues can be frustrating, especially when you’re short on time. The good news is that most common Crock Pot pressure cooker errors can be resolved quickly at home with the right approach, often without needing replacement slow cooker parts. This guide covers key error codes and practical, step-by-step fixes, including seal adjustments, lid positioning, and power resets, so you can restore performance and get your multicooker back to working efficiently.
Understanding Common Crock Pot Pressure Cooker Error Codes
When your Crock-Pot detects an issue, it automatically pauses the cooking cycle and displays a specific “E” error code. These built-in notification codes are designed to protect both your appliance and your meal by preventing unsafe operation or undercooking. Understanding what each code means can help you quickly diagnose and fix the problem during pressure cooker maintenance.
-
E1 (Bottom Sensor Fault): Indicates an open circuit in the bottom temperature sensor, often caused by a loose connection or internal component failure.
-
E2 (Upper Sensor Fault): Similar to E1, this points to a malfunction in the top or lid-based temperature sensor, commonly referred to as a Crock Pot pressure cooker E2 error.
-
E3 (Lid/Seal Issue): One of the most common errors, triggered when the lid is not properly closed or sealed for pressure cooking, often linked to a Crock Pot pressure cooker close lid error.
-
E4 (Low Liquid/Sensor Error): Appears when the cooker cannot build pressure, typically due to insufficient liquid (below the minimum requirement) or improper pot detection.
-
E5 (Misused Setting/Valve): Occurs when settings or components are used incorrectly, such as using the lid during sauté mode or misaligning the steam release valve.
-
E6 (Overheating/Steam Failure): The “burn” alert is activated when the cooker overheats due to low liquid, blocked steam, or food sticking to the bottom.
Looking for reliable home and kitchen appliance parts? Shop at HnK Parts for high-quality OEM and compatible components designed to restore performance and extend equipment life. We offer a wide selection of parts for pressure cookers, ovens, fryers, refrigeration units, and more. Enjoy competitive pricing, fast shipping, and dependable customer support to keep your kitchen operations running efficiently.
Step-by-Step Fixes for Lid, Seal, and Pressure Issues in Crock Pot Pressure Cookers
Lid, seal, and pressure problems in Crock Pot pressure cookers can disrupt cooking and lead to safety concerns if not addressed properly. These issues often stem from misalignment, worn-out seals, or blockages that prevent the cooker from building or maintaining pressure. Identifying and fixing these problems step by step ensures safe operation and consistent cooking performance.
Step 1: Correct the Sealing Ring (Gasket): The sealing ring is critical for maintaining an airtight environment inside the cooker.
-
Inspect Placement: Ensure the ring is securely tucked behind the metal retainer all the way around the lid.
-
Check Orientation: The groove should face downward; an upside-down ring often causes steam leaks.
-
Address Expansion: If the ring feels loose or stretched, place it in the freezer for a few minutes to help it contract back to its original shape.
Step 2: Troubleshoot the Steam Release Valve: Continuous steam release usually indicates a valve issue.
-
Set to “Seal”: Always confirm the valve is in the sealing position before starting.
-
Clear Debris: Remove the valve and clean it with warm, soapy water. Use a toothpick to clear any clogged vent holes.
Step 3: Verify the Lid Lock and Float Valve: Proper lid alignment ensures safety sensors function correctly.
-
Align the Symbols: The lid arrow must match the lock icon on the base.
-
Check the Float Valve: Ensure the small pin moves freely. If stuck, gently push it down to release any blockage.
-
Use the “Lid Push” Trick: If steam escapes during pressurization, lightly press the lid handles for a few seconds to help the valve seal properly.
Step 4: Adjust Liquid Levels: Steam generation depends on proper liquid ratios.
-
Minimum Liquid: Always add at least 1 cup (8 oz) of thin liquid such as water or broth.
-
Avoid Thickeners: Ingredients like flour, cornstarch, or thick sauces should be added after pressure cooking, as they inhibit steam formation.
By systematically checking these components, you can resolve most pressure-related issues and restore your cooker’s performance without needing professional pressure cooker repair.
Explore how to troubleshoot a crock-pot pressure cooker like a pro, which covers common issues, quick diagnostics, and practical fixes to restore proper performance.
How to Resolve Heating and Power-Related Errors in Crock Pot Pressure Cookers
Heating and power-related errors in Crock Pot pressure cookers can interrupt cooking cycles and lead to undercooked meals or complete shutdowns. These issues are often caused by electrical faults, faulty components, or improper usage. Addressing them step by step helps restore consistent performance and ensures safe operation.
Step 1: Perform a Hard Reset: Electronic glitches can cause false error codes, so unplug the unit and wait 30–60 seconds to allow the system to reset. This process clears the internal control board memory and can eliminate “ghost” errors like E1 or E2.
Step 2: Inspect the Power Connection: Since power interruptions are often external, ensure the cable is securely connected to both the cooker and the outlet. If the issue persists, test the unit with a different socket—preferably on another circuit—to rule out a tripped breaker.
Step 3: Address the “Burn” or E6 Overheating Error: The E6 code indicates excessive bottom heat or poor heat distribution, often caused by stuck-on food or insufficient liquid. After using sauté mode, deglaze the pot by scraping off any residue before pressure cooking. If the contents are thick (such as chili or stew), add at least ½ cup of thin liquid like water to support steam generation and prevent scorching.
Step 4: Clean the Heating Element: Debris can interfere with accurate temperature sensing, so ensure the heating plate inside the unit is clean and completely dry. Always wipe the exterior bottom of the stainless steel pot (or slow cooker inner pot) before reinserting it to maintain proper contact and performance.
By addressing these electrical and thermal factors, you can resolve most heating and power-related errors and ensure consistent, safe operation of your pressure cooker.
Cleaning and Maintenance Tips to Prevent Errors in Crock Pot Pressure Cookers
Regular cleaning and maintenance are essential to keep your Crock Pot pressure cooker running efficiently and to prevent common errors. Food residue, clogged valves, and worn components can lead to pressure issues, heating failures, or error codes. A consistent care routine helps extend the lifespan of your cooker and ensures safe, reliable performance.
-
Deep Clean the Sealing Ring: Remove the silicone gasket after each use to prevent buildup that can interfere with proper sealing. Wash it thoroughly with warm, soapy water or place it on the top rack of the dishwasher for convenient cleaning. Keeping the sealing ring clean helps avoid residue accumulation, which is a common cause of E3 (lid/seal) errors and ensures consistent pressure performance.
-
Clear the Steam Vent: Detach the steam release valve periodically and inspect it for any food debris or buildup. Use a small brush or toothpick to clear blockages in the vent pipe, ensuring steam can flow freely. Keeping the vent clean supports proper pressure regulation and helps prevent steam-related faults during cooking.
-
Scrub the Heating Plate: Inspect the base heating element regularly for burnt food residue or moisture. Wipe it clean using a dry or slightly damp cloth, making sure the unit is unplugged before cleaning. Maintaining a clean heating plate ensures accurate temperature readings and helps prevent E1 and E6 errors.
-
Inspect the Float Valve: Gently press the float valve pin to ensure it moves smoothly without sticking. If resistance is present, clean around the silicone cap on the underside of the lid to remove any debris. A properly functioning float valve is essential for correct sealing and pressure detection.
-
Dry Everything Thoroughly: Always ensure the inner pot, lid, and base are completely dry before reassembling or storing the unit. Proper drying prevents moisture from interfering with internal sensors and electrical components, reducing the risk of unexpected errors.
Consistent cleaning and inspection not only extend the lifespan of your cooker but also significantly reduce the likelihood of recurring error codes.
When to Seek Professional Crock Pot Pressure Cooker Repair or Replacement
While many Crock-Pot issues can be resolved with basic troubleshooting, some problems indicate deeper mechanical or electrical failures that may require pressure cooker replacement parts. Recognizing these warning signs early helps prevent safety risks and costly damage. The table below outlines key situations where professional repair or replacement is the safest option.
|
Situation |
What It Means |
Recommended Action |
|
Unit not powering on |
Electrical failure, faulty cord, or internal circuit issue |
Check the power source first; if unresolved, seek professional repair |
|
The lid won’t seal properly |
Worn-out sealing ring or lid misalignment |
Replace the sealing ring; if the problem persists, consult a technician |
|
Pressure not building |
Blocked valve, gasket issue, or sensor malfunction |
Clean valves and gaskets. If still faulty, get expert inspection |
|
Steam leaking excessively |
Damaged gasket or pressure valve |
Replace minor parts; for continued leaks, opt for professional repair |
|
Error codes on display |
Internal sensor or control board issue |
Refer to the manual; repeated errors require expert servicing |
|
Burning smell or overheating |
Electrical or internal component damage |
Stop using it immediately and seek professional repair |
|
Food undercooked or unevenly cooked |
Pressure inconsistency or heating element issue |
Check settings; if frequent, consider repair or replacement |
|
Unusual noises during operation |
Pressure imbalance or mechanical fault |
If persistent, have it checked by a technician |
|
Frequent tripping of the circuit breaker |
Electrical short or faulty wiring |
Avoid usage and consult a professional immediately |
|
Older unit with repeated issues |
Wear and tear over time |
Replacement is often more cost-effective than repeated repairs |
This table format improves readability and helps users quickly identify when professional repair or replacement is necessary.
Summary: Keep Your Crock Pressure Cooker Pot Running Like New
Keeping your Crock-Pot in top condition is simple when you understand common error codes and follow basic maintenance practices. Most issues, from E1 to E6, can be resolved quickly with proper troubleshooting. Consistent care—like ensuring correct sealing, maintaining cleanliness, and using adequate liquid—prevents recurring problems. By following a few essential habits, you can extend the lifespan of your pressure cooker and enjoy reliable, hassle-free cooking every time.
Key Takeaways
-
Select proper sealing by ensuring the gasket is correctly fitted, and the steam release valve is set to “Seal” before starting.
-
Regular cleaning of the heating plate and float valve helps prevent common sensor and pressure-related errors.
-
Maintaining at least 8 oz of thin liquid is essential for proper steam generation and pressure buildup.
-
Routine inspection of lid alignment and gasket condition ensures consistent sealing and safe operation.
-
Checking power connections and performing resets can quickly resolve most electrical or display issues.
-
Addressing minor faults early helps avoid major repairs, extending the lifespan of your pressure cooker.
FAQs
Why is my Crock Pot pressure cooker showing an error code?
Error codes like E1 through E6 are built-in safety alerts triggered by your Crock-Pot unit’s sensors. They typically indicate specific issues such as an improperly sealed lid, low liquid levels, or a malfunctioning temperature sensor.
How do I reset my Crock Pot pressure cooker?
To perform a hard reset, unplug the cooker from the wall outlet and wait 30–60 seconds before plugging it back in. This process clears the internal memory and often resolves temporary or “ghost” error codes.
What causes pressure not to build in a Crock Pot cooker?
The most common causes are insufficient liquid (at least 8 oz of thin liquid like water or broth is required) or a stuck float valve. Thick ingredients such as cream or cornstarch can also prevent proper steam formation.
Why is steam leaking from my pressure cooker lid?
Steam leakage usually occurs when the sealing ring is dirty, worn out, or incorrectly positioned. Make sure the gasket is properly seated behind the retainer and that the steam release valve is set to the “Seal” position.
When should I replace my Crock Pot pressure cooker?
You should consider replacement if there are signs of structural damage, exposed wiring, or if critical error codes persist even after troubleshooting. In many cases, replacing an older unit is more cost-effective than repairing it.
| Disclaimer: This guide is for informational purposes only and does not replace professional repair advice. |
-
 CROCK POT 7110050100064 Slow Cooker Kitchenware Stoneware-5 QuartsSpecial Price $58.43 Regular Price $64.31
 -
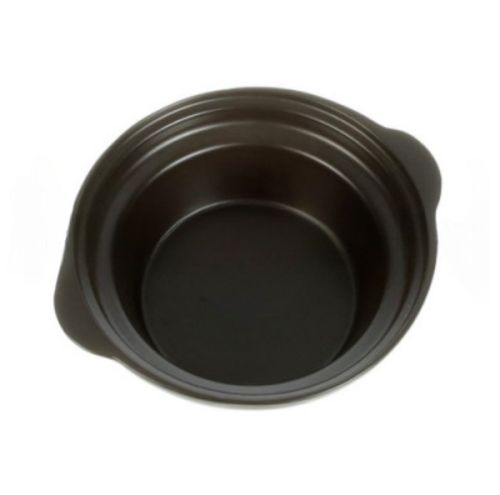
 CROCK POT 187660000000 Slow Cooker Inner Pot W/HandlesSpecial Price $83.39 Regular Price $109.28
 -
 Crock Pot 193526000000 Pressure Multicooker Steam Release Lid AssemblySpecial Price $49.00 Regular Price $50.00
 -
 Crock Pot 170757000000 Slow Cooker Autostir Motor AssemblySpecial Price $37.11 Regular Price $40.85
 -
 CROCK POT 193527000000 Cooking PotSpecial Price $45.59 Regular Price $50.18