How Long to Preheat Oven for Baking, Roasting, and Grilling
Preheating the oven is an essential step in homes that ensures food cooks evenly and achieves the right texture and flavor. It helps baked goods rise properly, gives roasted dishes better browning, and supports consistent heat for grilling. Without proper preheating, results can turn uneven, with undercooked centers or dry, overdone edges. This small waiting period plays a big role in overall cooking success and should never be skipped. Proper preheating can improve cooking consistency in nearly 70–80% of baking and roasting results.
The required time depends on the cooking method and temperature setting. Baking, roasting, and grilling each need a fully stabilized oven heat for best results, making proper preheating a key part of reliable cooking in homes.
Why Preheating Your Oven Matters for Perfect Cooking Results
Preheating is not just about reaching a temperature; it is about stabilizing the oven’s internal environment so heat, airflow, and surface reactions behave predictably. This stability directly affects how ingredients transform during cooking and baking. Here’s how preheating improves results:
-
Food Safety and Bacterial Control: Preheating reduces time spent in the microbial growth “danger zone” (4°C–60°C / 40°F–140°F), where bacteria like Salmonella can multiply rapidly, often doubling in about 20 minutes under ideal conditions. Bringing food quickly into safe cooking temperatures lowers this risk significantly.
-
Accurate Cooking Times: Recipe timing assumes the oven is already at a stable target temperature. If skipped, food spends extra time in the warm-up phase instead of actual cooking, leading to unreliable doneness, moisture loss, and inconsistent results.
-
Even Cooking: Cold-start ovens often heat unevenly, typically from bottom elements first, creating a vertical heat imbalance. This can cause the base of food to cook faster than the top, especially in layered dishes and baked goods.
-
Proper Rise and Texture: Baking depends on rapid heat to activate leavening agents and steam expansion in dough. Yeast activity and gas expansion are temperature-sensitive, and delayed heating reduces rise efficiency, leading to dense bread or flat baked goods.
-
Preventing Excessive Spreading: In cookies and cakes, the structure must set before the fats fully melt. Butter begins melting at ~32–35°C (90–95°F), while structural proteins require higher heat to set. Without preheating, early fat melting causes spreading and loss of shape.
-
Crunchy vs. Soft Texture: High initial heat triggers surface dehydration and browning reactions (Maillard reaction typically begins around ~140°C / 285°F). Without preheating, excess moisture turns to steam, resulting in soft or soggy textures instead of crisp finishes in roasted or baked foods.
Looking to repair your oven? Shop home and kitchen appliance parts at HnK Parts for precision-fit components for stoves & ovens, including heating elements, sensors, ignition systems, control boards, door seals, and switches from trusted brands like GE, Whirlpool, Samsung, LG, and Bosch, delivered directly to your door.
How Long to Preheat Oven Based on Cooking Methods
Preheating time depends on the type of dish and the temperature needed for proper cooking. Different cooking methods require the oven to reach and stabilize at specific heat levels for best results, which vary based on the cooking method used.
1. Baking: Baking depends on gentle, even heat distribution. Proper preheating ensures full heat saturation, helping batter and dough set structure evenly and trap air for proper rise without collapse or uneven texture.
- Temperature: 160°C to 180°C
- Average preheating time: 10 to 15 minutes
- Use case for home cooking: Cakes, cookies, muffins, sponge breads, cupcakes, brownies, pastries, biscuits, and soft breads
Modes include:
- Convection baking (fan-assisted baking for faster and even heat distribution)
- Reheating / warming mode (low heat stabilization for gently warming food)
Best practice: Wait until the oven fully stabilizes before baking this simple step ensures soft, well-risen, evenly textured results every time.
2. Roasting: Roasting requires sustained high heat for caramelization and surface browning. A fully preheated oven ensures food starts searing immediately instead of releasing moisture and steaming.
- Temperature: 180°C to 220°C
- Average preheating time: 15 to 20 minutes
- Use case for home cooking: Meat, poultry, whole chicken, mutton, fish, root vegetables, potatoes, carrots, paneer dishes, baked casseroles, and stuffed vegetables
Best practice: Always roast in a fully heated oven to lock in juices and achieve a golden, restaurant-style crisp exterior.
3. Grilling / Broiling: This method uses direct radiant heat from the top element, so the oven must be fully preheated to ensure instant high heat exposure, allowing fast browning and proper surface cooking without drying the food inside.
- Temperature: 220°C to 250°C (or Broil mode)
- Average preheating time: 10 to 20 minutes
- Use case for home cooking: Kebabs, paneer tikka, grilled chicken, sandwiches, garlic bread, cheese toppings, pizzas, naan, flatbreads, toasted snacks, and quick-melting dishes
Modes include:
- Pizza / high-heat baking mode (strong bottom heat for crisp base and fast cooking)
- Slow cooking / low-temperature mode (gentle heat stabilization for delicate cooking or warming)
Best practice: Never skip full preheating in broil mode, as weak initial heat can result in slow browning and loss of moisture balance.
Factors That Affect Oven Preheating Time
Oven preheating time can vary depending on several physical and operational conditions. These factors influence how quickly the oven reaches a stable and even cooking temperature.
-
Cooking mode: Baking, roasting, grilling, and convection modes all require different heat distribution patterns and stabilization times.
-
Oven size and capacity: Larger ovens take longer to heat because more internal space must reach a uniform temperature.
-
Thermal mass: Racks, trays, and internal walls absorb heat before the air stabilizes.
-
Door usage: Opening the door during preheating causes heat loss and increases preheat time.
-
Seal condition: Worn or loose door seals allow heat to escape, slowing the process.
-
Voltage or gas supply stability: Inconsistent power or gas flow can reduce heating efficiency.
-
Initial oven temperature: A cold oven takes longer to preheat compared to a recently used warm oven.
-
Moisture inside the oven: Humidity or leftover moisture can delay the temperature rise as energy is used for evaporation.
Explore different types of ovens, their features, and benefits to help you choose the right one for your kitchen.
Tips to Preheat Your Oven Faster and More Efficiently
Efficient preheating helps reduce waiting time and ensures better cooking consistency. Small adjustments in usage and setup can help your oven reach the desired temperature more quickly and evenly. Let’s look at tips to improve preheating efficiency:
Gas Oven Tips
-
Ignition cycle stabilization: Allow the flame to settle fully after ignition before opening or adjusting settings, as early fluctuations slow chamber stabilization.
-
Keep burner ports clean: Partially blocked gas ports create uneven flame spread, delaying uniform heat rise.
-
Avoid frequent door checks: Opening the door disrupts convection-based heating more strongly in gas ovens than in electric ones.
-
Use reflective cookware surfaces wisely: Shiny trays can redirect radiant heat upward, slightly improving early cavity warming.
-
Ensure proper air intake flow: Gas ovens rely on balanced oxygen flow; restricted ventilation near the base can slow combustion efficiency.
Electric Oven Tips
-
Let element reach full glow cycle: Avoid loading items before the heating coil completes its first full expansion cycle.
-
Reduce internal thermal mass: Remove unused trays and heavy stoneware that absorb early electrical heat energy.
-
Preheat in “closed stability window”: Keep the door sealed for the first few minutes to allow sensor-driven cycles to stabilize faster.
-
Use residual warmth strategy: If used recently, start preheating while internal components are still warm for reduced ramp-up time.
-
Check gasket compression regularly: Electric ovens lose more efficiency through small seal gaps due to longer heat retention phases.
Summary: Get Perfect Results by Mastering Oven Preheating Times
Consistent cooking results depend on how predictably your oven transitions from cold start to thermal stability, not just the target temperature itself. Most performance differences come from subtle internal heat behavior that isn’t visible on the display. Once you understand these hidden dynamics, timing becomes far more reliable.
Key Takeaways
-
Preheating is influenced more by thermal stabilization cycles than by final temperature alone.
-
Internal heat “settling phases” often matter more than the heating phase itself.
-
Early-stage energy loss (door micro-leaks, sensor lag) has a compounding effect on timing.
-
Heat absorption by internal materials can temporarily “mask” actual achieved temperature.
-
Control system logic may intentionally delay stabilization for safety and consistency.
-
Perceived readiness and actual uniform heat distribution often do not occur at the same time.
FAQs
How long does it take to preheat the oven to 180°C?
On average, it takes 10 to 15 minutes for most ovens to reach 180°C. Convection ovens may take slightly less time, while larger or older ovens may take longer.
Do you really need to preheat the oven before baking?
Yes, preheating is essential for baking. It ensures proper rising, texture, and even cooking. Skipping this step can lead to dense or undercooked baked goods.
How do I know when my oven is fully preheated?
Most modern ovens have an indicator light or beep when preheating is complete. For accuracy, you can use an oven thermometer to confirm the temperature.
Can you put food in the oven while it is preheating?
It depends on the recipe. Baking and roasting typically require preheating, but some dishes like casseroles can start in a cold oven. Always follow recipe instructions.
| Disclaimer: The information provided is for general educational purposes only. Oven performance and preheating times may vary by brand, condition, and home usage. |
-
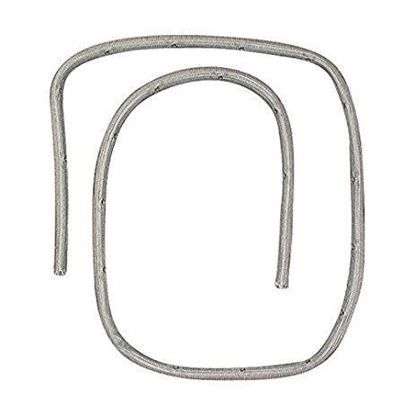 Frigidaire 5303131601 Range Oven Door SealSpecial Price $180.72 Regular Price $273.99
 -
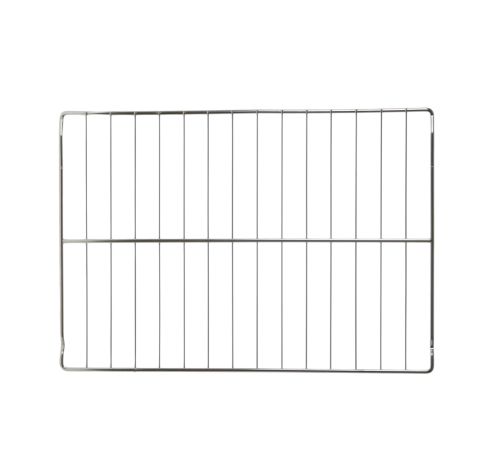 General Electric WB48X5099 Oven RackSpecial Price $35.54 Regular Price $49.74
 -
 Broan SR99360246 Range Hood Control KnobSpecial Price $34.80 Regular Price $43.20