How to Install a Gas Grill Connector: a Step-By-Step Guide
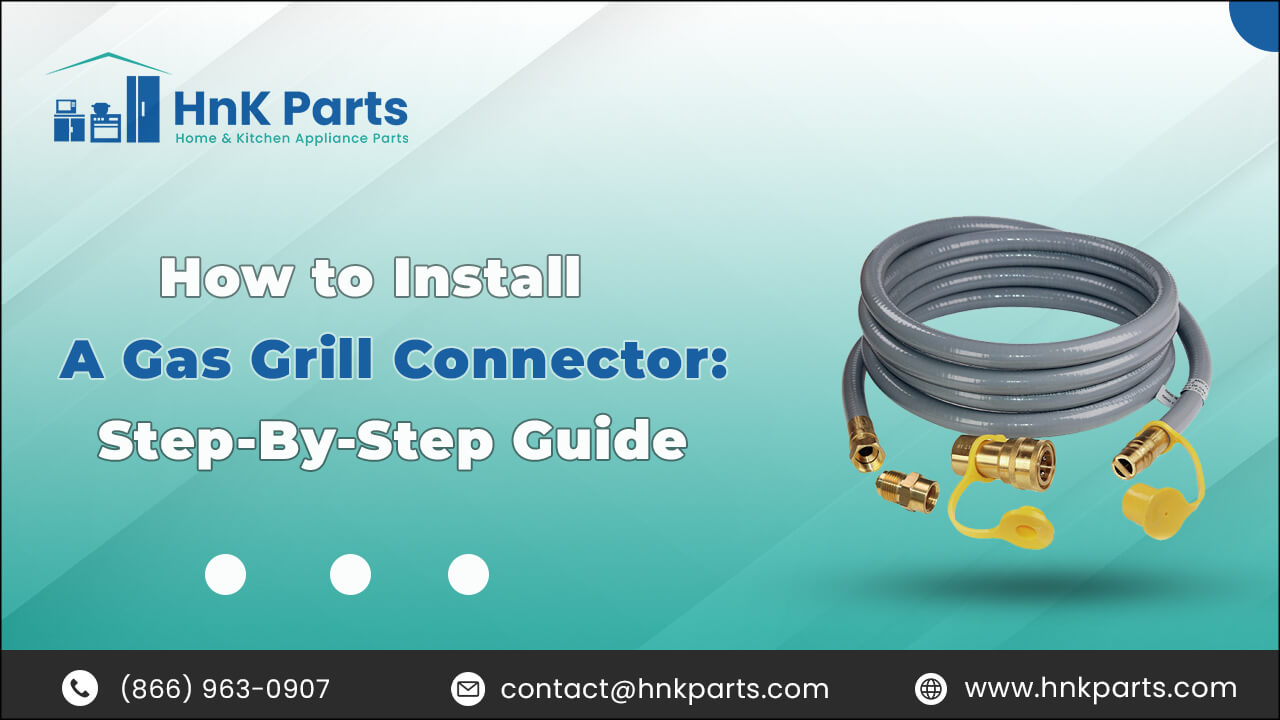
Installing a gas grill connector is a crucial step in setting up your gas grill for safe and efficient use. It ensures a secure connection between the grill and the gas supply, which is essential for proper functioning and safety. Proper installation minimizes the risk of gas leaks, which could lead to fire hazards or health risks. A correctly installed connector ensures a consistent and reliable gas supply to your commercial grills, optimizing their performance. Following the installation instructions is essential to meeting safety standards and manufacturer guidelines, and maintaining warranty coverage.
|
Table of contents: |
What materials and tools are required to install a gas grill connector?
Materials required for installing a gas grill connector
|
Material |
Purpose |
|
Essential component to connect the gas supply line to the grill. Ensure compatibility with your grill and the type of gas (propane or natural gas) you are using. |
|
|
Thread sealant tape |
Used to create a tight, leak-proof seal between threaded connections, preventing gas leaks. |
|
Adjustable wrench |
Necessary for tightening and securing the fittings and connectors securely in place. |
|
Leak detection solution |
A mixture of water and soap was used to check for gas leaks after installation. Bubbles will form if there's a leak, indicating the need for further tightening or adjustments. |
|
gloves |
Protection for your hands during the installation process, particularly when handling metal components or working with tools. |
Tips for selecting the right connector for your gas grill
- Type of gas: Determine whether you are using propane or natural gas, and select a connector designed for that specific type of gas.
- Size and length: Ensure that the connector's size and length match the requirements of your connector grill and the gas source.
- Material: Choose a gas connector for grill made of durable, corrosion-resistant materials such as stainless steel.
- Safety Certification: Look for gas connector for grill from relevant safety organizations to ensure they meet industry standards.
- Compatibility: Check that the connector is compatible with your grill model and the gas supply system in your home.
Know more about: A Comprehensive Guide To The Essential Parts Of A Stove
What are the preparation steps required before installing a gas grill connector?
- Check connector compatibility: Verify that the gas grill connectors are compatible with your specific grill model and the type of gas (propane or natural gas) you intend to use.
- Turn off gas supply: Before beginning the installation process, ensure to turn off the gas supply at the main shut-off valve. This step is crucial for safety and prevents gas leaks during the installation.
- Inspect the area: Examine the area where you will be installing the gas grill connector. Ensure there are no sources of ignition nearby and there is sufficient space to work comfortably.
- Gather tools and materials: Collect all the necessary tools and materials required for the installation, including the gas grill connector, thread sealant tape, adjustable wrench, leak detection solution, and gloves.
Installation process of gas grill connector
Here is a step-by-step guide for gas grill installation:
- Prepare the area: Make sure the area is well-ventilated with no sources of ignition nearby.
- Remove the old connector: Use an adjustable wrench to disconnect the old gas grill connector from both the grill and the gas supply.
- Prepare the new connector: Apply thread sealant tape (Teflon tape) to the threaded ends of the new gas grill connector.
- Connect the gas grill: Connect the tip of the gas grill to quick connect gas line and tighten it securely with the flexible wrench.
- Connect to the grill: Attach the other end of the connector to the gas inlet on the grill, tightening it securely as well.
- Ensure tight seals: Double-check that both connections are tight and secure to prevent gas leaks.
- Check for leaks: Combine water and dish soap to make a leak-detecting solution. Apply the solution to the connection sites and look for any bubbles, which indicate a gas leak. If there is a leak, tighten the connectors further.
- Test the grill: Once you've confirmed there are no leaks, switch on the gas and check the grill to ensure it burns and works properly.
- Final checks: Conduct a final visual inspection to make sure all quick-connect gas fitting connections are secure and there are no signs of leaks.
Checkout: How Much Does a Stove or Oven Cost?
Safety measures and troubleshooting tips for installing a gas grill connector?
Safety measures
|
Safety measure |
Description |
|
Ventilation |
Ensure proper ventilation during gas grill operation to prevent gas fume buildup. |
|
Gas smell |
If a gas smell is detected after installation, Turn off the gas immediately, escape the area, and seek professional help. |
|
Regular inspections |
Conduct periodic inspections of the gas grill connector and grill gas regulator for signs of wear, corrosion, or leaks to uphold safety standards. |
Refer: How to Clean Glass Stove Top: Ultimate Guide
Tips for safely operating the gas grill post-installation
- Follow Instructions: Follow the manufacturer's instructions for operating and maintaining your gas barbecue.
- Keep Flammable Items Away: Maintain a safe distance between the grill and any flammable materials to prevent accidents.
- Regular Cleaning: Regularly clean and change the gas grill parts replacement to avoid grease buildup, which can cause a fire.
Common installation issues and how to resolve them
|
Installation Issue |
Resolution |
|
Gas leaks |
If a gas leak is detected, switch off the gas connection., ventilate the area, and tighten the connections. If the issue persists, seek professional assistance. |
|
Compatibility problems |
Ensure compatibility by verifying the gas grill connector's specifications match your grill and gas source before installation. |
|
Thread sealant errors |
Apply Teflon tape properly to threaded connections to establish a secure fit. |
Maintenance of gas grill connector
Wipe down the gas grill connector to remove dirt, grease, and debris that can cause corrosion or damage. Periodically check the connector for signs of wear, corrosion, or leaks. Replace any damaged parts immediately. To prevent gas leaks while in operation, ensure that all interconnections are tightly fastened. When handling the natural gas grill connector, use appropriate tools, such as an adjustable wrench, to avoid damaging the fittings.
Look for any indications of wear or leakage on the gas grill hookup. Apply the leak-detecting solutions to the connectors to check for gas leaks. Tighten any loose fittings as necessary. Remove the connector, properly inspect it, and clean it to ensure peak performance. Consider replacing the natural gas connectors for grills if they show two indicators of wear or deterioration for safety and efficiency. You can buy grill connectors from HnKParts, where we provide the best quality stove oven parts, gas grill parts, and accessories for your stove. We offer parts for various stove brands that are readily available for shipping.
FAQs
How often should I change the commercial gas grill connector?
It is advised that you repair your gas grill connector every 5 years as a preventive maintenance precaution.
What indicators indicate that my gas grill connector needs to be replaced?
Visible corrosion, wear and tear, cracks, fraying, or gas leaks while in operation are all warning signs.
How do I know if my gas grill connector is leaking, and what should I do about it?
To identify a leak, apply a leak detection solution to connection points and look for bubbles. If there is a leak, immediately turn off the gas supply, ventilate the area, and tighten the connections. If the problem persists, seek expert assistance.
What should I do if I smell gas after installing a new gas grill connector?
If you smell gas after installation, immediately turn off the gas supply, evacuate the area, and contact a professional for assistance.

