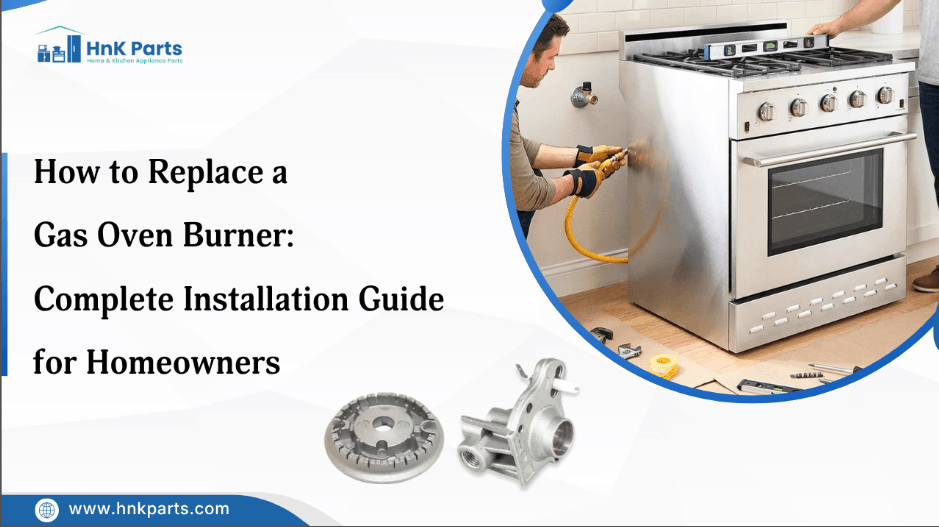
How to Replace a Gas Oven Burner: Complete Installation Guide for Homeowners
Gas oven burners are essential for producing the steady heat needed for baking, roasting, and everyday cooking. When a burner becomes damaged, clogged, or fails to ignite properly, replacing it can help restore consistent oven performance. Understanding the replacement process can also help homeowners identify the right burner and prepare for installation.
Replacing a gas oven burner helps restore proper heating and cooking performance when the original burner becomes faulty or worn. This guide covers the essential steps, required tools, installation checks, and key considerations for replacing a gas oven burner.
Understanding the Gas Oven Burner and How It Works
A gas oven burner is the component that converts fuel into heat for cooking. Gas flows through the burner assembly, mixes with air, and ignites to produce a controlled flame. The resulting heat warms the oven cavity and helps maintain the selected cooking temperature.
How a Gas Oven Burner Works
- Gas Flow: The oven control allows gas to reach the burner when heat is required.
- Air Mixing: Gas combines with air to support proper combustion.
- Ignition: The igniter or ignition system starts the gas-air mixture.
- Heat Production: The burner flame generates heat inside the oven cavity.
- Temperature Control: The oven cycles the burner to maintain the selected temperature.
A gas burner stove with electric oven provides flexible cooking by combining quick stovetop heat with consistent electric oven performance.
Inspecting oven parts regularly prevents unexpected cooking issues. Early checks can identify worn components before they affect performance.
Signs Your Gas Oven Burner Needs Replacement
Gas oven burner issues can appear through subtle heating changes and physical wear before the burner stops working completely. Watch for these signs:
- Delayed Ignition: Taking longer than usual to ignite or repeatedly failing to light can indicate a burner problem.
- Burner Fails to Ignite: The gas oven burner does not light when the oven calls for heat.
- Weak Burner Flame: The burner produces a noticeably weak flame, reducing its heating output.
- Uneven Burner Flame: The gas oven burner produces an uneven flame instead of consistent heat across the burner.
- Burner Flame Cuts Out: The burner repeatedly loses its flame during the heating cycle.
- Slow Burner Ignition: A gas oven burner that takes too long to light may need replacement.
Experiencing oven problems? Find high-quality home and kitchen appliance parts at HnK Parts. Shop oven replacement parts such as burners, heating elements, control boards, igniters, sensors, door seals, switches, and more for leading brands like Miele, GE, Whirlpool, Samsung, LG, and Wolf, with fast shipping straight to your doorstep.
How to Replace a Gas Oven Burner Step by Step
Replacing a gas oven burner requires careful removal of the existing burner and proper installation of the replacement. Follow these steps:
Tools Needed
- Replacement gas oven burner
- Screwdriver set
- Nut driver
- Adjustable wrench
- Work gloves
- Flashlight
Step 1: Turn Off the Gas and Power
Shut off the gas supply to the oven and disconnect the electrical power before beginning the replacement.
Step 2: Remove the Oven Racks
Take out the oven racks to create clear access to the burner assembly.
Step 3: Remove the Bottom Oven Panel
Remove the screws securing the bottom panel and lift it out to expose the gas oven burner.
Step 4: Disconnect the Old Burner
Locate the burner mounting screws and carefully disconnect the burner from its connection point.
Step 5: Install the Rebplacement Burner
Position the new gas oven burner correctly and secure it using the appropriate mounting hardware.
Step 6: Reassemble the Oven
Replace the bottom panel and reinstall the oven racks after confirming that the burner is properly positioned.
Step 7: Restore Power and Gas
Reconnect the electrical supply and restore the gas supply once the installation is complete.
Safety Note: If you smell gas, stop the installation, avoid flames or electrical switches, and leave the area. Gas-line connections should be handled by a qualified professional.
Check out common oven thermostat problems and how to fix them.
How to Test the Gas Oven Burner After Installation
Gas oven burner test helps verify correct ignition, consistent flame, and proper heat output. Here are the key checks:
- Ignition Response: Check whether the burner ignites promptly when the oven begins a heating cycle.
- Flame Coverage: Observe whether the flame extends consistently across the burner rather than concentrating in one section.
- Burner Cycling: Watch how the burner responds when the oven cycles between heating and maintaining temperature.
- Heat Recovery: After the burner cycles off, check whether it resumes heating normally when additional heat is required.
- Temperature Stability: Monitor whether the oven maintains the selected temperature without excessive heating fluctuations.
- Burner Position: Confirm that the burner remains correctly aligned and securely mounted after operating through a complete heating cycle.
Installation Reminder: Stop testing if you detect gas, unusual noises, or abnormal burner behavior, and contact a qualified technician.
Watch how to use an oven in 6 quick and easy steps to learn how to set the temperature, choose a cooking mode, and use the oven effectively.
Summary: Complete Your Gas Oven Burner Replacement With Confidence
A successful gas oven burner replacement depends on more than fitting a new component; burner alignment, ignition response, heat delivery, and operating consistency all matter. Checking these details after installation can help confirm that the replacement integrates correctly with the oven’s heating cycle.
Key Takeaways:
- Compare the new burner with the original configuration.
- Check burner alignment before securing mounting hardware.
- Pay attention to ignition timing after installation.
- Observe burner operation across multiple heating cycles.
- Confirm consistent heat delivery inside the oven cavity.
- Recheck mounting stability after the first heating cycle.
FAQs
How do I know if my gas oven burner needs replacement?
Signs can include slow ignition, inconsistent burner operation, poor heat output, or visible damage to the burner.
What tools are needed to replace a gas oven burner?
Common tools include a screwdriver set, nut driver, adjustable wrench, work gloves, flashlight, and the correct replacement burner.
How do I remove an old gas oven burner?
Turn off the gas and power, remove the oven components blocking access, loosen the mounting hardware, and carefully disconnect the old burner.
How do I install a new gas oven burner?
Position the replacement burner correctly, secure it with the proper hardware, reconnect the necessary components, and reassemble the oven.
Why is my new gas oven burner not lighting?
Possible causes include incorrect burner installation, ignition problems, blocked burner openings, or an issue with the gas supply.
| Disclaimer: Gas oven burner replacement procedures may vary depending on the oven model, fuel type, burner design, and component configuration. Improper installation can affect burner performance and gas flow. |
-
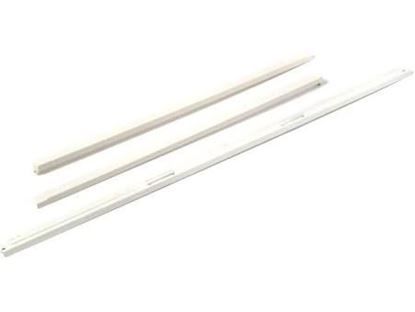 Whirlpool 8184860 Range Door TrimSpecial Price $67.05 Regular Price $93.82
 -
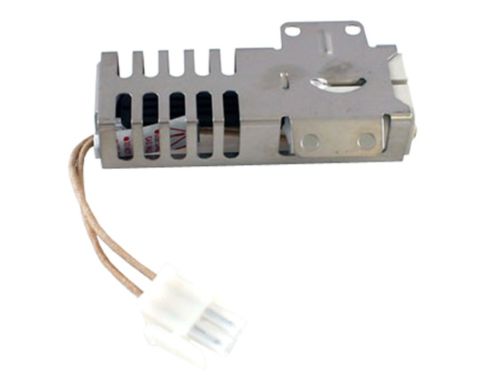 General Electric WB13K21 Range Oven Ignitor 3-3/4" 7" leadsSpecial Price $23.98 Regular Price $67.08
 -
 General Electric WB2K5319 Range Oven Door GasketSpecial Price $141.16 Regular Price $160.22
 -
 General Electric WB2X1522 Range Oven Silicon Door Gasket 66"Special Price $77.77 Regular Price $122.78