Special Price
$77.77
Regular Price
$122.78
Out of stock
Available Quantity:
0
SKU
WB2X1522
The 
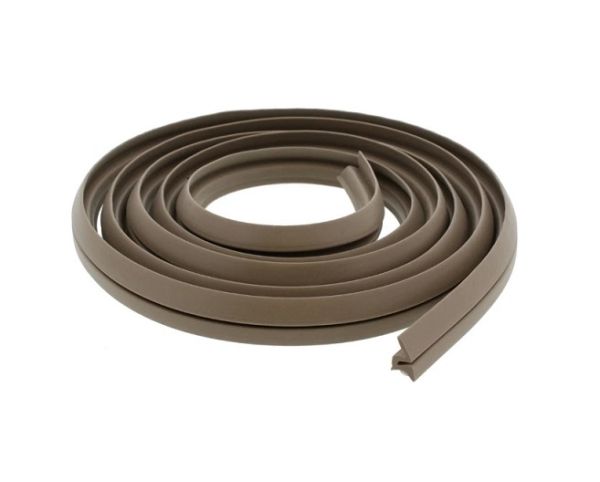
General Electric WB2X1522 Range Oven Silicon Door Gasket 66" covers the door of the oven to ensure there is adequate sealing of the temperature inside. This is mainly used to keep the heat inside and to make sure that cooking is done efficiently and that the oven functions as per the expectation. The mechanism is made up of a flexible heat resistant silicone strip, which compresses against the door frame forming an airtight seal. It can be installed around the edges of the door of the oven and fits into the channel that is provided on the edges.
Manufacturer
✓ This Product Replaces:
WB2X8123, WB2X1059, WB2X1142, WB2X1643, WB2X1869, WB2X2859, WB2X3246, WB2X742, WB2X6956, WB02X8123, WB02X0742, WB02X1059, WB02X1142, WB02X1643, WB02X1869
This Part Fits the Following Models (443)
GE JGHP66GEN7 Gas Range
GE JGAS02PN6 Free Standing Gas Range
GE JGAS02PN7 Free Standing Gas Range
GE JGAS02PN8 Free Standing Gas Range
GE JGAS02PN9 Gas Range
GE JGAS02EN8 Free Standing Gas Range
GE RB525V3 Electric Range
GE RB525-F2 Electric Range
GE RB525-R1 Electric Range
GE RB525-R2 Electric Range
GE JSS26-05 Electric Range
GE JSS26-J3 Electric Range
GE JSS26-J2 Electric Range
GE JSS26-J1 Electric Range
GE JSS26-J4 Electric Range
Showing 1-15
of 443
| Manufacturer Name: General Electric Product Number: WB2X1522 OEM Part Number: WB2X1522 Product Description: Silicone Oven Door Gasket |
Choose the best Home Appliance parts and supplies from HnKParts!
Same Day Shipping
Best Quality And Best Price
Wide Range of Inventory
Best Customer Service
Have More Questions or Need Help to Place The Order?
Reach us at (866)723-0907 or [email protected]
Write Your Own Review
Customer Questions
Installation Steps
Step1: Disconnect power and ensure oven is cool to prevent burns.
Step2: Remove old gasket by pulling from retaining channel or clips.
Step3: Clean door groove thoroughly to remove debris and grease.
Step4: Align new gasket evenly and press firmly into channel around door.
Step5: Restore power and check door seal; ensure no gaps remain for heat efficiency.
Step6: Wear gloves during installation to avoid cuts from metal edges.
