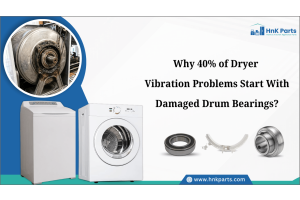
Why 40% of Dryer Vibration Problems Start With Damaged Drum Bearings?
Drum bearings are designed to support the dryer drum and allow it to spin smoothly without excessive friction or noise. As these components age, they may crack, loosen, or wear out due to heat, heavy loads, and continuous operation. Even minor bearing damage can affect the dryer’s overall stability.
Nearly 40% of dryer vibration problems can be traced back to failing drum bearings in both front-load and top-load models. Common symptoms include rattling noises, shaking during cycles, and uneven drum rotation. Recognizing these signs early can help homeowners avoid serious appliance damage and maintain efficient dryer operation.
Understanding the Role of Drum Bearings in Dryer Performance
Drum bearings are essential for stable and smooth dryer operation. They support the drum, reduce friction, and keep rotation balanced during each cycle. When they wear out, the dryer starts showing clear performance issues. Below are the key roles of drum bearings in a dryer:
- Stable Drum Rotation: Drum bearings keep the drum rotating evenly at all speeds, preventing imbalance during operation.
- Low Friction Movement: They reduce resistance between moving parts so the drum spins with minimal effort.
- Consistent Motor Operation: Bearings help the motor maintain steady speed by reducing uneven load pressure.
- Controlled Drum Alignment: They ensure the drum stays centered during rotation for smooth cycle execution.
- Balanced Load Handling: Bearings support even distribution of weight inside the drum during spinning.
- Smooth Cycle Execution: They enable all drying cycles to run uninterrupted, eliminating mechanical resistance or drag.
Warning Signs of Damaged Dryer Drum Bearings
Damaged drum bearings usually show visible issues during everyday use rather than sudden failure. Symptoms often start small and gradually worsen if ignored. These problems can appear in both front-load and top-load dryers, though they may show slightly different signs depending on the design. Here are the common warning signs of damaged drum bearings.
|
Signs |
Estimated Frequency of Occurrence |
Parts Affected |
|
Grinding or rumbling noise during drum rotation |
88% |
Drum bearings, drum shaft, rear support system |
|
Squeaking sound even when turning the drum by hand |
74% |
Drum bearings, lubrication layer, drum support rollers |
|
Vibration or shaking that gets worse with heavier loads |
79% |
Drum bearings, motor mounts, suspension system |
|
Scraping or metal-like rubbing sound |
58% |
Drum edges, bearing housing, inner drum support |
|
Noise gradually increasing over time |
86% |
Drum bearings, motor load system |
|
Drum feels rough or stiff when rotated manually |
63% |
Drum bearings, shaft alignment, support rollers |
|
Occasional burning or friction smell in severe cases |
37% |
Drum bearings, motor system, belt tension area |
Let’s Look at Dryer Drum Bearing Warning Signs in Detail:
Sign 1: Grinding or Rumbling Noise During Drum Rotation
This appears as a deep, rough sound while the dryer runs, caused by metal parts losing smooth contact. The noise usually increases as the cycle continues.
Sign 2: Squeaking Sound Even When Turning the Drum By Hand
A high-pitched squeak is heard while rotating the drum manually, indicating dryness or wear on the bearing surface. It may also occur even when the dryer is switched off.
Sign 3: Vibration Or Shaking That Gets Worse with Heavier Loads
Stronger shaking occurs during drying cycles due to worn bearings affecting drum balance. The vibration typically increases with bulky or heavy loads.
Sign 4: Scraping or Metal-Like Rubbing Sound
This sign feels like uneven internal contact during operation as the drum rubs against nearby components due to poor support and alignment. It often indicates worsening internal clearance issues.
Sign 5: Noise Gradually Increasing Over Time
Gradually begins as a light humming sound and becomes louder over time. It indicates progressive bearing wear over multiple cycles. Many users notice the change week by week.
Sign 6: Drum Feels Rough or Stiff When Rotated Manually
The drum feels resistant or uneven when rotated manually due to internal friction in the bearing system, often an early warning sign.
Sign 7: Occasional Burning or Friction Smell In Severe Cases
A mild burning odor may appear during operation due to heat buildup from excessive friction in worn bearings, indicating advanced failure.
Looking for cost-effective solutions to fix your dryer? Shop home and kitchen appliance parts at HnK Parts for precision-fit components for dryers, including heating elements, thermostats, sensors, belts, motors, drum rollers, door switches, and control boards from trusted brands like GE, Whirlpool, Samsung, LG, and Bosch, delivered directly to your door.
Main Causes Behind Dryer Drum Bearing Failure
Dryer drum bearing failure is often more complex than normal wear. It is commonly associated with internal stress, uneven load distribution, and prolonged usage within the dryer system. Here are the main causes of dryer drum bearing failure:
-
Minor Shaft Imbalance During Repeated Cycles: Small shaft deviations or uneven wear create drum imbalance during rotation, leading to bearing stress.
-
Gradual Loss of Rotational Smoothness Under Heat Cycles: Repeated heating and cooling cause thermal expansion and contraction in the drum system, leading to small alignment shifts and bearing stress.
-
Vibration Feedback Effect Inside the Drum Assembly: Drum rotation creates vibration, and poor damping or clearance transfers it directly to the bearing housing.
-
Uneven Load Distribution from Stacking Habits: Improper loading of clothes causes uneven weight distribution in the drum, creating directional force on the bearing system.
-
Seal Degradation Allowing Slow Contamination Entry: Continuous exposure to dust, lint, and moisture gradually wears down bearing seals, allowing contaminants to enter the bearing area.
-
Torque Variations from Motor Start-Stop Cycles: Each motor start and stop generates mechanical torque fluctuations that repeatedly transfer stress to the drum and bearing assembly.
-
Thermal Expansion of Bearing Housing: Constant operating heat causes expansion and contraction of the bearing housing, reducing structural tightness during operation.
Proper maintenance helps avoid excess strain inside the dryer system, while quality dryer parts help prevent drum bearing wear and support smoother performance.
How to Replace Damaged Dryer Drum Bearings Step-by-Step
Replacing dryer drum bearings is a repair process used to fix noise, vibration, and drum rotation issues. It involves internal components that need careful handling. Always disconnect power before starting. The steps below explain how to replace dryer drum bearings.
Step 1: Disconnect Power
Turn off and unplug the dryer. Wait 2–3 minutes to discharge residual power and ensure at least 1 meter clearance around the unit.
Step 2: Remove Panels
Remove the top cover (4–6 screws) and front panel (6–10 screws). Disconnect wiring carefully and keep all screws organized.
Step 3: Remove Drum Assembly
Release the drive belt from the motor and drum pulleys. Support the drum (5–12 kg) evenly while sliding it out without tilting.
Step 4: Remove Bearings and Inspect Housing
Remove the rear or shaft bearing using a puller if required. Inspect for wear grooves deeper than 0.5 mm before cleaning.
Step 5: Clean and Install Bearings
Clean all lint and debris completely. Press-fit the new bearing evenly into the housing and reinstall the drum with correct belt tension.
Step 6: Reassemble and Test
Reattach panels and secure all screws properly. Run a no-load cycle for 10–15 minutes and check for vibration or abnormal noise.
Tip: Before replacing drum bearings, check the drum shaft alignment and support rollers, as even a 1–2 mm shaft bend or worn rollers can cause similar noise and vibration. Ensure the rear bearing housing is fully clean, as even a 0.5 mm lint layer can lead to early bearing failure.
Cost To Repair Dryer Drum Bearing Housing
Dryer drum bearing repair housing typically costs $100–$300 with professional service. Parts usually range from $15 to $70, while labor makes up most of the cost.
Find out the most common dryer problems and how to fix them with simple troubleshooting and repair steps.
Summary: Prevent Dryer Vibrations With Timely Drum Bearing Maintenance
Dryer vibration issues often start from small bearing wear that goes unnoticed during use. Timely dryer drum bearing replacement helps maintain smooth drum movement, reduces noise, prevents internal mechanical stress, and ensures stable dryer performance with less operational strain over time.
Key Takeaways:
-
Slight changes in drum sound can indicate early bearing stress inside the system.
-
Uneven drum movement often develops from internal alignment pressure, not just wear.
-
Bearing issues can gradually shift load stress to surrounding drum components.
-
Heat cycles combined with load patterns can accelerate internal bearing strain.
-
Early correction helps maintain balanced rotation and reduces internal vibration buildup.
-
Observing small performance changes is more effective than waiting for a visible failure.
FAQs
How do I know if my dryer drum bearings are bad?
You can identify bad drum bearings through grinding noises, rumbling sounds, or increased vibration during operation. The drum may also feel rough or stiff when rotated by hand.
Can a bad drum seal cause noise and vibration issues on a dryer?
Yes, a worn or damaged drum seal can allow extra movement and friction inside the drum system. This can lead to unusual noise and mild vibration during cycles.
Can you still use a dryer if the bearings are bad?
It is possible to use the dryer, but it is not recommended as the issue can worsen quickly. Continued use may increase damage to the drum and surrounding components.
Why does my dryer rumble when I start it?
A rumbling sound at startup often indicates worn drum bearings or internal friction in the drum assembly. It usually becomes more noticeable as the dryer continues running.
| Disclaimer: The information provided here is intended for educational use only and may not apply to all dryer models. Users are encouraged to take expert help for safe and accurate repairs. |
-
 Frigidaire 134503600 Dryer Drum BeltSpecial Price $7.00 Regular Price $9.64
 -
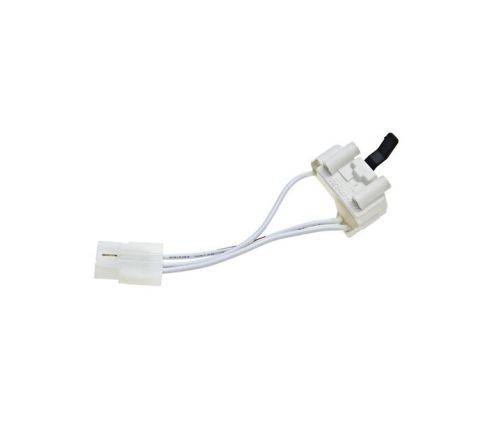 Whirlpool WP3406107 Dryer Door SwitchSpecial Price $17.16 Regular Price $21.83
 -
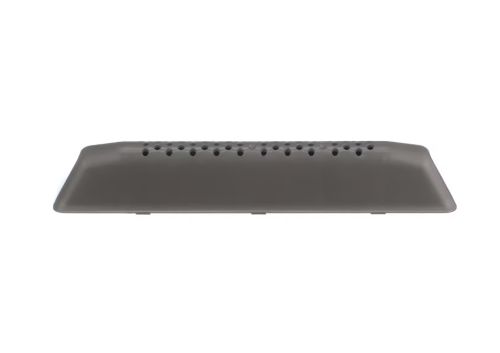 Whirlpool WPW10112972 Washing Machine Drum BaffleSpecial Price $52.65 Regular Price $60.95
 -
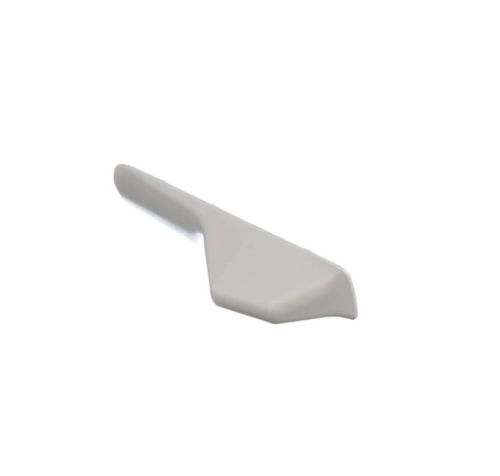 Whirlpool WP8182233 Washer BaffleSpecial Price $43.30 Regular Price $71.66
 -
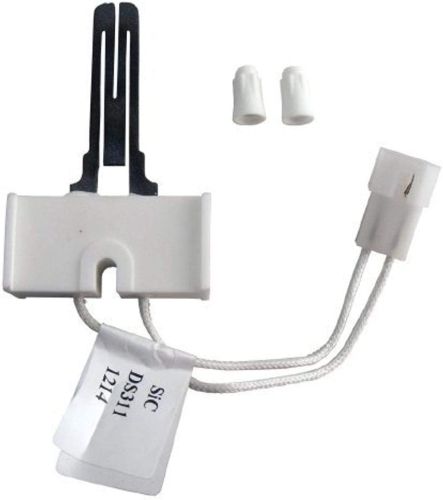 Supco SDE364 Dryer IgniterSpecial Price $16.84 Regular Price $22.04