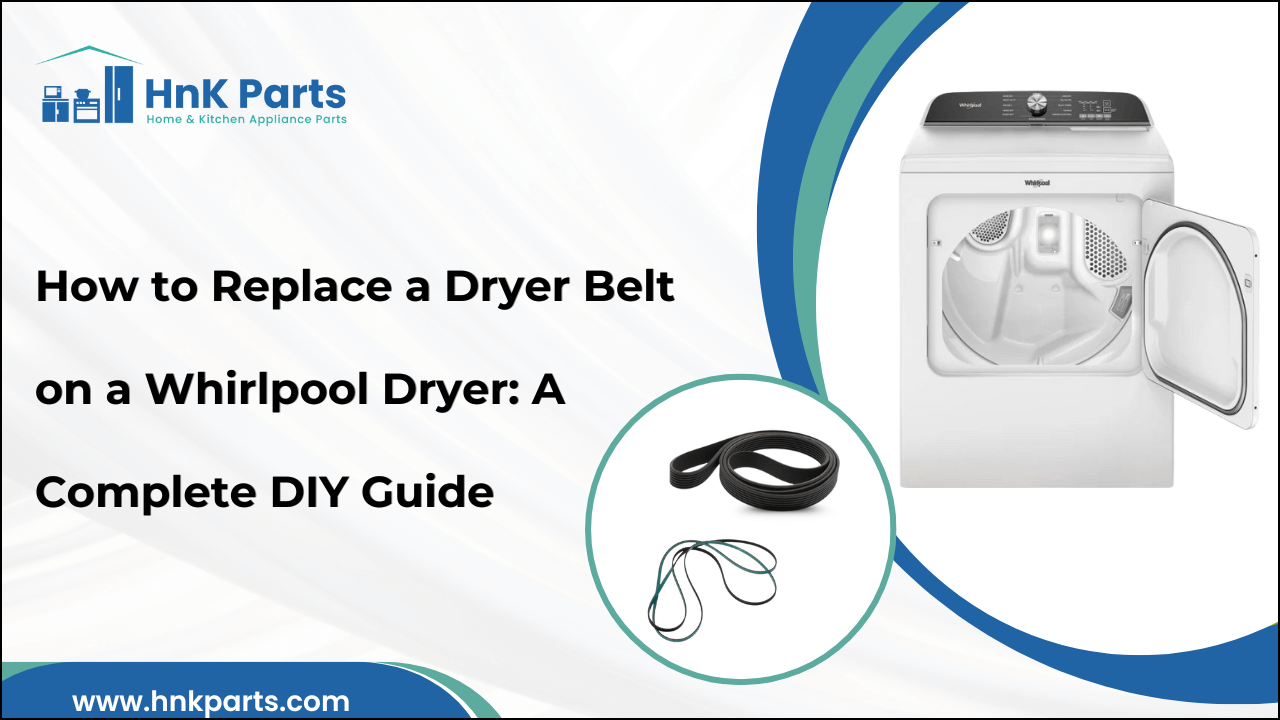
How to Replace a Dryer Belt on a Whirlpool Dryer: A Complete DIY Guide
When your Whirlpool dryer not spinning suddenly becomes an everyday occurrence, it’s usually due to a worn or broken Whirlpool dryer belt. This belt is a small yet vital part that connects the motor to the drum, allowing your dryer to tumble clothes effectively. Regular use, heat, and friction can wear out the belt, causing slippage or complete breakage. Ignoring early signs of dryer belt failure can lead to more significant mechanical issues, raising the overall dryer repair cost. This guide will walk you through everything, from identifying symptoms of a faulty belt to replacing it step-by-step using genuine Whirlpool dryer belt replacement parts.
Why Regular Dryer Maintenance Matters for Efficiency and Longevity
A dryer is one of the most used appliances in modern households, but it’s also among the most neglected. Regular care is the secret to maximizing performance and reducing long-term dryer repair costs.
-
Proper maintenance helps components like the Whirlpool dryer belt, pulleys, and bearings last longer.
-
Routine inspections prevent overheating, minimize energy waste, and ensure faster drying times. A well-maintained machine operates efficiently and saves money on electricity bills.
-
Experts recommend performing a quick inspection every three months and investing in a dryer maintenance kit at least once a year.
-
This kit often includes replacement rollers, idler pulleys, and belts, ensuring your Whirlpool dryer parts remain in top condition.
Common Signs Your Whirlpool Dryer Belt Needs Replacement
The Whirlpool dryer belt is responsible for rotating the drum. Once it starts to wear out, several warning signs appear that shouldn’t be ignored.
|
Sign |
Description |
|
Dryer Not Spinning |
|
|
Squealing or Thumping Noises |
|
|
Slow or Uneven Drum Rotation |
|
|
Burning Rubber Smell |
|
|
Motor Running Without Drum Movement |
|
Check the Whirlpool dryer parts list in the user manual to confirm the correct Whirlpool dryer belt replacement part for the model. Prompt replacement helps prevent damage to the motor and pulley system, reducing future dryer repair costs.
Dryer Making Noise? Discover the 11 Hidden Reasons Now
Essential Tools and Safety Tips Before You Start
Before you begin replacing the Whirlpool dryer belt, ensure you have the correct tools and safety measures in place. These steps will keep the process smooth and hazard-free.
You’ll need:
-
A flat-head screwdriver
-
Socket wrench set
-
Putty knife
-
Needle-nose pliers
-
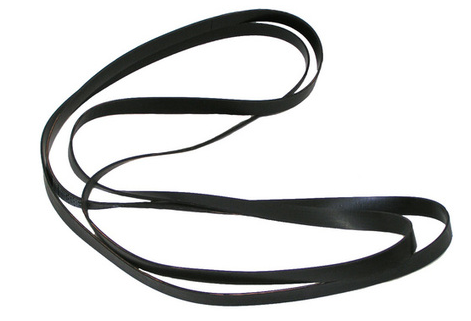
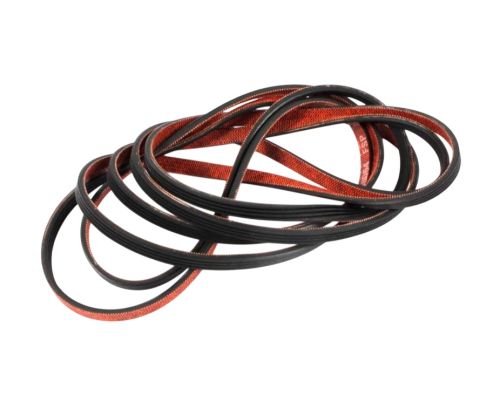
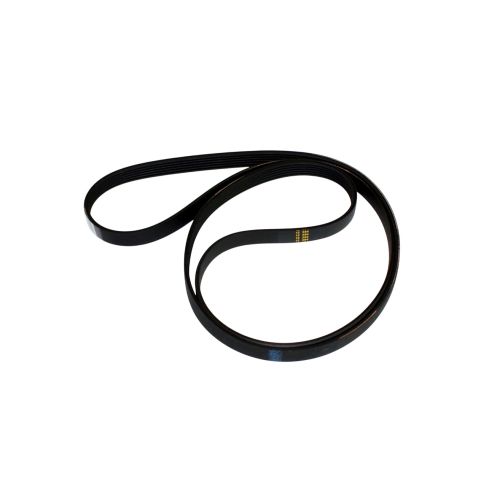
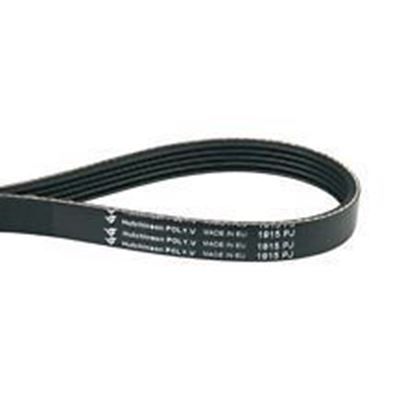
Replacement Whirlpool dryer belt or Whirlpool dryer repair kit
-
Work gloves and a flashlight
Always unplug your dryer from the electrical outlet before beginning. Never attempt repairs on a connected appliance. Clear the workspace, ensuring there’s enough room to maneuver. Reviewing your Whirlpool dryer parts list beforehand helps you locate every component correctly.
Pro tip: Take photos as you disassemble parts. This makes reassembly easier and ensures your Whirlpool dryer belt replacement parts go back into their exact positions.
Step-by-Step Process: Replacing the Dryer Belt on a Whirlpool Dryer
Replacing the Whirlpool dryer belt is simpler than it sounds if you follow each step carefully.
-
Disconnect power and access the interior: Unplug the dryer from the wall. Move it slightly away from the wall to give yourself working space. Remove any screws securing the top or front panel using a screwdriver or putty knife.
-
Remove the top and front panels: Lift the top panel carefully and set it aside. Unscrew the front panel to reveal the drum. Keep the screws organized so reassembly is easy later.
-
Detach the old belt: Once the drum is exposed, you’ll see the old Whirlpool dryer belt wrapped around it. Inspect for signs of wear, such as cracks or fraying. Release the belt tension by pulling the idler pulley toward the motor and sliding the belt off.
-
Clean the interior: Take a few moments to clean any accumulated lint or debris inside. This step is vital to prevent overheating and extend belt life. It’s also the perfect time to inspect other Whirlpool dryer parts, like rollers and pulleys, which may be included in your Whirlpool dryer repair kit.
-
Install the new belt: Wrap the new Whirlpool dryer belt around the drum in the same position as the old one. Make sure it’s aligned correctly with the motor pulley. Refer to your Whirlpool dryer parts list or diagram if needed.
-
Reconnect the pulley system: Loop the belt under the idler pulley and over the motor pulley, applying tension. Spin the drum by hand to check for smooth rotation and alignment.
-
Reassemble panels: Replace the front and top panels and tighten all screws. Ensure everything fits snugly. Finally, plug the dryer back in for testing.
Completing this process ensures a proper Whirlpool dryer belt replacement, saving significant dryer repair costs compared to hiring a technician.
How to Test Your Whirlpool Dryer After Installing a New Belt
Testing verifies that the new Whirlpool dryer belt installation was successful and that all parts function as expected.
-
Plug the dryer back into the power source. Run a short drying cycle without clothes. Observe if the drum spins consistently and quietly.
-
If your Whirlpool dryer not spinning again, unplug it and recheck the belt’s alignment and pulley connection.
-
If you used a Whirlpool dryer repair kit, confirm that all rollers and pulleys move freely without squeaking.
-
Smooth and silent operation means your Whirlpool dryer belt replacement parts were installed perfectly.
Troubleshooting Issues After Belt Replacement
Even after replacing the Whirlpool dryer belt, minor issues can occur. Identifying them early ensures continued performance.
-
If the drum still doesn’t spin, double-check that the belt isn’t twisted or misaligned. Inspect the idler pulley and motor for wear.
-
A damaged pulley can cause tension loss, preventing proper rotation.
-
Refer to your Whirlpool dryer parts list for replacement part numbers if any additional Whirlpool dryer parts need updating.
In cases where the dryer produces loud noises, the rollers might need lubrication or replacement. If you detect a burning smell, power off the dryer immediately. This could mean the belt is rubbing incorrectly against the drum or motor shaft. Reinstalling it correctly usually resolves this.
When to Use a Whirlpool Dryer Repair Kit
A Whirlpool dryer repair kit offers a complete set of components needed for a thorough restoration of your dryer’s drum system.
-
Instead of replacing only the belt, a repair kit includes the Whirlpool dryer belt, idler pulley, and drum rollers, ensuring every part functions smoothly together.
-
If your Whirlpool dryer not spinning or making rattling noises, using a repair kit instead of individual parts can provide a long-term fix.
This option also helps reduce dryer repair costs, as a complete set prevents recurring issues caused by mismatched or worn-out components. Always ensure that your kit includes genuine Whirlpool dryer belt replacement parts to guarantee compatibility and durability.
Understanding the Dryer Repair Cost Difference: DIY vs. Professional
Knowing the average dryer repair cost helps you make informed decisions about repairs.
-
Professional dryer repairs, especially belt replacements, can range between $150 and $300, depending on the labor and part availability.
-
Performing a DIY Whirlpool dryer belt replacement typically costs less than $40, including parts and tools.
Purchasing a complete Whirlpool dryer repair kit may cost slightly more upfront, but it often saves money long-term by preventing multiple service visits
Additional Dryer Maintenance Tips for Long-Term Reliability
Consistent care of your dryer not only extends its lifespan but also keeps performance at its best.
-
Clean the lint trap after every use. Excess lint buildup causes the motor to overwork, leading to premature belt wear. Every few months, inspect vents for obstructions that restrict airflow.
-
Using a dryer maintenance kit yearly ensures all Whirlpool dryer parts, like pulleys, bearings, and seals, remain in optimal shape.
-
Lubricate moving components as recommended in your Whirlpool dryer parts list. Avoid overloading the drum, as extra weight stresses the Whirlpool dryer belt, causing it to stretch faster. Keeping your dryer level also prevents unnecessary strain on internal mechanisms.
Dryer Filters: Common Problems and Quick Fixes You Need to Know
Replacing a Whirlpool dryer belt might seem challenging initially, but with the right tools and a clear understanding of your appliance, it becomes a straightforward task. Timely Whirlpool dryer belt replacement parts installation restores proper drum rotation, improves efficiency, and reduces unnecessary energy use. Regular cleaning, inspections, and the occasional dryer maintenance kit application prevent problems. HnKParts offers a wide range of dryer replacement parts for both electric and gas dryers, including lint filters, door seals, thermal fuses, drive belts, igniters, and bearings from top-selling manufacturers, all available with same-day shipping.
FAQs
Why does my Whirlpool dryer belt keep breaking?
A Whirlpool dryer belt often breaks due to wear and tear, overloading, or a misaligned drum. Regular inspection and proper drum alignment help prevent frequent Whirlpool dryer belt replacements.
Can a broken dryer belt prevent my Whirlpool dryer, model WED8620HC02, from spinning?
Yes. A broken dryer belt on the Whirlpool dryer model WED8620HC02 will stop the drum from spinning, even though the motor may still run. Replacing the Whirlpool dryer belt restores normal operation.
How can I test the heating element on a Whirlpool gas dryer WGD4815EW2?
To test the heating element on a Whirlpool gas dryer WGD4815EW2, disconnect power, remove the back panel, and use a multimeter to check for continuity. If there’s no continuity, the Whirlpool dryer heating element needs replacement.
-
 Frigidaire 131553800 Dryer Drum BeltSpecial Price $22.23 Regular Price $23.68
 -
 Frigidaire 5303281154 Dryer Flat BeltSpecial Price $13.22 Regular Price $25.42
 -
 General Electric WE12X93 Dryer Drive BeltSpecial Price $78.69 Regular Price $124.23
 -
 Frigidaire 134051000 Washer 6-Rib Drive BeltSpecial Price $16.10 Regular Price $28.86
 -
 MIELE 6626861 Dryer Edged V-BeltSpecial Price $98.66 Regular Price $104.40