How to Diagnose and Fix Refrigerator Wire Harness Problems for Reliable Cooling
A refrigerator can seem complex, but much of its reliability hinges on the integrity of the refrigerator wire harness, the protected bundle that feeds every critical component. When connectors oxidize, wires fatigue at a hinge, or insulation hardens near hot zones, you see intermittent fans, failed defrosts, or erratic sensors. This guide is to help you identify wiring-related symptoms swiftly, test them safely and accurately, and either restore the circuit through targeted repairs or opt for a clean replacement. You’ll learn how to inspect, meter, and validate each path so you fix root causes.
Understanding the Refrigerator Wire Harness
Inside the cabinet, the harness threads through compartments to connect control boards, evaporator and condenser fans, defrost heaters and sensors, dampers, door switches, and lighting.
-
A well-designed wire harness assembly organizes these conductors, protects them with jacketing, and anchors them at clips and grommets to avoid chafing or kinking.
-
Door conduits flex thousands of times over a fridge’s life; rear compartments bake in compressor heat; freezer cavities invite condensation.
-
The harness must resist all three. Manufacturers often standardize sub-bundles so a single Cable harness assembly can serve an entire door or freezer section.
For field service, an OEM or model-matched Wire harness kit ensures correct wire gauge, temperature rating, connector series, terminal plating, and pre-applied seals, details that collectively prevent early failure.
Common Refrigerator Wire Harness Problems
Wire harness issues often arise in high-movement, high-heat, or moisture-prone zones of the refrigerator.
-
Hinge conduit flexing: Continuous door movement can micro-fracture copper strands beneath insulation, causing intermittent electrical opens that appear only in specific door positions.
-
Heat exposure near the compressor: Proximity to hot compressor or condenser components can embrittle insulation, leading to cracks and shorts against surrounding metal parts.
-
Moisture in cold zones: Water intrusion oxidizes terminal contacts, increasing resistance and resulting in fan stalling or underperforming defrost heaters.
-
Chafing along sharp edges: Wire rubbing against sharp panel edges can wear through insulation, risking shorts or unreliable signal transmission.
-
Partially seated connectors: Loose or partially engaged plugs cause voltage drops, leading to relay chatter, temperature inconsistencies, or sensor misreads.
-
Corrosion and widespread damage: Extensive heat or moisture exposure can corrode multiple circuits, often requiring complete wire harness replacement for stable operation.
Tools and Safety Precautions for Wire Harness Troubleshooting
Power off before uncoupling anything, and only energize for controlled voltage checks.
-
Core tools include a quality digital multimeter (continuity, resistance, DC/AC voltage), insulated needle probes for back-probing, terminal release tools, and a bright headlamp.
-
Add contact cleaner, dielectric grease for non-sensor power connectors, adhesive-lined heat shrink, a ratcheting crimper, and abrasion sleeves for long-term protection.
-
Photograph routing and label connectors before disassembly.
-
Avoid piercing insulation unless necessary, and seal any probe holes afterward. For durable field fixes, a vetted wire harness repair kit ensures correct terminals and heat rating, and basic extras like zip ties and edge guards preserve strain relief over time.
Step-by-Step Diagnosis of Wire Harness Issues in a Refrigerator
Start with the symptom, isolate the circuit, and verify with the meter, don’t guess. Flex-test suspect sections to expose intermittent faults.
Identify the complaint precisely. Is the freezer warm while the fridge is cool, or vice versa? Do fans stop when the door moves? Pin down the behavior to narrow the circuit.
-
Rule out non-wiring causes: Spin fans by hand to check for seized bearings. Inspect for ice blankets that point to a defrost control path. Confirm supply voltage and main board fuses are healthy.
-
Get the service data: Retrieve the wiring diagram and locate connector IDs, PINs, wire colors, and expected voltages. This prevents mis-probing and speeds isolation.
-
Power off and inspect: Follow the harness along doors, hinge conduits, the rear compartment, and the evaporator cavity. Look for insulation wear, discolored pins, melted housings, and stretched or pinched areas.
-
Segment the path: Unplug intermediate connectors to split the circuit. Check end-to-end continuity for each segment. A high or fluctuating reading signals a compromised run.
-
Flex while measuring: Clip your meter to both ends of a suspect conductor and gently move the door hinge or bend radius. Continuity that drops during motion indicates a hidden fracture.
-
Check for shorts: Measure between the conductor and chassis or adjacent pins. Any non-infinite reading suggests insulation damage.
-
Restore power for targeted checks: Back-probe at the load (fan, heater, valve coil) while the control calls for operation. Voltage upstream but not at the load implicates the intervening segment.
-
Inspect connectors closely: Spread female terminals, pitted male blades, or half-seated housings create heat and dropouts. Clean, re-tension, or re-pin as needed.
-
Decide scope: A single localized break is a candidate for a neat splice; multiple conductors or heat-brittled bundles warrant a segment swap or full wire harness assembly replacement. Always re-validate under motion to confirm the fix sticks.
Repairing or Replacing a Faulty Wire Harness in a Refrigerator
Wire harness issues can range from minor insulation wear to complete circuit failures. The repair approach depends on the extent of the damage, localized faults can be spliced, while widespread degradation calls for full replacement.
|
Fault Type |
Recommended Fix |
Description |
|
Localized damage (hinge or chafe points) |
|
|
|
Connector damage (heat-darkened or loose plug) |
|
|
|
Segment damage (limited to door or freezer section) |
|
|
|
Systemic damage (heat, moisture, or aging across the loom) |
|
|
|
Repeated failures or inconsistent repairs |
|
|
How to Replace a Faulty Refrigerator Compressor: Easy & Quick Fix
Preventive Maintenance for Long-Lasting Refrigerator Performance
Regular preventive maintenance minimizes stress, heat, and moisture damage, three major factors that shorten a refrigerator’s lifespan.
-
Protect flex points at door hinges: Ensure wire slack at hinges so harnesses bend smoothly instead of kinking, reducing fatigue and breakage over time.
-
Add abrasion sleeves and edge guards: Fit abrasion sleeves where wiring looms contact metal and install edge guards on sharp cutouts to prevent insulation wear.
-
Keep condenser coils clean: Regularly clean coils to lower compartment temperatures, reduce compressor load, and prevent insulation embrittlement.
-
Inspect and reseat electrical plugs: Annually remove and clean connectors to eliminate oxidation and confirm secure latch engagement for stable performance.
-
Verify harness clearance after service: After reinstalling panels, check that wires are not pinched or trapped, which could cause short circuits or insulation damage.
-
Avoid overpacking near the evaporator cover: Maintain airflow and prevent pressure on wiring looms behind interior panels by not overstuffing shelves or bins.
-
Refresh high-cycle door conduits: For aging refrigerators, proactively replace high-motion harness segments in door conduits to prevent recurring electrical faults.
9 Refrigerator Problems & Proven Fixes You Need to Know
Harness faults are the great imitator, but they’re also highly solvable with disciplined testing and precise workmanship. When widespread damage exists, a complete wire harness replacement is the surest path to lasting stability. With careful planning, thorough validation, and attention to routing, your refrigerator wire harness will deliver steady power and clean signals for years. HnKParts offers a wide selection of refrigerator parts and accessories, including the compressor, evaporator, condenser, thermostat, and fan motor from leading manufacturers at competitive prices.
FAQs
What happens when the wire harness goes bad?
When a wire harness goes bad, it can cause electrical issues like short circuits, power loss, or malfunctioning components in the appliance.
What is the Whirlpool refrigerator wiring lawsuit?
The Whirlpool refrigerator wiring lawsuit involves claims that certain Whirlpool refrigerator models had defective wiring harnesses, leading to electrical failures or fire risks.
How to tell if a wiring harness is bad?
You can tell if a wiring harness is bad by checking for visible damage, burnt connectors, loose wires, or inconsistent electrical performance.
What are the common faults of wiring harnesses?
Common wiring harness faults include frayed wires, corrosion, poor connections, overheating, and broken insulation.
-
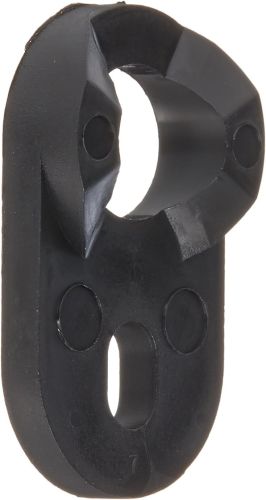 General Electric WR02X10140 Refrigerator Door Hinge Cam RiserSpecial Price $9.10 Regular Price $11.39
 -
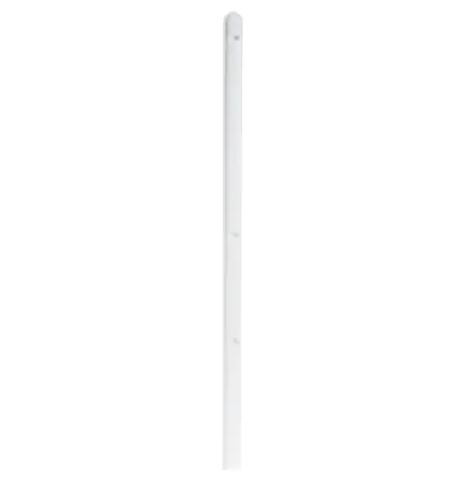 General Electric WR12X10106 Refrigerator Handle TailSpecial Price $55.50 Regular Price $59.95
 -
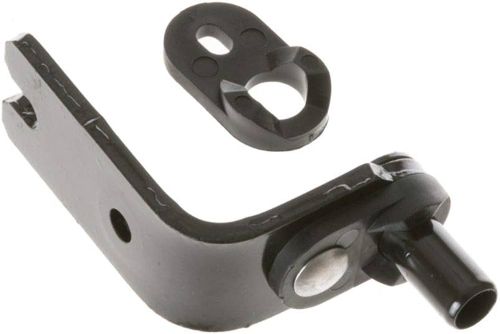 General Electric WR13X10020 Refrigerator Lower Door Hinge KitSpecial Price $26.25 Regular Price $36.75
 -
 GE WR17X1948 Refrigerator Water Line 1/4" DiameterSpecial Price $14.18 Regular Price $18.25
 -
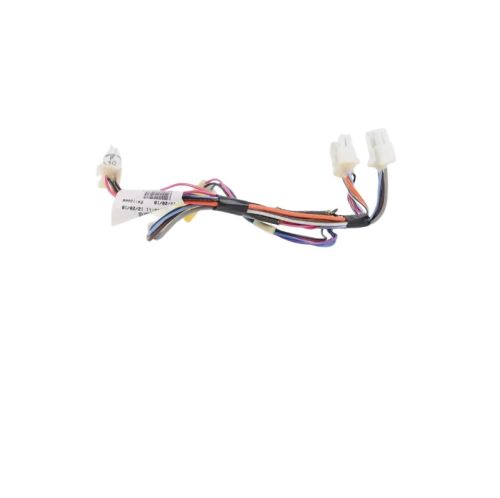 Whirlpool W11396537 Refrigerator Wire HarnessesSpecial Price $55.83 Regular Price $63.95