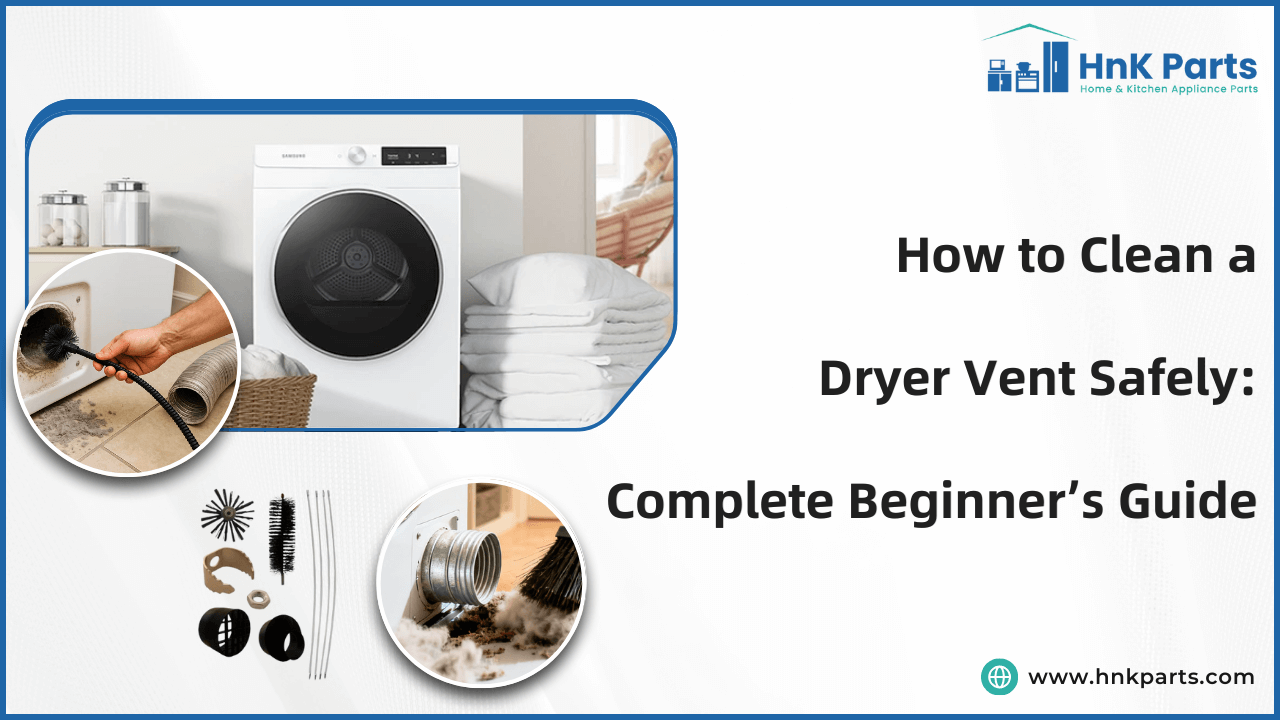
How to Clean a Dryer Vent Safely: Complete Beginner’s Guide
A clothes dryer is one of the most convenient appliances in any home, but it is also one of the most overlooked when it comes to routine maintenance. While many homeowners regularly clean the lint screen, few pay attention to what happens beyond it. Over time, lint, dust, and debris accumulate deep inside the venting system, creating serious safety and efficiency issues. Learning how to clean a dryer vent properly is not just a maintenance task—it is a critical step in protecting your home, reducing energy costs, and extending the life of essential dryer parts.
This beginner-friendly guide covers why dryer vent cleaning is important, how to spot warning signs, safe preparation steps, and proven methods to clean a dryer vent yourself, whether it vents through a wall, roof, or interior space.
Why Cleaning Your Dryer Vent Is Crucial
Dryer vents play a vital role in removing hot, moist air from the dryer drum. As clothes tumble, fibers shed and collect as lint. While the dryer lint filter captures much of this material, a significant amount escapes into the vent system.
When lint builds up inside the vent, airflow becomes restricted. This leads to longer drying times, overheating, and excessive strain on internal dryer parts such as the heating element, motor, and thermal fuse. In severe cases, lint buildup can ignite. According to fire safety data, clogged dryer vents are a leading cause of residential fires.
Regular vent cleaning delivers several key benefits:
-
Fire Prevention: Lint is highly flammable, and when it accumulates inside the dryer vent, it can easily ignite due to high operating temperatures. Regular vent cleaning removes this fire fuel, significantly reducing the risk of dryer-related house fires and improving overall household safety.
-
Improved Efficiency: A clean dryer vent allows hot, moist air to exit the system freely. Proper airflow enables clothes to dry faster and more evenly, reducing the number of cycles required and preventing the dryer from overworking to compensate for restricted ventilation.
-
Lower Energy Costs: When vents are clogged, dryers must run longer and at higher temperatures to achieve the same drying results. Keeping the vent clear minimizes energy consumption, leading to noticeable savings on electricity or gas bills over time.
-
Extended Appliance Lifespan: Restricted airflow causes excessive heat buildup inside the dryer, placing added strain on essential dryer parts such as the motor, heating element, and thermal fuse. Consistent vent maintenance reduces this stress, helping components last longer and decreasing the likelihood of costly repairs or premature replacement.
-
Better Indoor Air Quality: Blocked vents can force moisture, lint, and fine dust particles back into the laundry area. Proper vent cleaning prevents this backflow, reducing humidity, mold risk, and airborne lint, which contributes to a cleaner and healthier indoor environment.
Understanding these risks underscores why learning how to clean out a dryer vent is essential for every homeowner.
Looking for dependable dryer and appliance replacement parts? HnK Parts offers high-quality, precision-fit components—including lint filters, heating elements, motors, belts, and venting accessories—built for performance and durability. With competitive pricing, fast shipping, and expert support, we help keep your appliances running safely and efficiently.
Identifying When Your Dryer Vent Needs Cleaning
Many homeowners are unaware of vent issues until performance drops significantly. Fortunately, several warning signs indicate it is time to clean your dryer vent.
Common indicators include:
-
Clothes are taking longer than normal to dry, especially heavy items like towels.
-
The dryer exterior or laundry room is feeling unusually hot during operation.
-
A burning smell when the dryer is running.
-
Excess lint is accumulating around the dryer or vent opening.
-
The vent hood flap outside is not opening fully while the dryer is on.
If you notice any of these symptoms, airflow is likely restricted. Addressing the problem early by learning how to clean a clogged dryer vent can prevent costly repairs or safety hazards.
Explore dryer filters: common problems and quick fixes you need to know to understand the most frequent issues affecting dryer filters and the simple, effective solutions that help maintain airflow, improve performance, and prevent safety risks.
Preparing Safely Before Cleaning
Before starting any dryer vent cleaning task, safety preparation is critical. Although cleaning is a manageable DIY project, skipping basic precautions can lead to injury or equipment damage.
Start with these safety steps:
-
Disconnect Power: Unplug electric dryers or shut off gas supply for gas models.
-
Move the Dryer Carefully: Pull it away from the wall to access the vent connection.
-
Wear Protective Gear: Gloves, safety glasses, and a dust mask help protect against sharp edges and airborne lint.
-
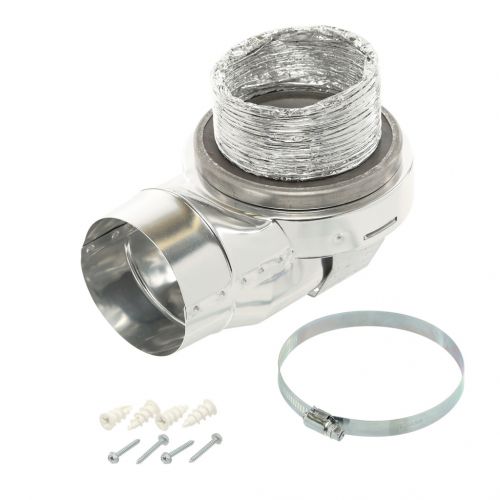
Inspect Vent Materials: Rigid or semi-rigid metal ducts are safer and easier to clean than flexible foil or plastic ducts.
-
Gather Tools: A vent cleaning brush kit, vacuum with hose attachment, screwdriver, and flashlight are typically sufficient.
Proper preparation ensures you can clean the vent thoroughly and safely without damaging internal dryer parts.
Step-by-Step Process to Clean a Dryer Vent
Cleaning methods vary depending on how your vent is routed. Below are detailed instructions covering the most common configurations.
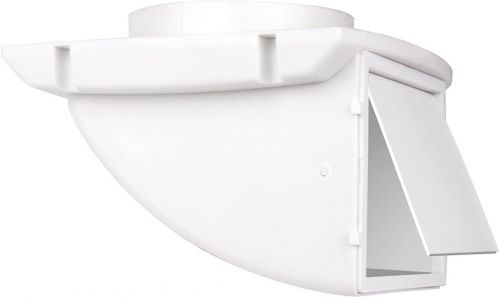
How to Clean a Dryer Vent from Outside: Exterior vent cleaning is ideal for wall-mounted vents with short duct runs.
-
Locate the exterior vent hood and remove any screws or clips.
-
Use a flashlight to inspect visible lint buildup.
-
Insert a vent cleaning brush and gently rotate it to loosen debris.
-
Pull the lint out gradually, avoiding force that could damage the duct.
-
Vacuum loose debris from the vent opening.
-
Reattach the vent cover securely.
This method is effective for maintaining airflow and complements interior cleaning for best results.
How to Clean a Dryer Vent from the Roof: Roof-mounted vents require extra caution due to height and access challenges.
-
Use a stable ladder and ensure dry weather conditions.
-
Wear non-slip shoes and use safety harnesses if available.
-
Remove the roof vent cap carefully.
-
Insert a vent brush downward into the duct, rotating gently.
-
Remove loosened lint and vacuum remaining debris.
-
Securely reinstall the vent cap to prevent leaks.
If roof access feels unsafe, professional cleaning may be the better option.
How to Clean a Dryer Vent from the Inside: Interior cleaning is the most thorough approach and essential for long vent runs.
-
Disconnect the vent hose from the back of the dryer.
-
Clean the dryer lint filter housing using a vacuum.
-
Insert the vent brush into the duct from inside the home.
-
Extend the brush gradually, rotating to dislodge lint.
-
Remove debris in sections to avoid clogging.
-
Vacuum both the duct and the dryer exhaust outlet.
-
Reconnect the vent hose securely and reposition the dryer.
This method ensures you clean the inside of a dryer vent completely, restoring proper airflow.
Check out how to clean a dryer vent yourself: a simple home safety guide to learn practical, step-by-step methods for safely removing lint buildup, improving dryer efficiency, and reducing fire risks using tools you can handle at home.
How Much Does It Cost to Clean a Dryer Vent?
One of the most common questions homeowners ask is how much does it cost to clean a dryer vent. Costs vary depending on vent length, accessibility, and location.
-
DIY cleaning: Typically costs $20–$50 for a vent brush kit.
-
Professional cleaning: Ranges from $100 to $250 for standard residential vents.
-
Complex systems: Long or roof-mounted vents may cost more.
While DIY cleaning is economical, professional services offer advanced tools and inspections. The decision depends on comfort level, vent design, and safety considerations.
Conclusion: Maintaining a Clean Dryer Vent
Learning how to clean a dryer vent is a valuable skill that directly impacts safety, efficiency, and appliance longevity. Regular cleaning reduces fire risk, lowers energy consumption, and protects critical dryer parts from excessive wear. While cleaning the lint screen after every load is essential, it is only part of the maintenance process. Deep vent cleaning ensures the entire system functions as intended.
Key Takeaway Points
-
Consistent dryer vent maintenance is essential for safe and efficient appliance operation, regardless of whether cleaning is done personally or by a professional.
-
Scheduling annual inspections helps identify lint buildup, airflow restrictions, and vent damage before they develop into safety hazards.
-
Responding promptly to warning signs such as longer drying times, overheating, or burning odors prevents costly repairs and fire risks.
-
Using proper vent materials, such as rigid or semi-rigid metal ducts, improves airflow and reduces lint accumulation.
-
Following a structured cleaning process enables beginners to maintain their dryer vent system confidently, ensuring reliable performance and long-term energy efficiency.
FAQs
How long does it take to clean a dryer vent?
Most standard dryer vent cleanings take 30 to 60 minutes, depending on vent length and lint buildup.
How to clean a 25 ft dryer vent?
For long vents, use a professional-grade brush kit with extension rods and clean from both inside and outside for best results.
How often to clean a dryer vent?
It is recommended to clean dryer vents at least once a year. Homes with heavy dryer use may need cleaning every six months.
How to clean a clogged dryer vent?
Disconnect the vent, remove lint manually with a brush, vacuum thoroughly, and inspect airflow before reconnecting the dryer.
-
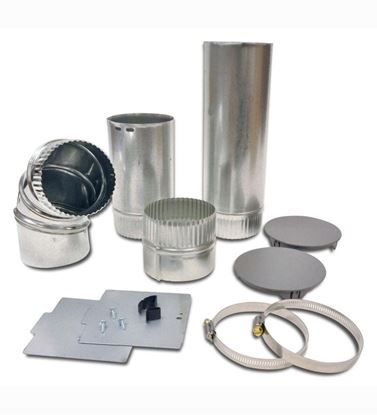
 Whirlpool 4396011RP Dryer Telescoping Vent Periscope KitSpecial Price $28.93 Regular Price $44.28
 -
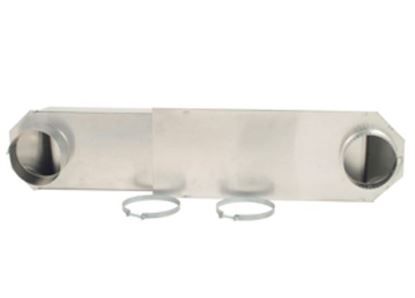
 Any Way Dryer Vent Path For Grindmaster Cecilware Part# Mv-FlexSpecial Price $60.07 Regular Price $91.31
 -
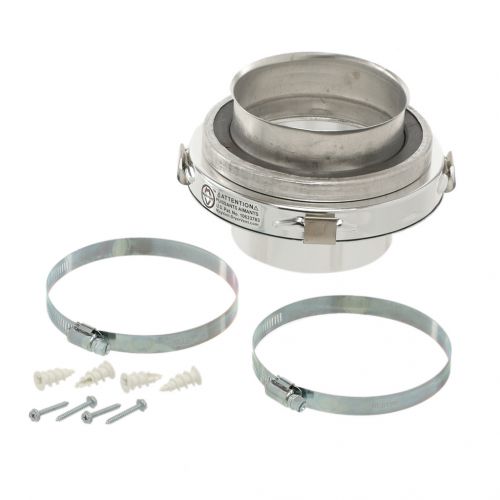
 Whirlpool W10323246 Dryer 4-Way Vent KitSpecial Price $58.81 Regular Price $75.59