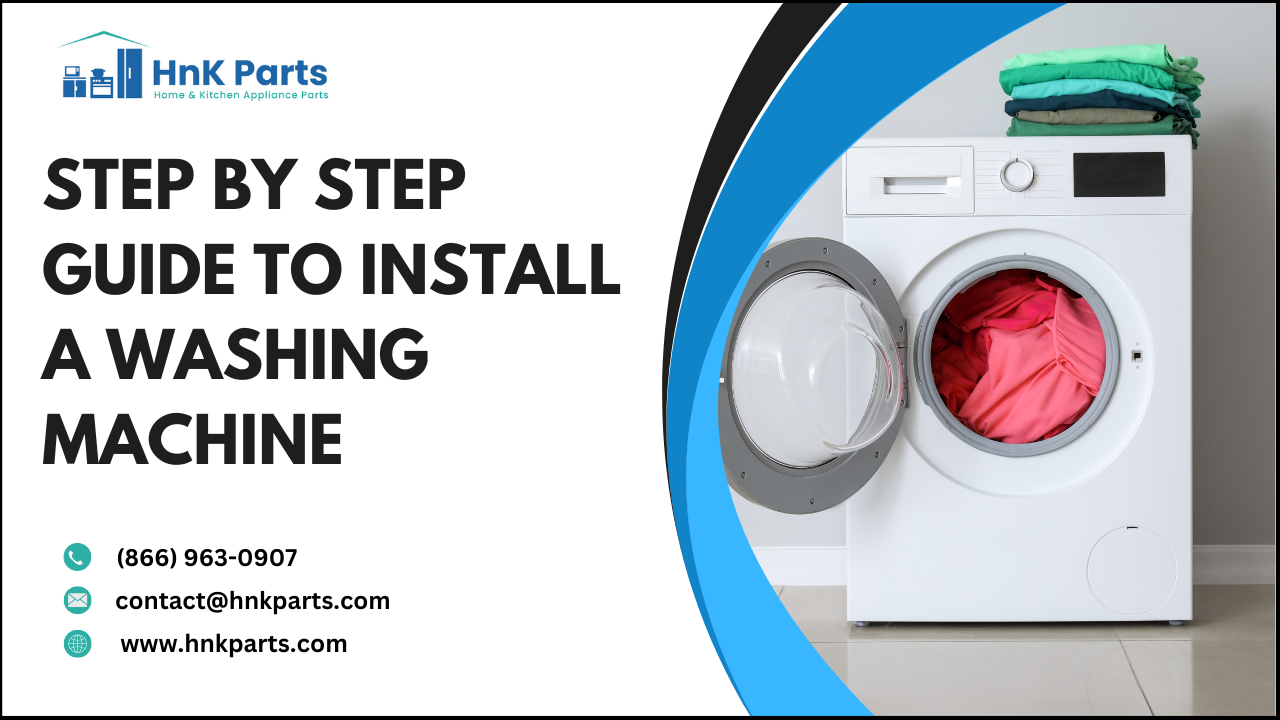
How to Properly Install a Washing Machine: DIY Tutorial
Proper installation of a washing machine is very important for several reasons. A well-installed washing machine reduces the likelihood of leaks or water damage in your home. This is crucial to maintain the integrity of floors, walls, and other structures. It also ensures the machine functions efficiently while extending its lifespan and reducing the risk of breakdowns. Correct installation contributes to optimal performance, resulting in cleaner clothes and lower energy consumption.
Installing a washing machine correctly offers several significant benefits such as efficient performance, extended lifespan, prevents water damage, safety, etc. Here in this article we will see about the step-by-step installation process of a washing machine and about the necessary tools and materials required.
Gathering the Necessary Tools and Materials
Here is the list of necessary tools that are required for the washing machine installation:
- Adjustable wrench
- Screwdriver set
- Level
- Pliers
- Measuring tape
- Utility knife
- Bucket and rags
- Safety gloves and goggles
- Flashlight
List of the Materials required for the process of if washing machine installation:
- Water inlet valve
- Washer drain hose
- Washer drain pan
- Rubber gaskets or O-rings
- Teflon tape
Before starting the installation, always refer to the washing machine's user manual for any specific requirements or recommendations from the manufacturer. Additionally, if you are unsure about any part of the washing machine installation process, it is best to get a professional assistance to ensure a safe and accurate setup.
Know about the Cleaning process of a washing machine filter.
Installing a Washing Machine: Step-By-Step Process
Here's a step-by-step process for washing machine installation:
Step 1: Prepare the Area
Choose a perfect location for your washing machine which is near to a water supply and drainage system. Ensure the floor is level and sturdy to prevent vibrations during operation. Make sure there's a grounded electrical outlet nearby for the washing machine's power cord.
Step 2: Unpack and Inspect
Unpack your washing machine and inspect the machine for any visible damage that might have occurred during shipping.
Step 3: Connect Water Supply
Cold Water Supply: Connect one end of the cold water hose to the cold water faucet on the wall. Tighten it with an adjustable wrench.
Hot Water Supply (if applicable): If your washing machine has a hot water option, connect the other end of the cold water hose to the hot water faucet on the wall.
Step 4: Connect Drain Hose
Attach the washer drain hose to the washing machine's drain outlet. Make sure it fits securely and use a hose clamp if needed.
Step 5: Level the Washing Machine
Place a level on top of the washing machine and adjust the machine's feet until it's level both front-to-back and side-to-side. This ensures proper operation and reduces vibrations.
Step 6: Secure Water Hoses
Check all water connections to make sure they are tight and secure, including the hose connections to the washing machine and the faucets.
Step 7: Connect the Power Cord
Plug the washing machine's power cord into the grounded electrical outlet.
Step 8: Test for Leaks
Turn on the water supply and check for any leaks around the water connections and drain hose of your washing machine. If you find any leak spots, turn off the water supply immediately and tighten the connections where you have noticed the leak.
Step 9: Run a Test Cycle
Before loading any laundry, run a test cycle with a small load to ensure the washing machine is functioning correctly.
Step 10: Final Check
Double-check all connections, making sure everything is secure and in place. Read the washing machine's user manual provided by the manufacturer to know its features and maintenance requirements.
Your washing machine is now installed and ready to make laundry chores a breeze. Remember to follow the manufacturer's guidelines and maintenance instructions to keep your washing machine running efficiently for years to come. If you encounter any issues during the washing machine installation process, get professional assistance.
Washing Machine Testing and Troubleshooting
Here are some steps for testing your washing machine:
- Check water Supply: Check if both hot and cold water faucets are turned on and that water is flowing freely into the washing machine. Run a short cycle to confirm proper water intake.
- Check the Drainage system: Ensure the washer drain hose is correctly positioned and free from clogs or kinks. Run a drain cycle to see if the water flows out smoothly.
- Check the electrical Connections: Verify that the power cord is properly plugged into a grounded electrical outlet and that the outlet is functioning correctly.
- Check Door/Lid Interlock: For front-loading machines, ensure the door is closed securely. For top-loading machines, check the lid switch to ensure it's working, as the washer won't operate with an open lid.
Troubleshooting some common issues of washing machines:
- Washer Not Starting: If the washing machine doesn't start, check the power supply, the door/lid interlock (for front-loading machines), and the control panel for any error codes.
- Water Leakage: Inspect all water connections and the drain hose for leaks. Tighten loose connections and replace damaged hoses or gaskets.
- Excessive Vibration or Noisy Operation: Level the washing machine to reduce vibrations. Check for loose parts or foreign objects stuck in the drum that may cause noise.
- Clothes Not Cleaned Properly: Make sure you're using the correct detergent and following the manufacturer's recommendations for load size and detergent amount. Check for clogged detergent dispensers or drums.
- Foul Odors: Run a maintenance cycle with hot water and white vinegar to clean the drum and remove any mold or mildew buildup.
- Machine Not Draining Properly: Check for blockages in the drain hose or pump filter. Clean the pump filter regularly.
These troubleshooting steps are common for the leading washing machine brands such as Whirlpool, GE, Maytag, Bosch, etc. You need to get genuine OEM Washing machine parts in case of any replacements. You can find every replacement part for your washing machine at HnKParts, where we offer the best quality parts that will enhance the performance of your appliance.
Here is an ultimate guide to How to clean washing machine.
Follow the above mentioned steps to install a washing machine by yourself. Installing a washing machine doesn’t need any professional assistance, you can do it by yourself if you have some DIY skills and by using the following manufacturer guidelines. We have also mentioned some common testing and troubleshooting tips for your appliance, follow them to maintain your washing machine in good condition. If your appliance needs any repairs or replacements, call a professional to fix them. Always ensure that you are buying genuine OEM Washing machine parts for replacements and if you are unsure about the quality, Buy them from HnKParts where we offer the best quality and genuine OEM replacement parts for all your kitchen and home appliances.
FAQ’s
Does a washing machine need to be installed by a plumber?
No, a washing machine does not need to be installed by a plumber. Typically, washing machines can be installed by anyone, following the manufacturer's instructions provided with the machine. It usually involves connecting the water supply hoses and the drain hose to the appropriate connections, plugging in the power cord, and leveling the machine. If you encounter any difficulties or have specific plumbing requirements, you may consider consulting a plumber, but in most cases, it's a straightforward task that can be done without professional help.
How much does it cost to put a washing machine on?
The cost to put a washing machine on can vary depending on factors such as the brand and model of the washing machine, any additional features or functions it may have, and the location where you purchase it. On average, a basic washing machine can cost anywhere from $300 to $800. More advanced or high-end models may cost between $800 and $1500 or more.
Do washing machines need to be professionally installed?
No, washing machines do not necessarily need to be professionally installed. Most washing machines come with detailed instructions that allow users to install them themselves. As long as you follow the manufacturer's guidelines and have basic DIY skills, you can usually install a washing machine without professional assistance.
How far should a washing machine be from the wall?
A washing machine should typically be placed about 4 to 6 inches away from the wall. This allows enough space for the water supply hoses, the drain hose, and the power cord to connect properly without being kinked or damaged. Additionally, having some space between the washing machine and the wall helps with ventilation and prevents the machine from vibrating against the wall during operation.
Do you connect a washing machine to hot or cold?
You usually connect a washing machine to both hot and cold water sources. Most modern washing machines have two inlet hoses—one for hot water and one for cold water. This allows the machine to use the appropriate water temperature for different wash cycles and fabric types. However, if you only have a cold water supply available, you can still connect the washing machine to it, and the machine will adjust the water temperature accordingly during the wash cycle.
Can I install a washing machine by myself?
Yes, you can install a washing machine by yourself. Most washing machines come with detailed instructions that make the installation process straightforward. However, if you encounter any difficulties or have specific plumbing requirements, you may consider hiring a professional for help.
-
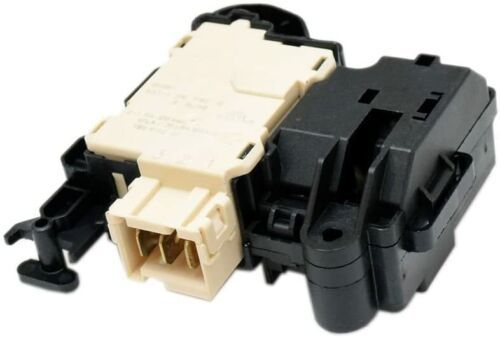 GE WH01X26241 Washing Machine Door LockSpecial Price $34.38 Regular Price $48.95
 -
 Whirlpool W11565030 Washer Door LatchSpecial Price $18.59 Regular Price $41.74
 -
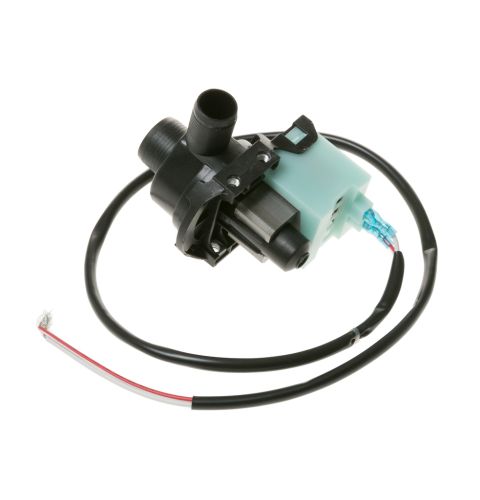 GE WH23X27419 Washing Machine Drain PumpSpecial Price $48.75 Regular Price $57.95
 -
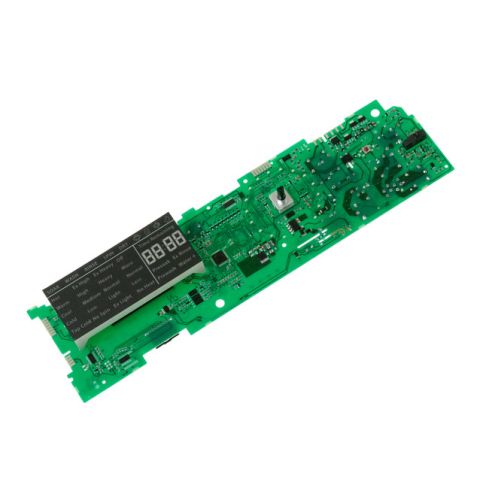 General Electric WH18X27222 Washing Machine Control BoardSpecial Price $237.86 Regular Price $263.95
 -
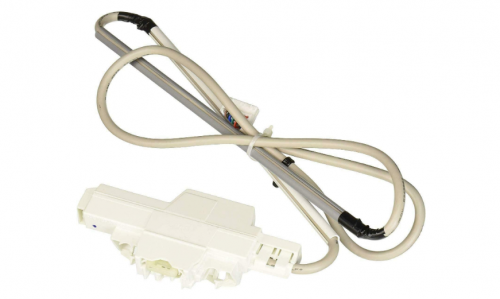 Whirlpool W11188327 Washer Door Lock AssemblySpecial Price $88.23 Regular Price $169.18