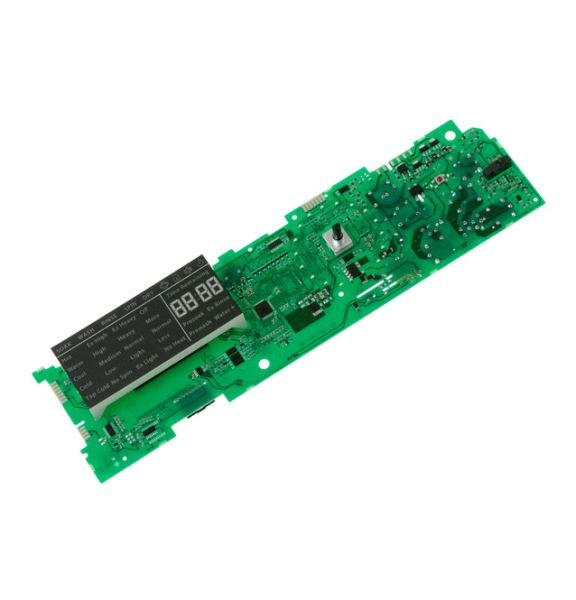
General Electric WH18X27222 Washing Machine Control Board
Special Price
$244.09
Regular Price
$281.95
In stock
Available Quantity:
7
SKU
WH18X27222
Product Description
The General Electric WH18X27222 Washing Machine Control Board is placed inside machines to oversee and manage every washing cycle and machine function. As the brain of the appliance, it controls the time, water amounts, speed and cycle length for each wash. It relies on data from sensors and user commands, then processes to make motors, valves work.
Manufacturer

✓ This Product Replaces:
0021800040X