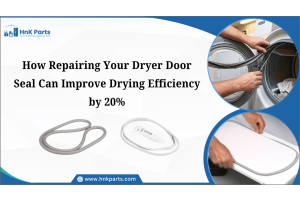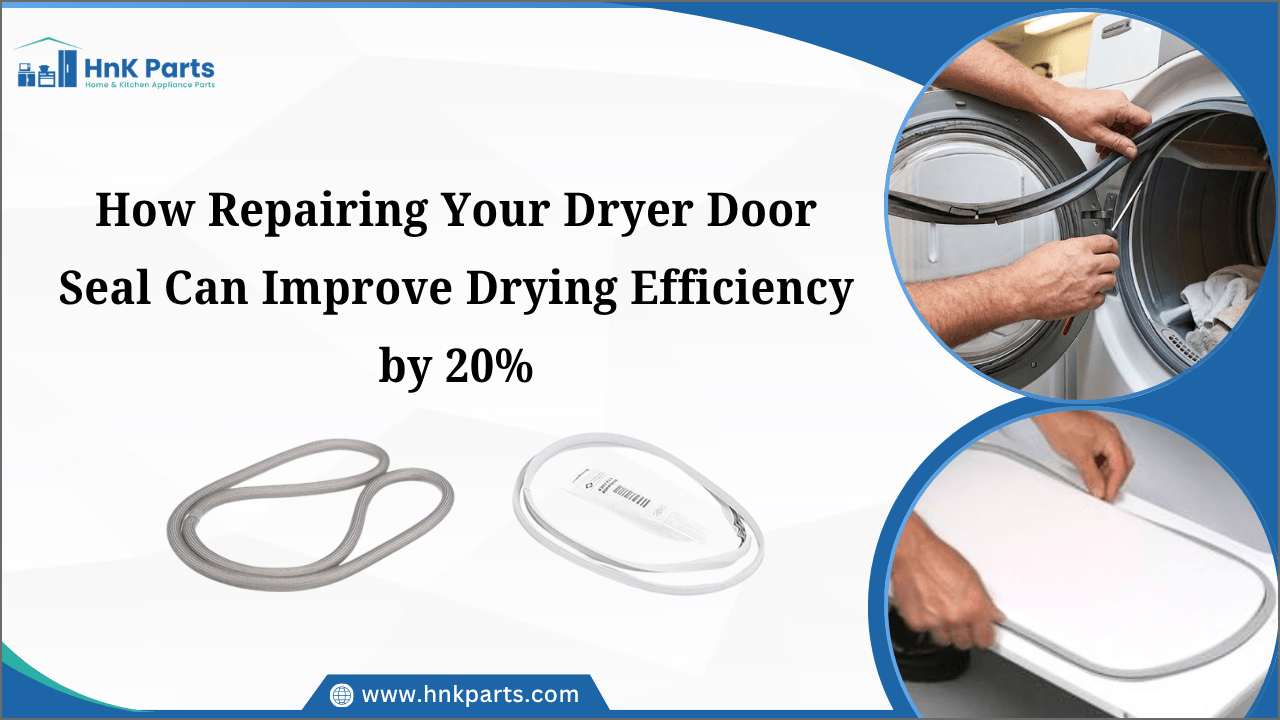
How Repairing Your Dryer Door Seal Can Improve Drying Efficiency by 20%
A worn or damaged dryer door seal leads to hot air escaping during operation, resulting in an increased load as the dryer works to maintain the required drying conditions. This air leakage reduces heat retention, disrupts airflow balance, and extends drying times, leading to issues like the dryer not drying clothes and the dryer taking too long to dry, resulting in a reduction in drying efficiency of approximately up to 20%.
Repairing the dryer door seal restores a secure barrier around the drum, improving thermal retention and stabilizing internal airflow. This ensures consistent heat distribution, reduces energy loss, and enhances drying performance while supporting optimal moisture removal.
What Does a Dryer Door Seal Do in a Clothes Dryer?
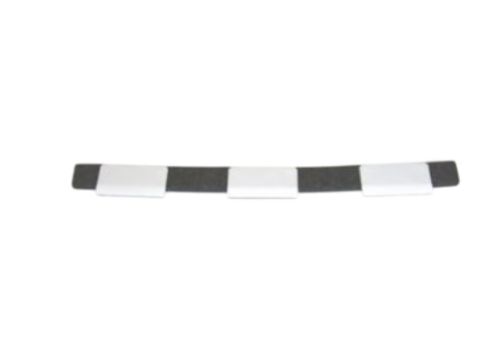
The dryer door seal is a rubber or fiber strip installed around the dryer door opening that seals the space between the drum and cabinet to regulate airflow during drying cycles. It has several key functions.
- Controls Drum Airflow: Maintains steady airflow movement inside the drum during operation, supporting better clothes dryer efficiency.
- Prevents Air Leakage: Stops heated air from escaping through the door gap during drying cycles, contributing to dryer heat loss reduction.
- Retains Heat: Keeps hot air inside the drum to support faster and more efficient moisture removal.
- Prevents Lint Entry: Blocks lint and moisture from entering the dryer cabinet and internal components.
- Reduces Energy Use: Helps the dryer maintain required temperatures with less energy consumption.
- Improves Drying Uniformity: Ensures even airflow distribution so clothes dry evenly across the load.
A damaged seal negatively affects dryer performance by causing heat loss and air leakage, resulting in uneven drying and increased energy usage.
Regular inspection and timely replacement of the dryer parts maintain proper airflow and stable temperatures.
Signs Your Dryer Door Seal Needs Repair or Replacement
A failing dryer door seal shows warning signs before it stops working completely. It typically occurs when the seal loses flexibility, cracks, or no longer fits tightly around the drum opening. Here are the key signs to watch for:
Sign 1: Lint Collecting Around the Door Seal
Lint around the dryer door seal means air is leaking from the drum, letting fibers escape and collect around the door. This airflow loss reduces drying efficiency and makes clothes take longer to dry.
Sign 2: Clothes Taking Longer to Dry
A damaged dryer door seal lets hot air escape, causing the internal temperature to drop during operation. This forces the dryer to run longer cycles and often results in uneven drying, especially with heavier fabrics.
Sign 3: Visible Fraying or Torn Seal Material
Fraying or tearing in the dryer door seal shows the material is wearing out from heat and constant friction. Once it starts breaking apart, it can no longer form a proper airtight seal and needs replacement.
Sign 4: Warm Air Escaping From the Door
Warm air around the dryer door means the seal is no longer tight enough to hold heat inside. This heat loss makes the dryer work harder to maintain temperature and reduces overall efficiency.
Sign 5: Moisture or Condensation Near the Door
Moisture around the dryer door means humid air is escaping instead of going through the vent system. It then condenses on cooler surfaces near the door, often alongside lint buildup. This also reduces overall drying performance.
Wondering where to get energy-efficient dryer repair parts? Shop home and kitchen appliance parts at HnK Parts for precision-fit dryer components, including door seals, heating elements, thermostats, sensors, belts, motors, drum rollers, switches, and control boards from top brands like GE, Whirlpool, Samsung, LG, and Bosch, delivered to your door with fast shipping.
How a Damaged Dryer Door Seal Reduces Drying Efficiency
A worn or damaged dryer door seal allows air leakage, reducing heat retention and overall drying performance. Below are the main ways it reduces efficiency:
- Disrupted Drum Air Circulation Pattern: Airflow inside the drum becomes unbalanced, reducing hot air contact with fabrics.
- Drop in Internal Drum Temperature Stability: Heat escapes through the door gap, causing fluctuating internal temperatures.
- Reduced Exhaust Airflow Efficiency: Pressure imbalance slows the removal of moisture-laden air from the system.
- Extended Moisture Sensor Cycles: Sensors receive inconsistent readings, leading to longer or repeated drying cycles.
- Uneven Fabric Moisture Removal: Moisture distribution becomes inconsistent, leaving damp patches in thicker loads.
- Increased Heat Loss Around Door Edge: Continuous leakage around the seal creates localized heat loss and reduces efficiency.
Repair or Replace a Dryer Door Seal: Step-by-Step Process
Performing a dryer door gasket replacement is a simple DIY task for most homeowners, but the method depends on the level of damage and whether repair or full replacement is needed. The following is the step-by-step process:
Tools and Materials Needed
- Replacement door seal
- High-temperature adhesive/glue (if the seal is not clip-on)
- Screwdrivers (flathead and Phillips) or Torx bits (usually T-20 or T-25)
- Pliers
- Plastic putty knife
- Non-residue cleaner
- Paper towels
Step 1: Power Down and Prep
Unplug the dryer and disconnect it from the power supply; turn off the gas supply valve if it is a gas model, then remove the door and place it on a flat surface for seal work.
Step 2: Inspect and Decide (Repair vs. Replace)
Check for damage by inspecting the gasket for brittleness, cracks, large tears, or missing sections, then decide the fix by repairing it if the seal is still flexible but slightly loose or replacing it if it is hard, torn, or deformed.
Step 3: Remove the Old Seal (For Replacements)
Pull the seal using pliers or a flathead screwdriver to lift one end and remove it from the channel, then scrape any old residue using a plastic putty knife to clean out old glue and debris from the groove.
Step 4: Clean the Surface
Degrease the channel by wiping the area with rubbing alcohol or a non-residue cleaner using a paper towel, then dry completely to ensure the surface is clean and ready for proper sealing and bonding.
Step 5: Install or Fix the Seal
-
For repairs: Apply high-temperature adhesive and press loose areas back into place.
-
For replacements: Align the new seal at the bottom center and press firmly around the frame; clip-in types should snap into place securely.
Step 6: Cure and Test
Allow the adhesive to cure for 12–24 hours, then reassemble and test by reinstalling the door, restoring power, and running a short cycle to check for leaks.
Replacing a damaged or worn dryer door seal is a simple 30 to 60-minute DIY repair that restores your dryer’s heating efficiency.
Learn how to check and replace a Whirlpool dryer thermal fuse for optimal performance.
Summary: Why Maintaining Your Dryer Door Seal Saves Time and Energy
A well-maintained dryer door seal helps control internal airflow patterns and supports even heat distribution across fabrics. When it degrades, small pressure imbalances can disrupt thermal stability and reduce efficiency over time. Performing a proper dryer seal replacement restores effective air containment, leading to more consistent cycles, reduced energy loss, and improved overall drying performance.
Key Takeaways:
- Even minor seal wear can disturb the internal air-pressure balance inside the drum
- Loss of containment creates uneven heat interaction at a micro-level, not just visible leakage
- Restored sealing improves cycle predictability by stabilizing thermal feedback loops
- Efficient sealing reduces hidden energy loss caused by repeated heat re-stabilization
- Proper seal function helps the dryer maintain consistent airflow velocity across loads
- Maintaining the seal reduces cumulative mechanical strain from extended cycle compensation
FAQs
What glue to use for dryer door seal?
Use a high-temperature, heat-resistant adhesive such as silicone-based appliance glue designed for dryers. It should withstand continuous heat exposure without breaking down.
Can I run my dryer without the door seal?
It is not recommended, as running a dryer without a door seal causes heat loss, poor drying performance, longer cycles, and increased energy consumption.
How much does it cost to replace a dryer seal?
The cost typically varies depending on the model, but generally includes the price of the seal part plus basic labor charges if professionally installed.
| Disclaimer: The information provided in this article is for educational purposes only and is intended to help readers understand common issues related to dryer door seals. Repair methods and component designs may vary depending on the dryer brand and model |
-
 General Electric WE3X77 Dryer Drum Bearing SupportSpecial Price $71.86 Regular Price $81.64
 -
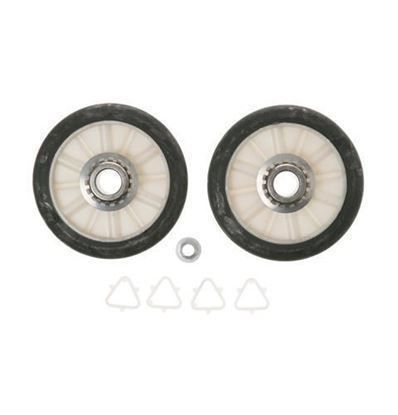 General Electric WE3X82 Dryer Roller SupportSpecial Price $74.98 Regular Price $118.38
 -
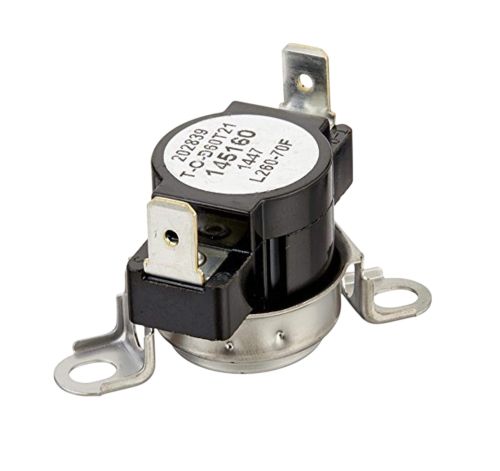 General Electric WE4X757 Dryer Thermostat SafetySpecial Price $15.42 Regular Price $67.98
 -
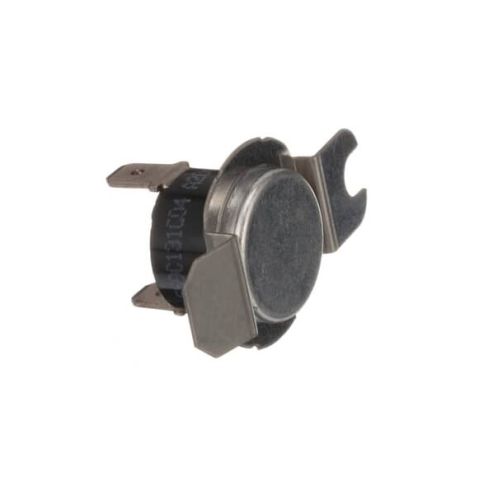 General Electric WE4M137 Dryer High Limit ThermostatSpecial Price $17.98 Regular Price $68.85