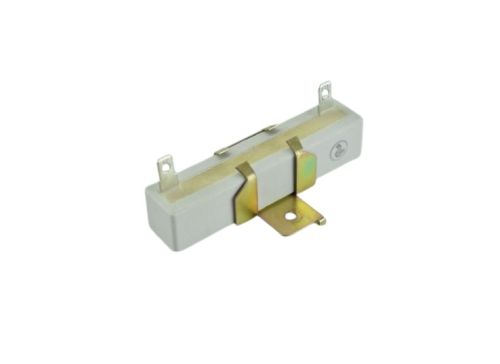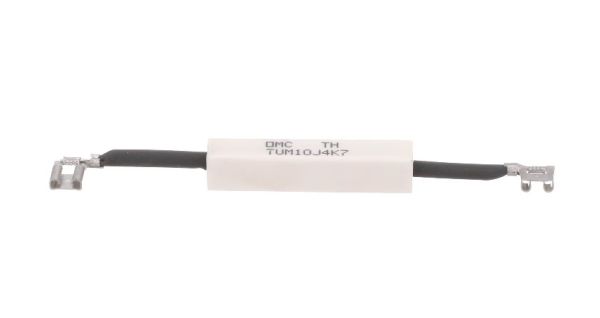
Speed Queen D511277 Dryer Resistor Timer Assembly
$13.88
Out of stock
Available Quantity:
0
SKU
D511277
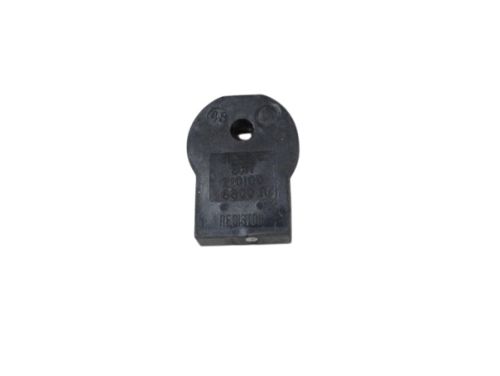
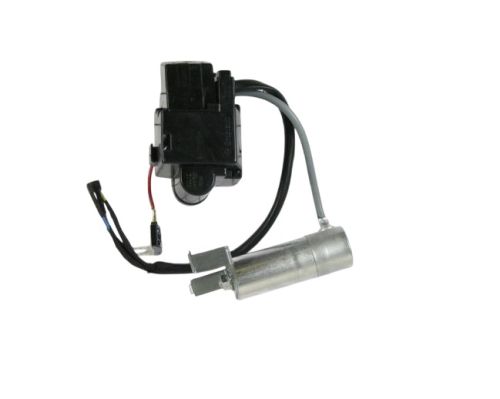
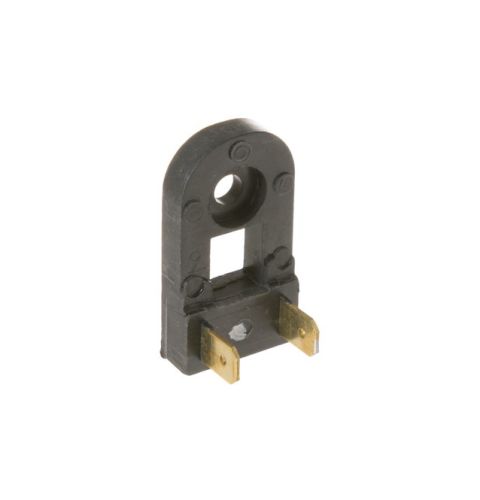
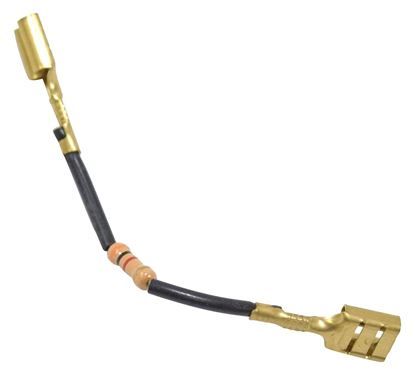
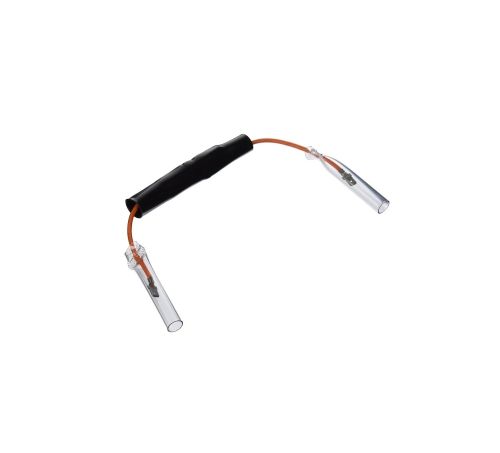
Product Description
The Speed Queen D511277 Resistor is used to control the flow of electricity for drying and ensures the right temperature and functioning of the drying system. Used to regulate the voltage that gets supplied to the heating element or motor of the dryer to avoid overheating and for proper functioning and helps in regulating the amount of resistance.
Manufacturer

✓ This Product Replaces:
511277