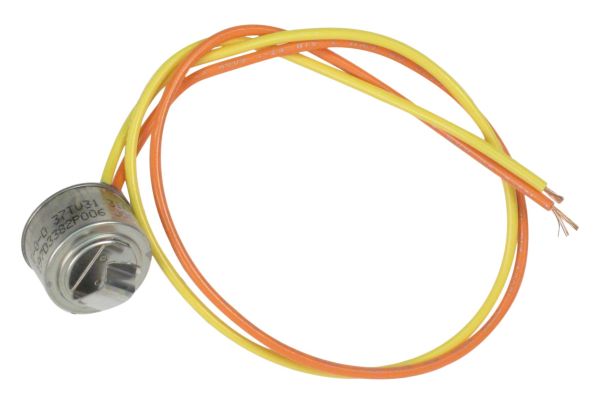
General Electric WR50X10071 Refrigerator Defrost Thermostat
Special Price
$5.98
Regular Price
$22.82
In stock
Available Quantity:
35
SKU
WR50X10071
Product Description
The General Electric WR50X10071 Refrigerator Defrost Thermostat monitors evaporator temperature to regulate the defrost cycle within the cooling system. Positioned on the evaporator coil assembly inside the unit, it interfaces with the defrost heater circuit and control wiring to sense temperature changes accurately. It supports electrical switching based on preset thermal thresholds, allowing activation and interruption of the defrost sequence. By maintaining controlled temperature regulation and timely cycle transitions it supports stable cooling operation and normal refrigeration cycles and system performance.
Manufacturer

✓ This Product Replaces:
WR50X10021, WR50X22304, WR50X30071