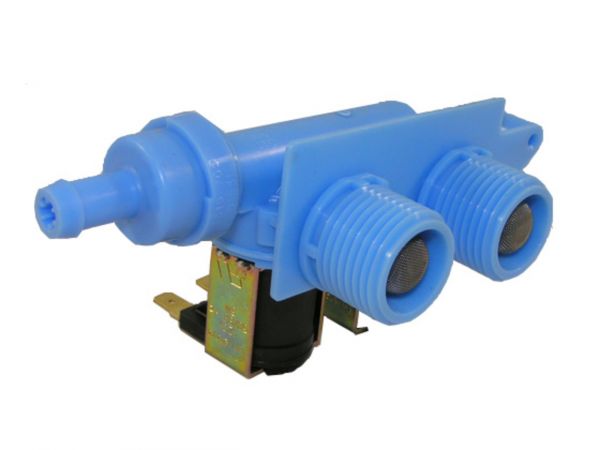
The Whirlpool WP8181694 Water Inlet Valve is designed to control the flow of water into the washing machine regulates the flow of water during each cycle and opens and shuts according to the temperature and water level set. The valve controls the flow of water to the required level that the machine needs for operation, the valve also ensures that the water pressure is well regulated to avoid overflows or underfilling of the water tank and built to last minimizing the need for constant repairs.
Step 1: The water supply to the valve should be shut off. The shut-off valve for the water line supplying the valve should be identified and deactivated.
Step 2: The water line from the existing valve should be detached. An adjustable wrench should be employed to loosen the fitting. After it is loosened, the water line should be extracted from the valve.
Step 3: The mounting screws from the existing valve should be extracted. A socket wrench should be utilized to loosen and take out the screws securing the valve in position.
Step 4: The new valve should be positioned. The new valve should be inserted into the mounting bracket and fastened using the screws removed from the previous valve.
Step 5: The water line to the new valve should be reattached. With the adjustable wrench, the fitting should be securely tightened.
Step 6: The water supply should be reactivated. The shut-off valve should be rotated counterclockwise to restore the water flow. The connections should be inspected to ensure there are no leaks.
Please remember, these instructions should be served as general guidance and should always be referenced alongside the manufacturer’s manual, if accessible.