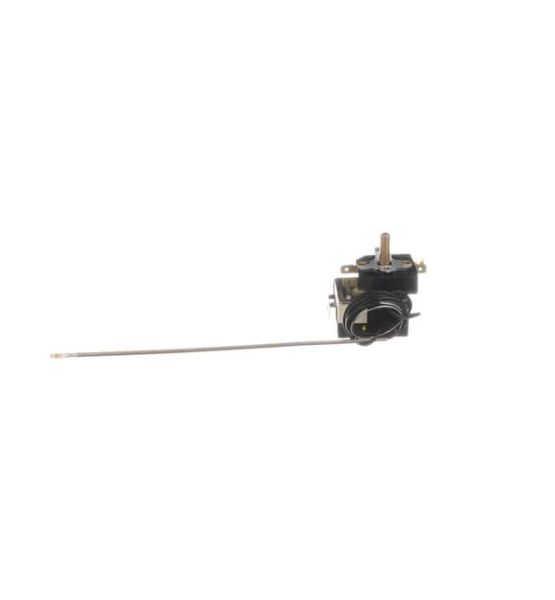
General Electric WB20K10026 Range Oven Thermostat
Special Price
$65.27
Regular Price
$108.00
In stock
Available Quantity:
284
SKU
WB20K10026
Product Description
The General Electric WB20K10026 Range Oven Thermostat regulates oven temperature for consistent cooking results. It senses heat levels and adjusts power flow accordingly. As the oven heats up, the thermostat cycles power to maintain the desired temperature. This ensures even baking and prevents overheating. Reliable temperature control enhances cooking precision while reducing energy consumption. Its durable design supports long-lasting performance, making it a practical replacement part for maintaining oven efficiency.
Manufacturer

✓ This Product Replaces:
WB20K10011