Whirlpool W11688994 Washer Water Inlet Valve
Special Price
$37.48
Regular Price
$67.95
In stock
Available Quantity:
785
SKU
W11688994
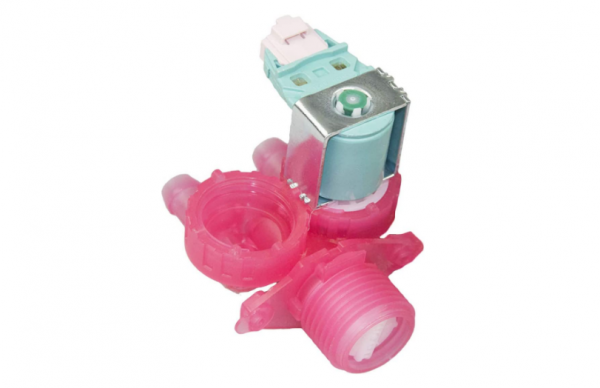
Product Description
The Whirlpool W11688994 Washer Hot Water Inlet Valve regulates the water supply to the washer and lets hot water to come in as required. It opens and closes to control the pressure and temperature of the water so as to allow the right amount of hot water for each wash. The advantage of this component is that it is able to operate at a high level of efficiency, and also assist in cleaning clothes as well as regulating the amount of water used, the temperature of the water.
Manufacturer
