
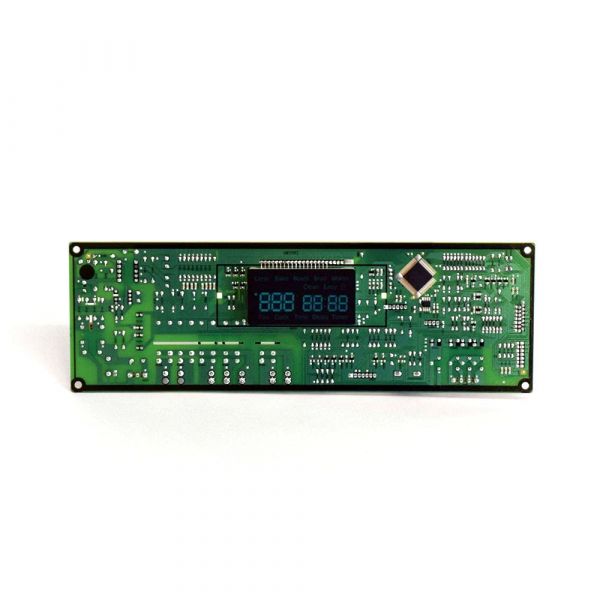
Samsung DE92-02588J Range Oven Main Control Board

Special Price $194.88 Regular Price $252.95
In stock
Available Quantity:   202
SKU
DE92-02588J

Product Description

The Samsung DE92-02588J Range Oven Main Control Board functions in a manner that involves the receipt of signals from different parts, regulation of heating coils, and management of cooking phases. The working process also includes the control of temperature, timer and sensor data that is required to cook the food properly. This control board enhance the cooking process of the oven to ensure that it cooks food evenly and is dependable.
Manufacturer

https://www.hnkparts.com/media/catalog/product/d/e/de92-02588j_smg_hnkparts.png
Manufacturer Name: Samsung
Product Number: DE92-02588J
OEM Part Number: DE92-02588J
Product Description: Oven Control Board

Choose the best Home Appliance parts and supplies from HnKParts!

  • Same Day Shipping

  • Best Quality And Best Price

  • Wide Range of Inventory

  • Best Customer Service

Have More Questions or Need Help to Place The Order?
Reach us at (866)723-0907 or [email protected]

Write Your Own Review
You're reviewing:Samsung DE92-02588J Range Oven Main Control Board
Your Rating
Customer Questions
What maintenance is required for the Samsung DE92-02588J Main Control Board?

Regularly inspect the control board for dust or debris and ensure connections are secure. Avoid moisture exposure and power surges. Using a soft brush or compressed air can prevent buildup. Always disconnect power before handling to ensure safety.

What are common issues with the Samsung DE92-02588J Main Control Board?

  • Range not heating or heating inconsistently.
  • Display or touchpad malfunctions.
  • Erratic temperature readings.
  • Failure to respond to control inputs.

Installation Steps

Step1: Switch off power at the breaker and confirm the unit is de-energized.

Step2: Pull the range forward and remove the rear access panel.

Step3: Locate the control board and note wire connections for reference.

Step4: Disconnect all wiring harnesses from the board.

Step5: Remove mounting screws and take out the faulty board.

Step6: Install the new control board and secure it firmly in place.

Step7: Reconnect wiring, reassemble panel, restore power, and test operation.