The store will not work correctly in the case when cookies are disabled.
We collect user information to provide a better user experience and protect the security of our website. By continuing to use our website, you acknowledge the use of cookies.
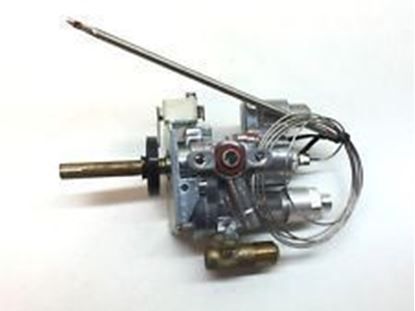
The Avanti Products Z-60120913 Oven Control Thermostat works by sensing heat levels and changing that power flow to keep a set temperature during the entire process of cooking. This prevents overheating or undercooking while ensuring even baking, broiling, or roasting of foods. Its design makes for an energy-efficient mode of cooking and ensures better cooking precision along with better food quality. It controls oven temperature for consistent cooking performance which is provided by its durable construction and precise and effective functions.
Step 1: The oven should be disconnected from the power supply prior to starting the replacement.
Step 2: The oven control thermostat should be found situated behind the control panel. A small flathead screwdriver should be utilized to loosen the screws on either side of the panel, then the panel should be detached to gain access to the thermostat.
Step 3: The wiring should be detached from the previous thermostat. Needle-nose pliers should be employed to carefully extract the wires connecting the thermostat to the power source.
Step 4: The mounting screws that hold the old thermostat in position should be taken out, using a Phillips-head screwdriver.
Step 5: The new thermostat should be positioned by placing the mounting screws through the new component and into the mounting holes.
Step 6: The wiring should be reconnected to the new thermostat. It should ensure that the wiring is routed in the same configuration as the previous thermostat and is securely fastened in the grooves.
Step 7: The panel should be reattached onto the oven.
Step 8: Power should be restored and the oven temperature should be checked.
The oven control thermostat should now be replaced. Should any complications be encountered or additional questions arise, assistance should be sought from an appliance repair expert.
Please remember, these instructions should serve as general guidance and should always be utilized alongside the manufacturer's manual, if accessible.