
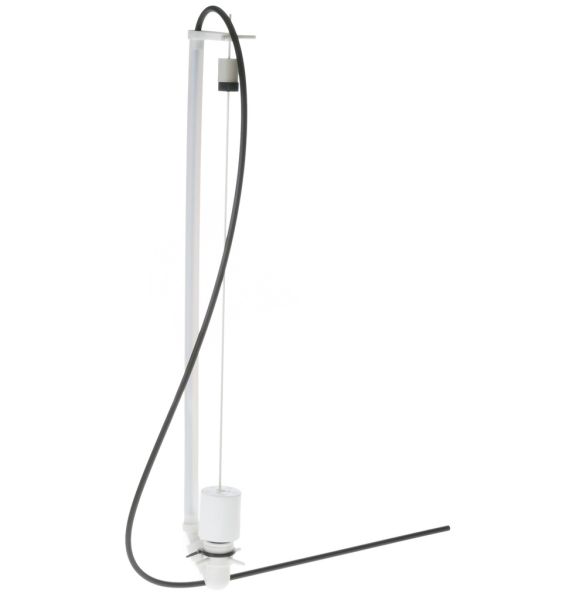
General Electric WS15X10077 Water Softener Brine Valve Assembly

Special Price $131.05 Regular Price $143.95
In stock
Available Quantity:   253
SKU
WS15X10077

Product Description

The General Electric WS15X10077 Brine-Valve Assembly is used in water softeners and controls the rate at which brine solution is allowed into the resin tank during the regeneration process. This valve assembly controls the flow of salt water into the system, helps in the process of washing the resin beads that soften the water by removing minerals. The advantage of this product is that it enables the appliance to last longer and softens the water to enhance the quality of the water being used.
Manufacturer

✓ This Product Replaces: WS03X10007, WS03X10023
https://www.hnkparts.com/media/catalog/product/w/s/ws15x10077_general-electric_hnkparts.png
Manufacturer Name: GENERAL ELECTRIC
Product Number: WS15X10077
OEM Part Number: WS15X10077
Product Description: Brine Valve Asm

Choose the best Home Appliance parts and supplies from HnKParts!

  • Same Day Shipping

  • Best Quality And Best Price

  • Wide Range of Inventory

  • Best Customer Service

Have More Questions or Need Help to Place The Order?
Reach us at (866)723-0907 or [email protected]

Write Your Own Review
You're reviewing:General Electric WS15X10077 Water Softener Brine Valve Assembly
Your Rating
Customer Questions
What maintenance is required for the General Electric WS15X10077 Brine Valve Assembly?

Check that the valve moves freely and seals properly. Clean the inlet and outlet areas to prevent blockages. Ensure connections remain tight and leak-free. Operate the valve periodically to confirm proper flow and consistent brine distribution.

What are common issues with the General Electric WS15X10077 Brine Valve Assembly?

  • Valve not opening fully.
  • Water flow inconsistent.
  • Brine not dispensing correctly.
  • Leakage at connections.

Installation Steps

Step1: Turn off the water supply and unplug the appliance.

Step2: Remove the old brine valve by disconnecting tubing and mounting screws.

Step3: Clean the valve area to remove residue or deposits.

Step4: Position the new brine valve and secure it with screws.

Step5: Reconnect all tubing firmly to prevent leaks.

Step6: Restore water supply, plug in, and test brine operation.