Step 1: The appliance is disconnected from the power source and the shelves mounted on the door are taken out.
Step 2: The freezer door is opened and the screws or tabs located on the upper left and right sides of the lower shelf are found.
Step 3: The screws or tabs are taken out and the plastic shelf support is gently extracted from within the freezer door.
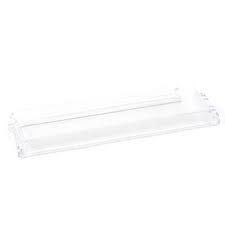
Step 4: The GE WR71X38335 shelf door is inserted into the opening, ensuring that the tabs or screws are aligned with the pre-drilled holes.
Step 5: The shelf is fastened securely by tightening the screws or tabs from Step 2.
Step 6: The plastic shelf supports are reinserted into the opening, confirming they are firmly positioned.
Step 7: All of the shelves on the door are reinstalled and the door is shut.
Step 8: The appliance is reconnected to the power supply and it is verified that the shelf door is correctly installed.
It is important to note that these instructions are served as general guidance and should always be followed in conjunction with the manufacturer's manual, if available.