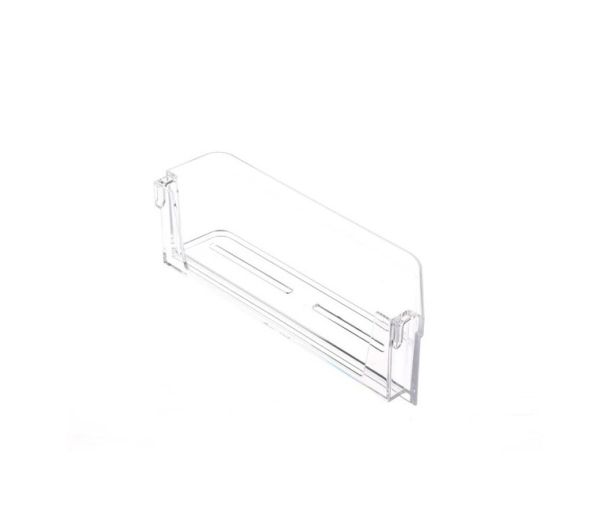
General Electric WR71X38292 Refrigerator Dispenser Door Bin
Special Price
$51.53
Regular Price
$68.32
In stock
Available Quantity:
40
SKU
WR71X38292
Product Description
The General Electric WR71X38292 Refrigerator-Dispenser Door-Bin is designed to be placed inside the door of the refrigerator to offer additional storage for beverages, condiments, or any other item. It is used in a way that it securely grips the items to be stored but can easily be accessed when required. It is also built to last and can easily help maximize fridge space as it provides a better way of arranging small items.
Manufacturer

✓ This Product Replaces:
WR71X25044