
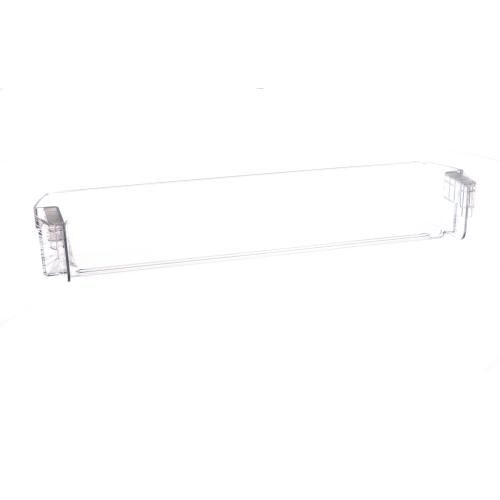
GE WR71X38288 Refrigerator Full Door Shelf

Special Price $50.19 Regular Price $54.95
In stock
Available Quantity:   20
SKU
WR71X38288
✓ This Product Replaces: WR71X25410

Product Description

The GE WR71X38288 Refrigerator Full Door Shelf is a removable storage bin that is constructed to be installed in the entire width of the appliance. Its primary use is to provide a smaller surface to place bottles, containers and other food materials in a spacious and stable way. The shelf is fitted by clicking into the tracks or accessories on the inside of the door. It effectively utilizes door space within the cooling system, supports organising the storage and aids in the reliability and periodic access of the stored products.
Refrigerator Parts, Shelfs | Drawers | Baskets,
0"X0"X0"
Manufacturer
https://www.hnkparts.com/media/catalog/product/w/r/wr71x38288-general-electric-hnkparts-1.jpg
Write Your Own Review
You're reviewing:GE WR71X38288 Refrigerator Full Door Shelf
Your Rating
Customer Questions
What maintenance is required for the GE WR71X38288 Full Door Shelf?

Regularly clean the refrigerator shelf with mild soap and warm water to prevent buildup of spills and food residue. Inspect mounting points for cracks or looseness to ensure secure placement. Avoid overloading to prevent pressure damage. Proper maintenance support maintain clean ensures stability, and prevents breakage or misalignment during use.

What are common issues with the GE WR71X38288 Full Door Shelf?

  • Cracking or breaking due to overloading or impact.
  • Loose or unstable fitting in refrigerator door brackets.
  • Warping or bending from heavy items or temperature changes.
  • Difficulty securing bottles due to worn or damaged edges.

Installation Steps

Step1: Disconnect all connections of refrigerator and handle carefully.

Step2: Open the refrigerator door fully and remove any parts from the damaged shelf.

Step3: Carefully lift the old shelf upward to disengage it from the door slots.

Step4: Align the new shelf with the mounting slots on the door.

Step5: Slide it down firmly until it locks into place.

Step6: Ensure it is level and secure before loading components.

Step7: Avoid overloading to prevent damage or injury.
