The store will not work correctly in the case when cookies are disabled.
We collect user information to provide a better user experience and protect the security of our website. By continuing to use our website, you acknowledge the use of cookies.
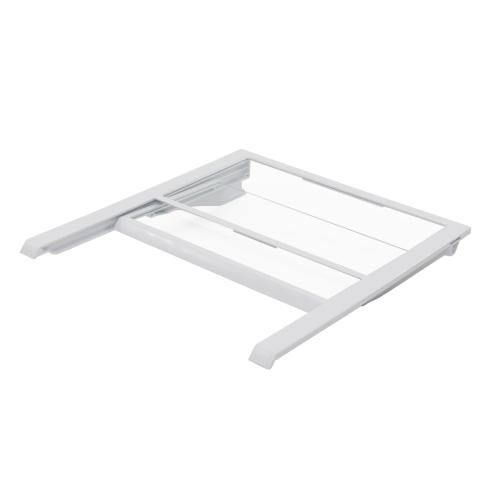
The General Electric WR71X30139 Refrigerator Quick Space Shelf can be adjusted to provide more height for taller items or more shelves for shorter ones. It minimizes the amount of space used horizontally and enhances the storage and retrieval of groceries. This practical solution improves the functionality of the case and helps to maintain order in the refrigerator, while not depriving it of convenience.
What maintenance is required for the General Electric WR71X30139 Quick Space Shelf?
Wipe the shelf with a soft, damp cloth to remove spills or debris. Avoid abrasive cleaners that may scratch the surface. Inspect mounting supports for stability and ensure proper seating in tracks. Do not overload beyond the recommended weight to prevent cracking.
What are common issues with the General Electric WR71X30139 Quick Space Shelf?
Shelf misaligns inside the compartment.
Items tip over easily.
Difficult to remove for cleaning.
Surface scratches with regular use.
Installation Steps
Step1: Open the refrigerator door fully for access.
Step2: Remove any items from the existing shelf area.
Step3: Tilt the old shelf upward and slide it out of the support tracks.
Step4: Align the new quick space shelf with the side rails.
Step5: Lower it into position and ensure it sits level and secure.