
Special Price
$58.74
Regular Price
$70.02
In stock
Available Quantity:
96
SKU
WR71X11052
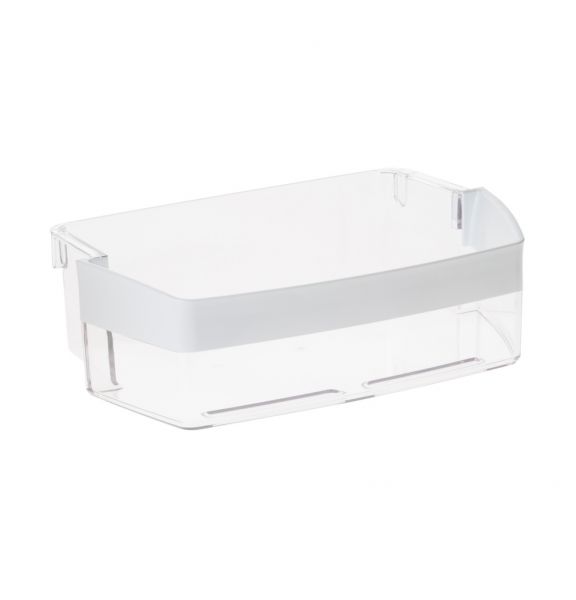
The General Electric WR71X11052 Refrigerator Door Gallon Bin Assembly Right Hand securely holds large containers, optimizing storage space in your fridge. Designed to fit into the refrigerator door, it provides a stable and convenient spot for milk, juice, and other gallon-sized bottles. The bin effortlessly slides into place, ensuring a snug fit that prevents tipping or spilling while opening and closing the door. Its open-top design allows for quick access, making it simple to grab what you need. By utilizing door space efficiently, this bin helps keep shelves uncluttered, improving organization and accessibility. Ideal for maximizing storage, it ensures frequently used items are always within reach.
Manufacturer

This Part Fits the Following Models (68)
GE GYE22GMNEES Refrigerator
GE GYE22GMNDES Refrigerator
GE GYE22GMNGES Refrigerator
GE GYE22GMNFES Refrigerator
GE GYE22GMNBES Bottom-Mount Refrigerator
GE GYE22GENGDS Refrigerator
GE GYE22GENFDS Refrigerator
GE GYE22GENEDS Refrigerator
GE GYE22GENDDS Refrigerator
GE GWE23GMNDES Refrigerator
GE GWE23GMNBES Side-by-Side Refrigerator
GE GYS22GSNCSS Bottom-Mount Refrigerator
GE GYE22HSKMSS Bottom-Mount Refrigerator
GE GYS22GMNCES Bottom-Mount Refrigerator
GE GYE22HBLHTS Bottom-Mount Refrigerator
Showing 1-15
of 68
| Manufacturer Name: GENERAL ELECTRIC Product Number: WR71X11052 OEM Part Number: WR71X11052 Product Description: Bin Gal Rh Ff Asm |
Choose the best Home Appliance parts and supplies from HnKParts!
Same Day Shipping
Best Quality And Best Price
Wide Range of Inventory
Best Customer Service
Have More Questions or Need Help to Place The Order?
Reach us at (866)723-0907 or [email protected]
Write Your Own Review
Customer Questions
Installation Steps
Step1: Unplug refrigerator before starting to ensure safety.
Step2: Remove existing door bin by lifting upward and sliding out.
Step3: Align new gallon bin with door slots carefully.
Step4: Slide bin down until it locks securely in place.
Step5: Check stability and load lightly to test fit.
