General Electric WR55X24347 Refrigerator Main Board Assembly

Special Price $122.85 Regular Price $131.48
In stock
Available Quantity:   30
SKU
WR55X24347

Product Description

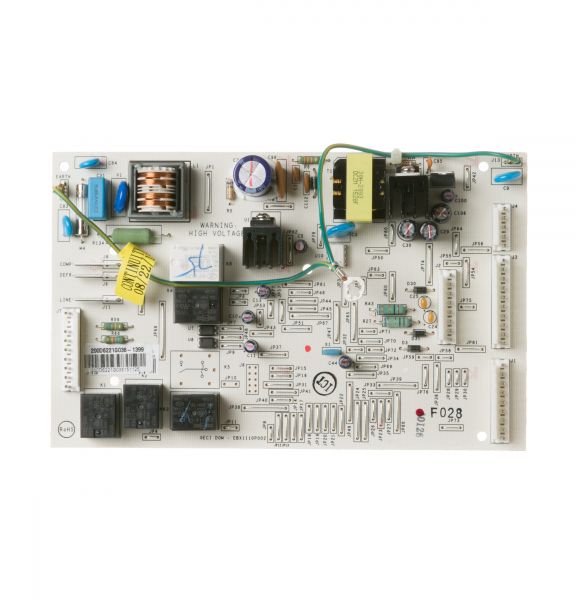
The General Electric WR55X24347 Refrigerator Main Board Assembly is the central control unit that manages key functions like cooling, defrosting, and temperature regulation. It ensures efficient operation by coordinating various components, such as the compressor and fans. This board processes temperature sensor data and adjusts cooling cycles accordingly, keeping food fresh and energy consumption optimal. It also controls defrost timing to prevent ice buildup, ensuring smooth performance. With precise temperature management and automatic adjustments, it helps maintain ideal storage conditions. The board supports proper airflow and cooling balance, preventing overheating or excessive frost. Designed for seamless operation, it enhances efficiency, preserves food quality, and ensures consistent cooling performance for your refrigerator.
Manufacturer
https://www.hnkparts.com/media/catalog/product/w/r/wr55x24347_general-electric_hnkparts.png
Manufacturer Name: GENERAL ELECTRIC
Product Number: WR55X24347
OEM Part Number: WR55X24347
Product Description: Main Board Assembly

Choose the best Home Appliance parts and supplies from HnKParts!

  • Same Day Shipping

  • Best Quality And Best Price

  • Wide Range of Inventory

  • Best Customer Service

Have More Questions or Need Help to Place The Order?
Reach us at (866)723-0907 or [email protected]

Write Your Own Review
You're reviewing:General Electric WR55X24347 Refrigerator Main Board Assembly
Your Rating
Customer Questions
No Questions
Please, mind that only logged in users can submit questions

Installation Steps

Step 1: The refrigerator should be disconnected from the wall outlet or power supply prior to starting the repair.

Step 2: The screws located at the top and bottom of the refrigerator’s rear access panel should be taken out.

Step 3: The main electronic control board kit assembly should be carefully extracted.

Step 4: All wiring linked to the old control board should be detached.

Step 5: The new control board should be positioned and the wiring should be reconnected, ensuring that all connections are tight.

Step 6: The screws and the access panel should be reinstalled.

Step 7: The refrigerator should be reconnected to the power supply.

Step 8: The reset button on the new control board should be activated.

Step 9: The refrigerator should be evaluated to confirm it is functioning correctly.

Step 10: Your newly functioning refrigerator should be relished!

Please note that these instructions are served as general guidance and should always be utilized alongside the manufacturer’s manual, if available.