GE WR55X11128 Refrigerator Isolation Water Valve Assembly
Special Price
$41.54
Regular Price
$51.95
In stock
Available Quantity:
127
SKU
WR55X11128
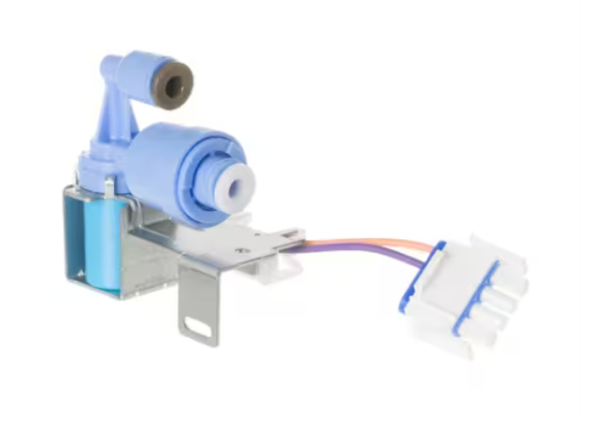
Product Description
The GE WR55X11128 Refrigerator Isolation Water Valve Assembly is a fluid control element, that manages the amount of flowing liquid in the fridge system. It is used to feed the ice maker and dispenser at the exact moment it is required. The valve works on the concept of the opening and closing of internal passages via electrically activated solenoids driven by the control board. It can be placed at the back or the bottom of the unit with the water line being connected to the inside plumbing.
Manufacturer
