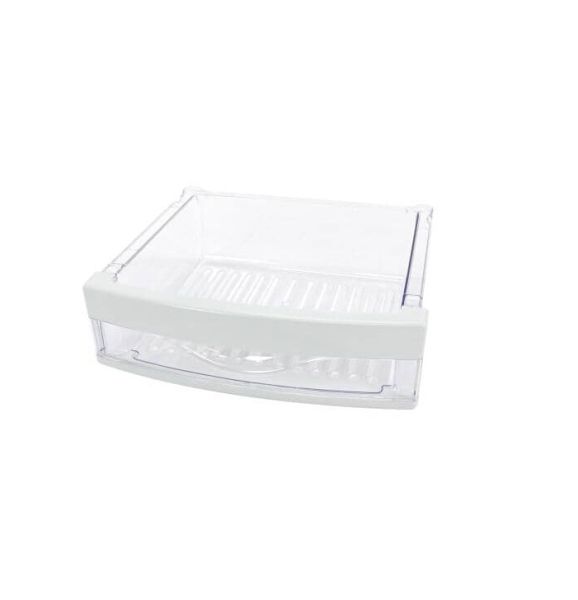
General Electric WR32X26217 Refrigerator Top Pan Assembly
Special Price
$69.99
Regular Price
$95.30
In stock
Available Quantity:
47
SKU
WR32X26217
Product Description
The General Electric WR32X26217 Refrigerator Top Pan Assembly plays the role of a lid to protect the inner mechanisms of the machine and keep them in an orderly manner. It fits perfectly on the appliance and does not compromise the structure of the unit in any way. It helps to protect the vital parts of the appliance and at the same time increases its durability while giving it a neat appearance.
Manufacturer

✓ This Product Replaces:
WR32X10655