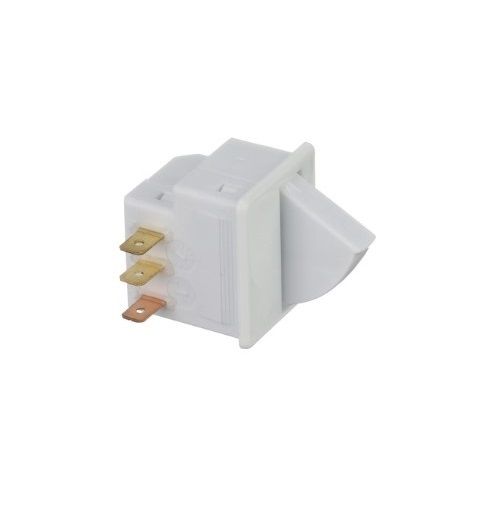
General Electric WR23X21444 Refrigerator Freezer Light Switch
$7.60
In stock
Available Quantity:
151
SKU
WR23X21444
Product Description
FREEZER LIGHT SWITCH
Manufacturer
