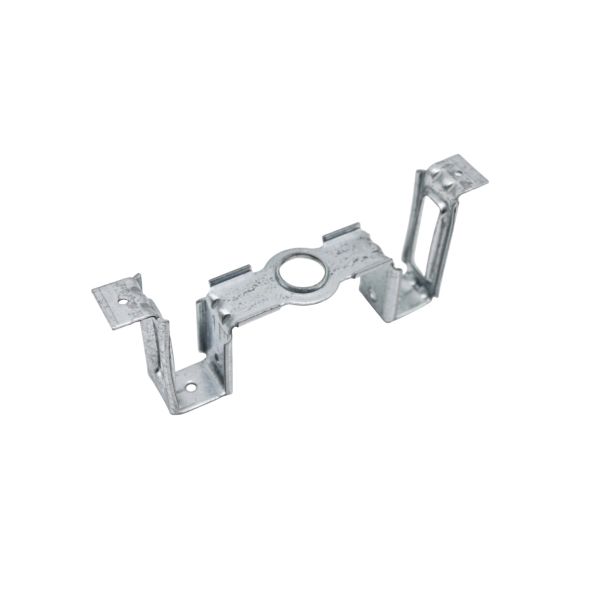
General Electric WR21X30013 Refrigerator Evaporator Fan Front Bracket
Special Price
$7.50
Regular Price
$8.29
In stock
Available Quantity:
33
SKU
WR21X30013
Product Description
EVAPORATOR FAN FRONT BRACKET
Manufacturer

✓ This Product Replaces:
WR02X10516