General Electric WR17X13200 Refrigerator Display Assembly
Special Price
$136.71
Regular Price
$157.95
In stock
Available Quantity:
68
SKU
WR17X13200
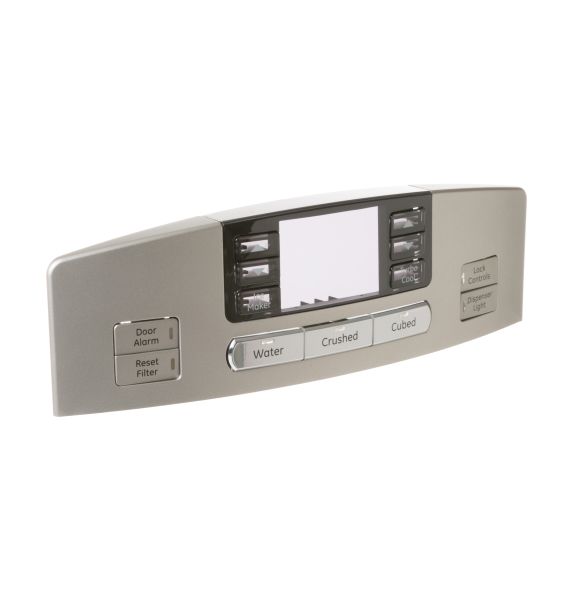
Product Description
General Electric WR17X13200 Refrigerator Display Assembly is an effective way of managing a refrigerator and its settings. This component include a touch screen that allows the user to control the temperature, other features of the system for optimal performance. The assembly functions in such a way that it receives signals from the sensors within the refrigerator and gives back clear and understandable information to the users. Some of the benefits include increased convenience, better control, and the general usefulness of the refrigerator.
Manufacturer
