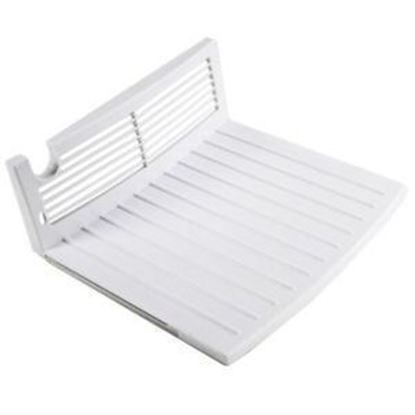
General Electric WR17X12911 Refrigerator Chiller Shelf
Special Price
$66.21
Regular Price
$77.95
In stock
Available Quantity:
22
SKU
WR17X12911
Product Description
CHILLER SHELF
Manufacturer

✓ This Product Replaces:
WR71X10393, WR17X11927