The store will not work correctly in the case when cookies are disabled.
We collect user information to provide a better user experience and protect the security of our website. By continuing to use our website, you acknowledge the use of cookies.
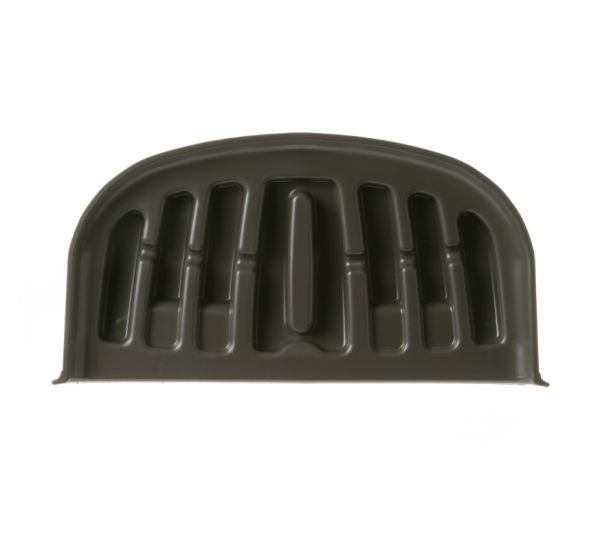
The General Electric WR17X12910 Refrigerator Recessed Grille is used to allow airflow while covering internal mechanical and airflow openings in the system. It permits air exchange to the condenser area while preventing debris, dust and foreign objects from entering internal compartments. It is installed at the lower front section of the unit where it fits into recessed mounting points along the base frame and aligns with the condenser airflow channel. It ensures secure fitment and proper airflow access thermal exchange efficiency and stable cooling system performance during operation.
Step 1: The refrigerator is disconnected from the electrical outlet and the water supply valve is shut off.
Step 2: The screws that hold the bottom shelf in place are taken out and it is slid out of the refrigerator.
Step 3: The drip tray is found and it is detached by releasing the clips on the sides.
Step 4: The new drip tray (WR17X12910 GE Drip Tray) is removed from its box and it is installed in the location of the previous one.
Step 5: The clips at the front of the refrigerator are reattached and they are fastened securely.
Step 6: The bottom shelf is inserted back into position and the refrigerator is plugged back into its power outlet.
Step 7: The water supply valve is activated and any signs of leaks are inspected.
It is important to note that these instructions are served as general advice and should always be utilized alongside the manufacturer's manual, if one is available.