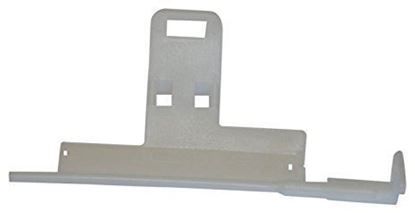
General Electric WR17X10706 Refrigerator Recessed Door Crank
$7.50
In stock
Available Quantity:
126
SKU
WR17X10706
Product Description
CRANK DOOR R
Manufacturer
