
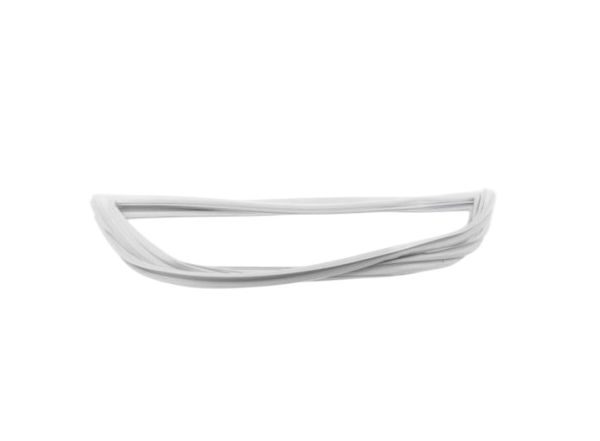
GE WR14X29857 Freezer Door Gasket-White

$33.80
In stock
Available Quantity:   22
SKU
WR14X29857

Product Description

The General Electric WR14X29857 Freezer Door Gasket-White forms an airtight barrier between the appliance door, and cabinet frame to maintain internal temperature conditions. It is installed along the perimeter of the freezer door, secured within a molded channel that aligns with the cabinet edge when the door is closed. The gasket is configured as a better magnetic strip assembly that compresses to create a continuous seal around the opening. By limiting air exchange and maintaining internal insulation integrity, it supports stable cooling conditions during normal freezer operation cycles.
Refrigerator Parts, Door Gaskets,
29"X19"X2"
Manufacturer
https://www.hnkparts.com/media/catalog/product/w/r/wr14x29857-36995.jpg

This Part Fits the Following Models (59)

Haier HTX18GAAWW Refrigerator Haier HTZ18JAAWW Refrigerator Haier MHR18GS Refrigerator Haier MHR18SP Refrigerator Haier MHR18WS Refrigerator Haier PRTS18SAARV Refrigerator Haier PRTS18SAAW Refrigerator Haier PRTS18SABW Refrigerator Haier PRTS18SACW Refrigerator Haier PRTS18SIAW Refrigerator Haier BWTD32 Refrigerator Haier CTH182GW Refrigerator Haier RFU18W Refrigerator Haier RRTG18PAAW Refrigerator Haier RRTG18PABB Refrigerator
Showing 1-15 of 59
Write Your Own Review
You're reviewing:GE WR14X29857 Freezer Door Gasket-White
Your Rating
Customer Questions
What maintenance is required for the GE WR14X29857 Door Gasket?

Wipe the gasket with a soft cloth and mild detergent to maintain cleanliness and elasticity. Inspect regularly for deformation or gaps. Ensure even alignment along the door frame. Keep the surface dry to support an airtight seal and efficient cooling performance.

What are common issues with the GE WR14X29857 Door Gasket?

  • Seal not closing securely.
  • Frost accumulation along edges.
  • Cold air escaping from door.
  • Moisture buildup near gasket.

Installation Steps

Step1: Unplug the refrigerator for safety.

Step2: Pull the old gasket from the retaining groove carefully.

Step3: Clean the channel thoroughly to remove debris or residue.

Step4: Align the new gasket evenly along the door perimeter.

Step5: Press firmly into place, ensuring a tight seal.

Step6: Close the door and confirm proper alignment and sealing.
