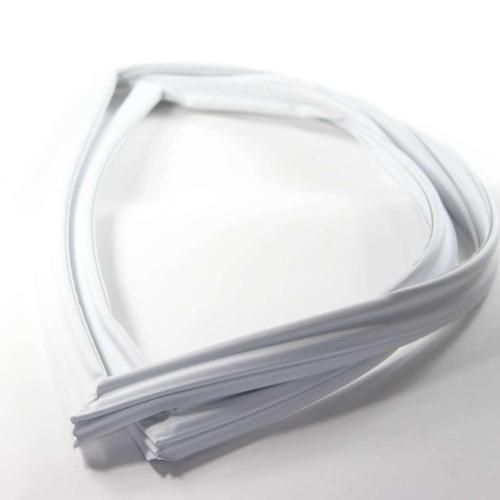
GENERAL ELECTRIC WR14X29853 White Gasket-Refrigerator
Special Price
$145.78
Regular Price
$161.95
In stock
Available Quantity:
160
SKU
WR14X29853
Product Description
The General Electric WR14X29853 Refrigerator Door Gasket is designed to create an airtight seal that retains cold air and blocks the intrusion of warm air. When the door is shut, it presses on the refrigerator cabinet and keeps the internal temperatures stable. This is a white gasket that fits on the inside of the appliance door and slides into the groove.
41"X29"X2"
Manufacturer
