
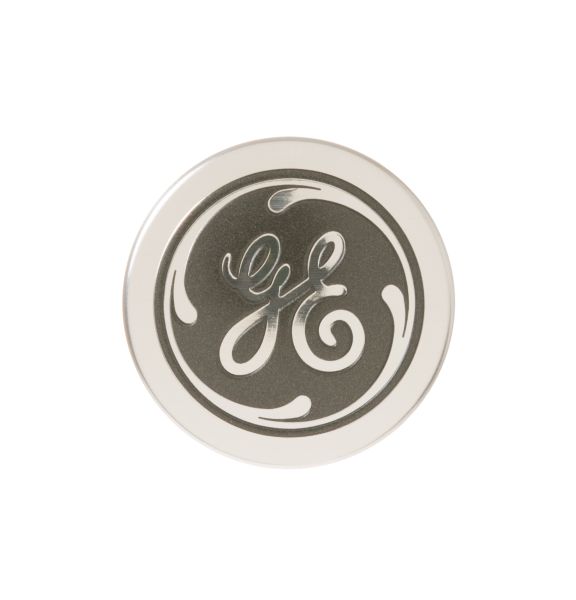
General Electric WR02X31104 Refrigerator Nameplate Badge

$8.14
In stock
Available Quantity:   25
SKU
WR02X31104

Product Description

The General Electric WR02X31104 Refrigerator Nameplate Badge is used to replace the appliance’s identification and branding. This badge contains basic information about the model and serial number to facilitate maintenance and servicing. It functions by firmly sticking to the surface of the refrigerator and keeping a neat and polished look. Advantages include preserving the refrigerator’s appearance, compliance with the manufacturer’s requirements, and ease of service.
Manufacturer

https://www.hnkparts.com/media/catalog/product/w/r/wr02x31104_general-electric_hnkparts.png
Manufacturer Name: GENERAL ELECTRIC
Product Number: WR02X31104
OEM Part Number: WR02X31104
Product Description: Ge Badge

Choose the best Home Appliance parts and supplies from HnKParts!

  • Same Day Shipping

  • Best Quality And Best Price

  • Wide Range of Inventory

  • Best Customer Service

Have More Questions or Need Help to Place The Order?
Reach us at (866)723-0907 or [email protected]

Write Your Own Review
You're reviewing:General Electric WR02X31104 Refrigerator Nameplate Badge
Your Rating
Customer Questions
What maintenance is required for the General Electric WR02X31104 Nameplate Badge?

Maintain the refrigerator nameplate badge by gently cleaning it with a soft, damp cloth to remove dust and residue. Avoid abrasive cleaners to prevent scratching or fading. Ensure the surface remains dry to prevent loosening.

What are common issues with the General Electric WR02X31104 Nameplate Badge?

  • Badge becoming loose or detaching from the surface.
  • Fading or discoloration over time.
  • Scratches or surface wear affecting appearance.
  • Misalignment after installation.

Installation Steps

Step1: Clean refrigerator door surface with mild detergent and dry thoroughly to ensure adhesion.

Step2: Mark alignment using old badge or template for straight placement.

Step3: Peel adhesive backing carefully without touching adhesive.

Step4: Position new badge and press firmly from center outward to remove air bubbles.

Step5: Avoid moisture or cleaning during this period to ensure proper adhesion.

Step6: Handle gently.