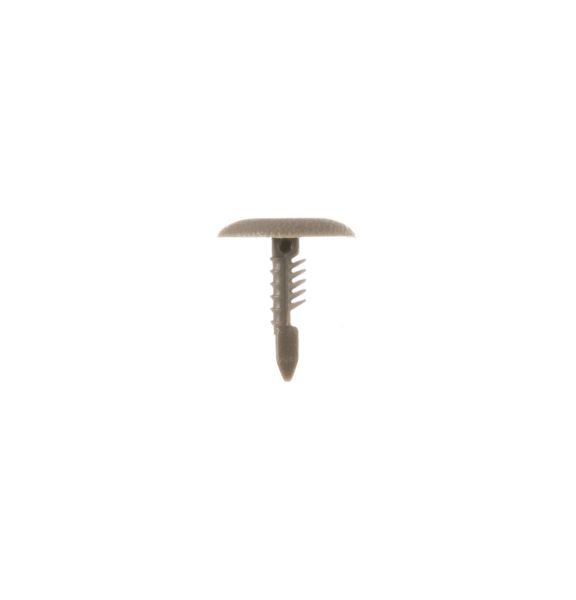
Step 1: The appliance should be disconnected from the electrical supply and any water supply linked to the appliance should be turned off. All essential tools and materials required for this task should be collected. A Phillips head screwdriver, a putty knife, and the new door plug will be required.
Step 2: The door of the appliance should be opened and the putty knife should be utilized to eliminate any caulk surrounding the edge of the door plug. If the caulk remains stuck, the screwdriver should be employed to detach the edges of the current door plug.
Step 3: The old door plug should be gently removed and disposed of. It should ensure that all remnants of the previous caulk and debris are cleared from the door.
Step 4: The new door plug should be inserted into the opening and pressed down firmly to guarantee a snug fit. After positioning it, pressure should be applied along all edges of the door plug to confirm it is secure.
Step 5: A substantial amount of caulk should be applied to seal the edges of the new door plug. It should be allowed to cure completely before the appliance is operated.
Step 6: Connections for power and water should be re-established to the appliance and the functionality of the new door plug should be verified.
Please remember, these instructions serve as general guidance and should always be referenced alongside the manufacturer's manual, if available.