
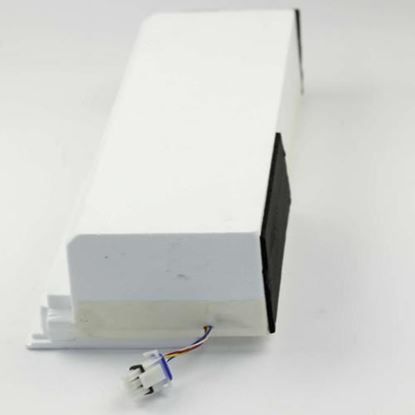
General Electric WR02X12860 Refrigerator Damper Foam Assembly 42

Special Price $227.64 Regular Price $296.93
In stock
Available Quantity:   2
SKU
WR02X12860

Product Description

The General Electric WR02X12860 Refrigerator Damper Foam Assembly 42 is installed in the fresh food area of a fridge to insulate and control the amount of air that is flowing between the compartments. The component regulates the balance of temperature by cushioning and sealing the air damper housing. The damper foam assembly operates by creating a positive seal that reduces undesirable air flow and permits regulated transfer of cold air in the freezer to the refrigerator.
Manufacturer

https://www.hnkparts.com/media/catalog/product/w/r/wr02x12860_general-electric_hnkparts.jpg
Manufacturer Name: GENERAL ELECTRIC
Product Number: WR02X12860
OEM Part Number: WR02X12860
Product Description: Damper Foam Asm 42

Choose the best Home Appliance parts and supplies from HnKParts!

  • Same Day Shipping

  • Best Quality And Best Price

  • Wide Range of Inventory

  • Best Customer Service

Have More Questions or Need Help to Place The Order?
Reach us at (866)723-0907 or [email protected]

Write Your Own Review
You're reviewing:General Electric WR02X12860 Refrigerator Damper Foam Assembly 42
Your Rating
Customer Questions
What maintenance is required for the General Electric WR02X12860 Damper Foam Assembly?

Regularly inspect the refrigerator damper foam for cracks, tears, or deformation. Gently clean with a damp cloth to remove dust and debris. Proper maintenance ensures efficient airflow and prevents uneven cooling. Avoid using harsh chemicals that could damage the foam.

What are common issues with the General Electric WR02X12860 Damper Foam Assembly?

  • Reduced airflow causing uneven cooling.
  • Foam deterioration or tearing.
  • Improper sealing of the damper.
  • Noise from loose or misaligned foam.

Installation Steps

Step1: Unplug refrigerator and remove items for safety before starting.

Step2: Access fresh food compartment air damper housing by removing cover screws.

Step3: Disconnect old foam assembly carefully, noting orientation.

Step4: Install new damper foam assembly in same position.

Step5: Reattach housing cover and secure screws tightly.

Step6: Restore power and verify airflow control operates smoothly.