
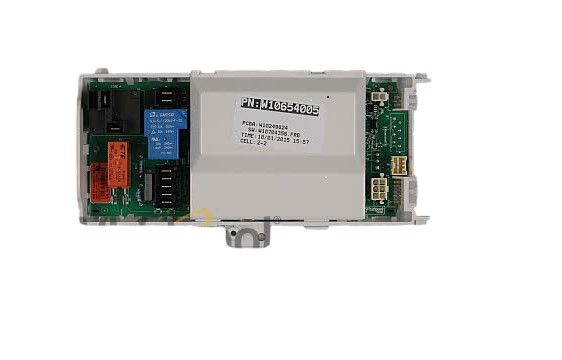
Whirlpool WPW10654005 Dryer Electronic Control Board

Special Price $222.44 Regular Price $232.95
In stock
Available Quantity:   80
SKU
WPW10654005

Product Description

The Whirlpool WPW10654005 Dryer Electronic Control Board is responsible for managing various operations for efficiency. It takes user inputs, controls the sensors, and determines the time and temperature of drying. Information is transmitted to other components, such as the motor and heating element, for proper functioning. This control board improves drying accuracy, protects against overheating, and increases energy consumption.
Manufacturer

https://www.hnkparts.com/media/catalog/product/w/p/wpw10654005-31822.jpg
Manufacturer Name: WHIRLPOOL
Product Number: WPW10654005
OEM Part Number: WPW10654005
Product Description: Cntrl-Elec+Core

Choose the best Home Appliance parts and supplies from HnKParts!

  • Same Day Shipping

  • Best Quality And Best Price

  • Wide Range of Inventory

  • Best Customer Service

Have More Questions or Need Help to Place The Order?
Reach us at (866)723-0907 or [email protected]

Write Your Own Review
You're reviewing:Whirlpool WPW10654005 Dryer Electronic Control Board
Your Rating
Customer Questions
What maintenance is required for the Whirlpool WPW10654005 Electronic Control Board?

Periodically inspect the dryer control board for dust or moisture buildup. Ensure all wiring connections are secure and intact. Avoid spilling liquids near the board, and always disconnect power before performing checks to prevent electrical hazards.

What are common issues with the Whirlpool WPW10654005 Electronic Control Board?

  • Dryer fails to start or respond to commands.
  • Erratic or intermittent cycle operation.
  • Display or indicator lights malfunction.
  • Heating elements fail to activate properly.
  • Error codes appear unexpectedly.

Installation Steps

Step1: Unplug dryer from power outlet to avoid electric shock.

Step2: Remove top panel and front console screws to access control area.

Step3: Detach faulty control board from mounting clips or screws.

Step4: Install new board and secure firmly.

Step5: Reconnect all wiring harnesses to matching terminals.

Step6: Reassemble panels and restore power to test cycle.