
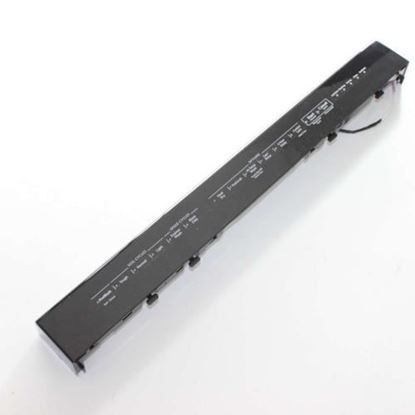
Whirlpool WPW10537349 Dishwasher Control Panel

Special Price $181.19 Regular Price $200.95
Out of stock
Available Quantity:   0
SKU
WPW10537349

Product Description

The Whirlpool WPW10537349 Dishwasher Control Panel is used to work by passing on commands from the user to the internal control board and controlling the duration of the cycle, the temperature of the water and other aspects. The panel communicates with the sensors to control the cleaning progress and make necessary changes to settings. It is simple to use and has options for choosing washing modes that enhance energy and water usage.
Manufacturer

✓ This Product Replaces: W10537349
https://www.hnkparts.com/media/catalog/product/w/p/wpw10537349_whirlpool_hnkparts.jpg
Manufacturer Name: WHIRLPOOL
Product Number: WPW10537349
OEM Part Number: WPW10537349
Product Description: Panel-Cntl

Choose the best Home Appliance parts and supplies from HnKParts!

  • Same Day Shipping

  • Best Quality And Best Price

  • Wide Range of Inventory

  • Best Customer Service

Have More Questions or Need Help to Place The Order?
Reach us at (866)723-0907 or [email protected]

Write Your Own Review
You're reviewing:Whirlpool WPW10537349 Dishwasher Control Panel
Your Rating
Customer Questions
What maintenance is required for the Whirlpool WPW10537349 Control Panel?

Maintain the dishwasher control panel by regularly wiping it with a soft, damp cloth to remove grease and residue. Avoid chemicals that may damage the surface or buttons. Ensure the panel stays dry to prevent electrical issues. Periodically check for unresponsive buttons and secure connections.

What are common issues with the Whirlpool WPW10537349 Control Panel?

  • Unresponsive or stuck buttons.
  • Display not lighting up or flickering.
  • Incorrect cycle selection or failure to start.
  • Error codes appearing unexpectedly.
  • Intermittent power or communication failure.

Installation Steps

Step1: Disconnect dishwasher power and shut off water supply to prevent electric shock or leaks.

Step2: Remove inner door panel screws and carefully open control housing door assembly.

Step3: Disconnect ribbon cable and wiring harness from old control panel gently noting positions.

Step4: Install new control panel, align connectors, and secure mounting screws firmly in place.

Step5: Reassemble door, restore power and water supply, then test wash cycle for proper operation.