
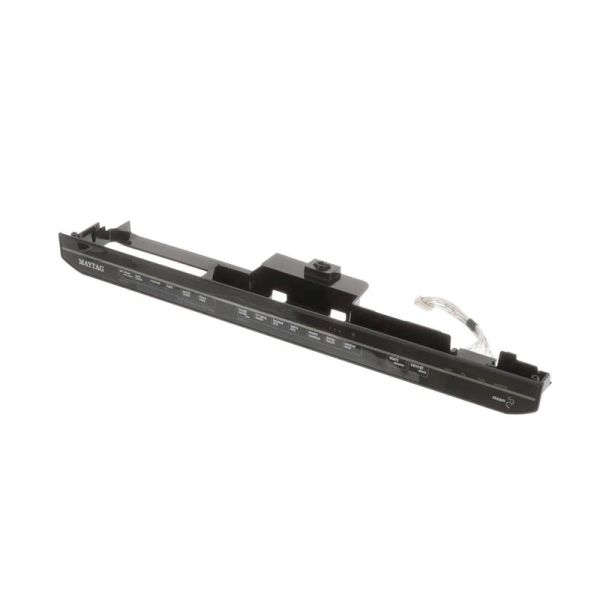
Whirlpool WPW10475779 Dishwasher Control Panel

Special Price $136.72 Regular Price $227.13
In stock
Available Quantity:   7
SKU
WPW10475779
✓ This Product Replaces: W10475779

Product Description

The Whirlpool WPW10475779 Dishwasher Control Panel inputs the selections and sends signals to the internal circuits to start and control washing, rinsing and drying operations. To facilitate its integration, it provides accurate response to the input command signals, controls the water flow rate, and adjusts the cycle time accordingly. This panel provides ease of operation through operation buttons, optimizes the cycle with accurate control and helps in maintaining the cleaning quality.
Manufacturer

https://www.hnkparts.com/media/catalog/product/w/p/wpw10475779-59247.jpg
Manufacturer Name: WHIRLPOOL
Product Number: WPW10475779
OEM Part Number: WPW10475779
Product Description: Panel-Cntl

Choose the best Home Appliance parts and supplies from HnKParts!

  • Same Day Shipping

  • Best Quality And Best Price

  • Wide Range of Inventory

  • Best Customer Service

Have More Questions or Need Help to Place The Order?
Reach us at (866)723-0907 or [email protected]

Write Your Own Review
You're reviewing:Whirlpool WPW10475779 Dishwasher Control Panel
Your Rating
Customer Questions
What maintenance is required for the Whirlpool WPW10475779 Control Panel?

Keep the dishwasher control panel clean and free from moisture or food debris by wiping it gently with a soft, damp cloth. Avoid using abrasive cleaners that can damage buttons or display. Regular inspection ensures proper button response and avoid electrical issues. Always disconnect power before cleaning.

What are common issues with the Whirlpool WPW10475779 Control Panel?

  • Dishwasher buttons not responding or sticking.
  • Display screen flickering or blank.
  • Error codes appearing frequently.
  • Inconsistent or incomplete wash cycles.

Installation Steps

Step1: Disconnect dishwasher power at the breaker to prevent electrical shock.

Step2: Open the dishwasher door and remove inner panel screws.

Step3: Carefully separate the control panel housing.

Step4: Disconnect wiring connectors from the old panel.

Step5: Attach connectors to the new control panel securely.

Step6: Reassemble the panel and tighten all screws.

Step7: Restore power and test panel operations.