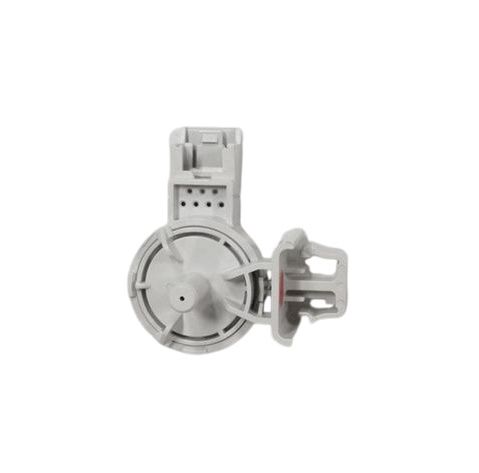
Whirlpool WPW10448876 Washer Water Level Pressure Switch
Special Price
$25.88
Regular Price
$34.11
In stock
Available Quantity:
26
SKU
WPW10448876
Product Description
The Whirlpool WPW10448876 Washer Water Level Pressure Switch ensures efficient water usage by detecting and regulating water levels accurately. It functions by sensing air pressure changes in the washer’s tub and transmitting signals to the control board. This process allows the washer to adjust water intake, preventing overflows or insufficient filling. Proper water level management enhances washing performance while reducing water and energy waste. The operation is used to extend the washer’s longevity and ensures optimal cleaning efficiency with every cycle.
Manufacturer
