
Special Price
$134.34
Regular Price
$230.54
In stock
Available Quantity:
20
SKU
WPW10436248
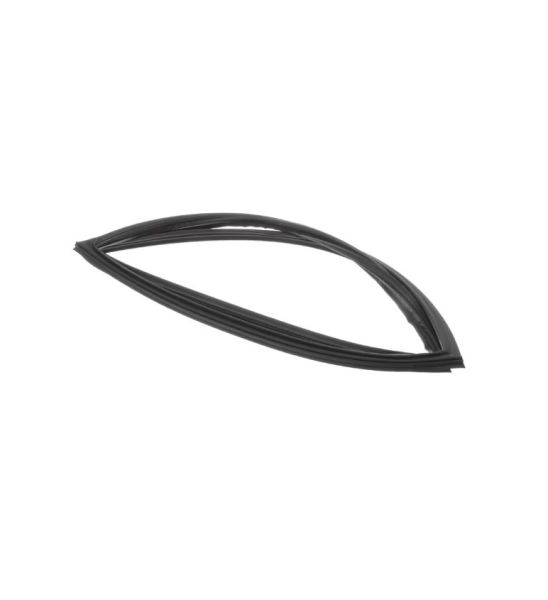
The Whirlpool WPW10436248 Door Gasket FIP helps to improve the efficiency of the refrigerator by keeping the inside cool and fresh. This gasket is used by wrapping around the refrigerator door so that cold air cannot leak out and warm air cannot get in hence ensuring the right temperatures inside. It is made of black material and enhances energy conservation, prevents food from spoiling, and cuts down on electricity expenses.
Manufacturer

✓ This Product Replaces:
12683803B, 67003553, W10131327, W10164035, W10436248
This Part Fits the Following Models (316)
Maytag MBF2258FEW00 Bottom-Mount Refrigerator
Maytag MBF2258FEZ00 Bottom-Mount Refrigerator
Maytag MBF2258XEB1 Bottom-Mount Refrigerator
Maytag MBF2258XEB5 Bottom-Mount Refrigerator
Maytag MBF2258WEW1 Refrigerator
Maytag MBF2258WEB0 Refrigerator
Maytag MBF2258WEB1 Bottom-Mount Refrigerator
Maytag MBF2258WEW0 Bottom-Mount Refrigerator
Maytag MBF2258WES2 Refrigerator
Maytag MBF2258XEW4 Bottom-Mount Refrigerator
Maytag MBF2258XEW1 Bottom-Mount Refrigerator
Maytag MBF2254HEQ4 Bottom-Mount Refrigerator
Maytag MBF2254HEW4 Bottom-Mount Refrigerator
Maytag MBF2255KEW11 Bottom-Mount Refrigerator
Maytag MBF2255KEB11 Bottom-Mount Refrigerator
Showing 1-15
of 316
| Manufacturer Name: WHIRLPOOL Product Number: WPW10436248 OEM Part Number: WPW10436248 Product Description: Gasket-Fip |
Choose the best Home Appliance parts and supplies from HnKParts!
Same Day Shipping
Best Quality And Best Price
Wide Range of Inventory
Best Customer Service
Have More Questions or Need Help to Place The Order?
Reach us at (866)723-0907 or [email protected]
Write Your Own Review
Customer Questions
Installation Steps
Step1: Unplug refrigerator and open door, inspect old gasket seating channel.
Step2: Peel back corner of old gasket starting at one edge, remove fully.
Step3: Clean groove with mild soap solution and dry thoroughly.
Step4: Align new gasket and press into channel section by section.
Step5: Warm gasket with hair dryer for flexibility and ensure full seal.
Step6: Close door, check alignment and ensure proper sealing. Use gloves and avoid sharp edges.
