
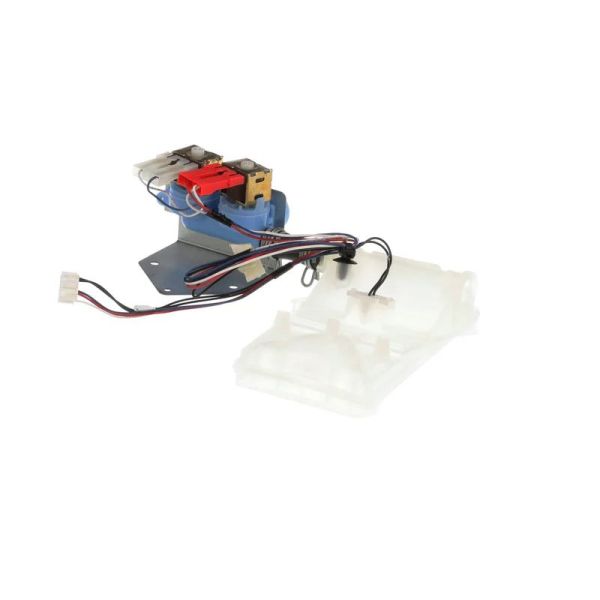
Whirlpool WPW10432353 Washer Water Inlet Valve Assembly

Special Price $112.47 Regular Price $126.95
In stock
Available Quantity:   53
SKU
WPW10432353

Product Description

The Whirlpool WPW10432353 Washer Water Inlet Valve Assembly is responsible for regulating the flow of water into the washing machine according to the selected cycle. It operates by controlling the amount of water supplied to the drum, so as to maintain a accurate water level depending on the wash cycle. This product is an inlet valve which is an essential part of the washer and is meant to replace a faulty one.
Manufacturer

✓ This Product Replaces: W10334612, W10357184, W10337065, W10432353
https://www.hnkparts.com/media/catalog/product/w/p/wpw10432353.jpg
Manufacturer Name: WHIRLPOOL
Product Number: WPW10432353
OEM Part Number: WPW10432353
Product Description: Valve

Choose the best Home Appliance parts and supplies from HnKParts!

  • Same Day Shipping

  • Best Quality And Best Price

  • Wide Range of Inventory

  • Best Customer Service

Have More Questions or Need Help to Place The Order?
Reach us at (866)723-0907 or [email protected]

Write Your Own Review
You're reviewing:Whirlpool WPW10432353 Washer Water Inlet Valve Assembly
Your Rating
Customer Questions
What maintenance is required for the Whirlpool WPW10432353 Water Inlet Valve Assembly?

Regularly inspect the washer valve for leaks, mineral buildup, or clogs in the screens. Cleaning the inlet filters ensures proper water flow and prevents performance issues. Always turn off the water supply before servicing and handle connections carefully to avoid damage.

What are common issues with the Whirlpool WPW10432353 Water Inlet Valve Assembly?

  • Reduced or no water flow into the washer.
  • Leaks around the valve connections.
  • Valve failing to open or close properly.
  • Noise or humming during operation.

Installation Steps

Step1: Disconnect washer power and shut off both hot and cold water supply valves for safety.

Step2: Place a towel and disconnect inlet hoses from the old valve assembly.

Step3: Remove mounting screws and carefully detach the faulty valve from rear panel.

Step4: Install the new valve, aligning ports and securing screws tightly.

Step5: Reconnect hoses, turn on water supply, restore power, and test for leaks and proper fill operation.