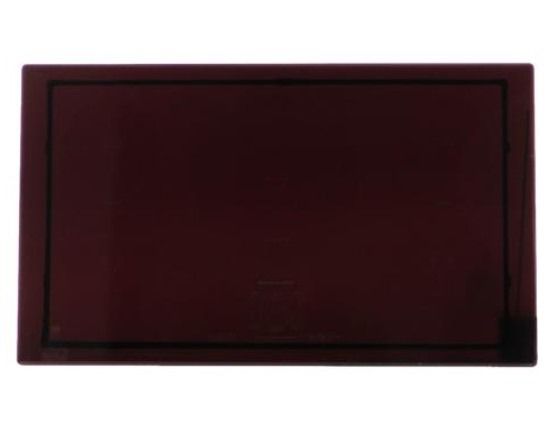
Whirlpool WPW10396829 Range Glass Cooktop
Special Price
$317.22
Regular Price
$364.95
In stock
Available Quantity:
13
SKU
WPW10396829
Product Description
The Whirlpool WPW10396829 Range Cooktop is simple to slide and clean, it incorporates quality burners that heat up fast and evenly to control the heat on the food. The product is designed for functionality with its glass main top by spreading heat evenly. The glass is also non-porous and does not scuff easily, and it is easy to clean as it only requires wiping with a cloth.
Manufacturer

✓ This Product Replaces:
W10396829