Special Price
$148.47
Regular Price
$165.95
In stock
Available Quantity:
22
SKU
WPW10347596
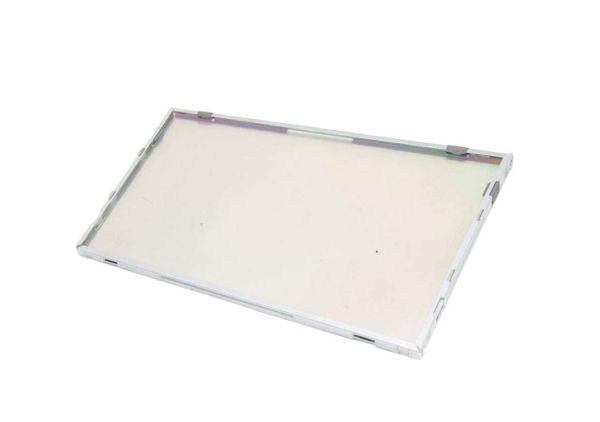
The Whirlpool WPW10347596 Range Door Glass designed to regulate the temperature within the oven and offer a clear view of the cooking process. Made of a material that is heat resistant, it provide a heat-proof surface to facilitate the cooking process. The tempered glass construction is safer since it is less likely to break and the smooth surface makes it easier to clean. This replacement part is designed to fit into compatible models and it will help to restore the functionality of the component.
Manufacturer
✓ This Product Replaces:
W10347596
This Part Fits the Following Models (477)
Jenn-Air JMW3430DB01 Wall Oven/Microwave Combo
Jenn-Air JMW3430DB02 Wall Oven/Microwave Combo
Jenn-Air JMW3430DB00 Wall Oven/Microwave Combo
Jenn-Air JMW3430DP04 Wall Oven/Microwave Combo
Jenn-Air JMW3430DS00 Wall Oven/Microwave Combo
Jenn-Air JMW3430DP01 Wall Oven/Microwave Combo
Jenn-Air JMW3430DP00 Wall Oven/Microwave Combo
Jenn-Air JMW3430DB03 Wall Oven/Microwave Combo
Jenn-Air JMW3430DP03 Wall Oven/Microwave Combo
Jenn-Air JMW3430DP02 Wall Oven/Microwave Combo
Jenn-Air JJW2430DP03 Electric Wall Oven
Jenn-Air JJW2430DP02 Electric Wall Oven
Jenn-Air JJW2430DP00 Electric Wall Oven
Jenn-Air JJW2430DP01 Electric Wall Oven
Jenn-Air JJW2430DB01 Electric Wall Oven
Showing 1-15
of 477
| Manufacturer Name: WHIRLPOOL Product Number: WPW10347596 OEM Part Number: WPW10347596 Product Description: Glass-Door |
Choose the best Home Appliance parts and supplies from HnKParts!
Same Day Shipping
Best Quality And Best Price
Wide Range of Inventory
Best Customer Service
Have More Questions or Need Help to Place The Order?
Reach us at (866)723-0907 or [email protected]
Write Your Own Review
Customer Questions
Installation Steps
Step1: Disconnect power to the range to prevent electrical hazards.
Step2: Open the oven door and remove the outer door panel screws.
Step3: Carefully lift out the damaged glass from the door frame.
Step4: Insert the new glass assembly into the panel, aligning edges correctly.
Step5: Reattach the door panel and tighten all screws securely.
Step6: Close the door, restore power, and verify proper operation.
