Special Price
$211.28
Regular Price
$249.38
In stock
Available Quantity:
75
SKU
WPW10335920
The 
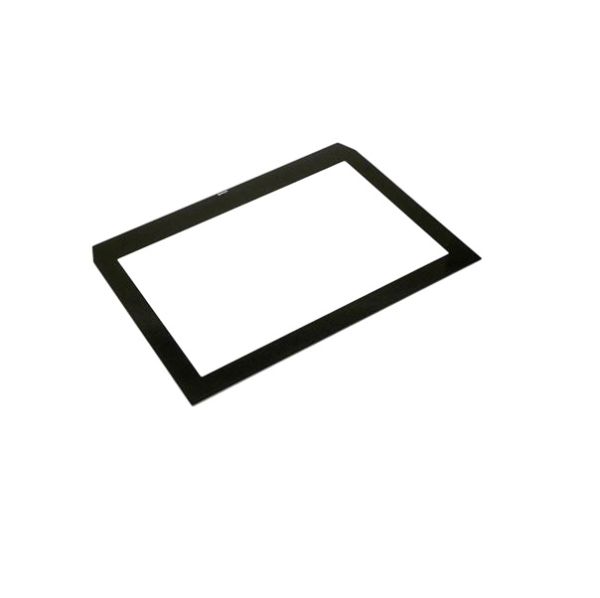
Whirlpool WPW10335920 Oven Inner Door Glass is used to trap heat and provide a clear view of the cooking chamber while reducing heat and energy. This inner door glass is made to be heat resistant to ensure that heat is evenly spread throughout the cooking chamber. It is easy to clean and does not allow the formation of stains which makes the interior of the oven look clean. It has better insulation that helps in achieving accurate cooking temperatures and also makes the outer door surface to be cooler.
Manufacturer
✓ This Product Replaces:
W10335920
This Part Fits the Following Models (34)
KitchenAid KEBS109BWH00 Oven
KitchenAid KEBS109BSS00 Oven
KitchenAid KEBS109BSP00 Oven
KitchenAid KEBS109BBL00 Oven
KitchenAid Electric Oven KEBK101BBL01 KEBK101BBL01
KitchenAid Wall Oven/Microwave Combo KEMS309BSS01 KEMS309BSS01
KitchenAid Wall Oven/Microwave Combo KEMS309BBL01 KEMS309BBL01
KitchenAid Wall Oven/Microwave Combo KEMS309BSP01 KEMS309BSP01
KitchenAid Wall Oven/Microwave Combo KEMS309BWH01 KEMS309BWH01
KitchenAid KEBS209BSP00 Oven
KitchenAid KEBS209BBL00 Oven
KitchenAid KEBS209BSS00 Oven
KitchenAid Electric Oven KEBK206BBL01 KEBK206BBL01
KitchenAid Electric Oven KEBK206BSS01 KEBK206BSS01
KitchenAid Electric Oven KEBK101BSS01 KEBK101BSS01
Showing 1-15
of 34
| Manufacturer Name: WHIRLPOOL Product Number: WPW10335920 OEM Part Number: WPW10335920 Product Description: Frame-Glas |
Choose the best Home Appliance parts and supplies from HnKParts!
Same Day Shipping
Best Quality And Best Price
Wide Range of Inventory
Best Customer Service
Have More Questions or Need Help to Place The Order?
Reach us at (866)723-0907 or [email protected]
Write Your Own Review
Customer Questions
Installation Steps
Step1: Unplug the oven or switch off the circuit breaker for safety.
Step2: Open the oven door and remove the door panels.
Step3: Carefully separate the door frame and remove the damaged inner glass.
Step4: Place the new glass panel into the frame, aligning it properly.
Step5: Reassemble the door, tighten the screws securely, and confirm the door closes correctly.
