Special Price
$45.15
Regular Price
$77.05
In stock
Available Quantity:
203
SKU
WPW10299224
The 
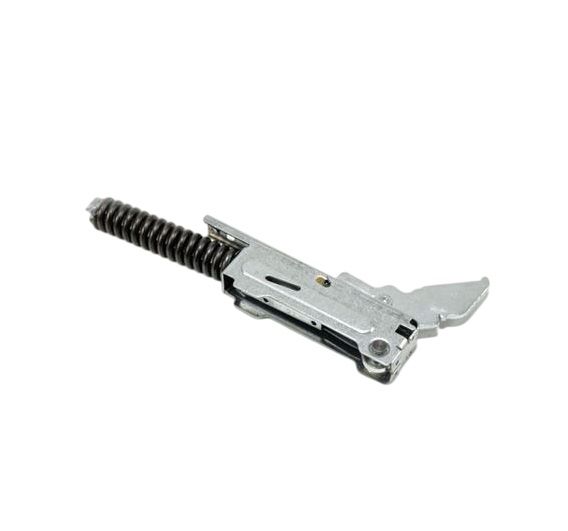
Whirlpool WPW10299224 Range Door Hinge ensures smooth and secure door operation by controlling the opening and closing mechanism with balanced tension. Designed for durability, it prevents abrupt movements and maintains stability while the oven is in use. The hinge functions by utilizing a spring-loaded system that allows controlled motion, reducing wear on the door assembly. Its sturdy construction enhances longevity, minimizing the need for frequent replacements. By maintaining proper alignment, it helps retain heat efficiently, contributing to consistent cooking performance. The high-quality build ensures reliable functionality, improving safety by preventing sudden door slams. This component supports seamless operation, making everyday cooking more convenient and efficient.
Manufacturer
✓ This Product Replaces:
W10299224
This Part Fits the Following Models (603)
Maytag MER7662WS3 Range
Maytag MER7662WS2 Range
Maytag MER7662WW2 Range
Maytag MER7664XW0 Range
Maytag MER7685BW0 Range
Maytag MER7685BS0 Range
Maytag MER7685BB0 Range
Maytag MER7664XW2 Range
Maytag MER7664XW1 Range
Maytag YMER7660WW2 Range
Maytag YMER7660WS2 Electric Range
Maytag YMER7662WB2 Range
Maytag YMER7662WS2 Electric Range
Maytag YMER7765WW3 Range
Maytag YMER7662WW2 Electric Range
Showing 1-15
of 603
| Manufacturer Name: WHIRLPOOL Product Number: WPW10299224 OEM Part Number: WPW10299224 Product Description: Hinge-Door |
Choose the best Home Appliance parts and supplies from HnKParts!
Same Day Shipping
Best Quality And Best Price
Wide Range of Inventory
Best Customer Service
Have More Questions or Need Help to Place The Order?
Reach us at (866)723-0907 or [email protected]
Write Your Own Review
Customer Questions
Installation Steps
Step1: Disconnect power range and ensure oven is cool for safety.
Step2: Remove door and access hinge mounting screws.
Step3: Detach old hinge carefully and note orientation.
Step4: Align new hinge into position.
Step5: Secure screws tightly and reassemble door, test movement.
Step6: Verify alignment and close door slowly before powering on.
