Whirlpool WPW10283860 Refrigerator Shelf Glass

Special Price $146.50 Regular Price $163.95
In stock
Available Quantity:   2
SKU
WPW10283860

Product Description

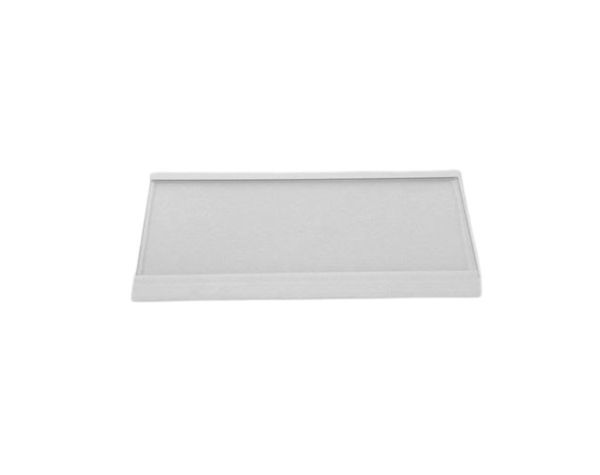
The Whirlpool WPW10283860 Refrigerator Shelf Glass provides an efficient, flat shelf to store food and beverages in the fridge. This tempered glass shelf is designed to fit in any Whirlpool model and is able to support without spills or stains. It will provide the storage capacity, keep the inside organized, and provide a safe and stable position for all the refrigerated products.
Manufacturer
✓ This Product Replaces: 2264803, W10283860
https://www.hnkparts.com/media/catalog/product/w/p/wpw10283860-94594.jpg

This Part Fits the Following Models (184)

Maytag M8RXNGMBW00 Refrigerator Maytag M8RXNGMBS00 Refrigerator Maytag EMT8002S00 Refrigerator Maytag EMT8002Q00 Refrigerator Maytag M8RXNGMBB00 Refrigerator Maytag M8RXCGFXS04 Refrigerator Maytag M8RXCGFXS03 Refrigerator Maytag M8RXCGFXS01 Refrigerator Maytag M8RXCGFXS02 Refrigerator Maytag M8RXCGFXW00 Refrigerator Maytag M8RXCGFXW01 Refrigerator Maytag M8RXCGFXS00 Refrigerator Maytag M8RXCGFXB04 Refrigerator Maytag M8RXCGFXB03 Refrigerator Maytag M8RXCGFXB02 Refrigerator
Showing 1-15 of 184
Manufacturer Name: WHIRLPOOL
Product Number: WPW10283860
OEM Part Number: WPW10283860
Product Description: Shelf-Glass

Choose the best Home Appliance parts and supplies from HnKParts!

  • Same Day Shipping

  • Best Quality And Best Price

  • Wide Range of Inventory

  • Best Customer Service

Have More Questions or Need Help to Place The Order?
Reach us at (866)723-0907 or [email protected]

Write Your Own Review
You're reviewing:Whirlpool WPW10283860 Refrigerator Shelf Glass
Your Rating
Customer Questions
No Questions

Installation Steps

Step 1: The refrigerator should be disconnected from its power source prior to starting. Either the appliance should be unplugged or the circuit breaker should be deactivated to avoid electric shock.

Step 2: The freezer door of the refrigerator should be opened and the bottom shelf, which is secured by metal brackets, should be identified. A new shelf should be inserted by pressing it into position on the metal brackets.

Step 3: The top shelf, which is typically secured with plastic plugs and metal pins, should be located. A flat head screwdriver should be utilized to remove the metal pins.

Step 4: The shelf should be lifted upward and out of the side wall slots within the freezer compartment. The shelf may need to be angled slightly to facilitate its removal from the slots.

Step 5: The new shelf should be positioned and the pins should be aligned with the corresponding slots. The shelf should be pushed down, ensuring that the pins fit securely back into place.

Step 6: The plastic plugs should be inserted along the lower edge of the shelf, confirming that all are firmly seated into the slats.

Step 7: The bottom shelf should be reinstalled first, as it is more accessible than the top one. Subsequently, the top shelf should be replaced with the new shelf.

Step 8: Any additional shelves that were taken out should be reattached, if needed, by following the same procedure.

Step 9: The refrigerator should be reconnected, the power should be restored, and it should be verified that the new shelf functions correctly. Adjustments should be made as needed to ensure the shelf is level and secure before placing any food items back.

Please be aware that these instructions serve as general guidance and should always be utilized in conjunction with the manufacturer's manual, if one is available.